Mackerel marinated with chili ketchup

Almost no festive table is complete without a fish appetizer. Today I will tell you how to easily and without unnecessary hassle marinate mackerel at home. The fish turns out very tasty, spicy and juicy. An unusual marinade with chili ketchup gives the fish a bright color and an interesting taste. The mackerel turns out piquant, sweet and sour and moderately spicy.

Even a novice cook can cope with the preparation, the recipe is simple and very successful! Homemade marinated mackerel turns out several times tastier and cheaper than store-bought.

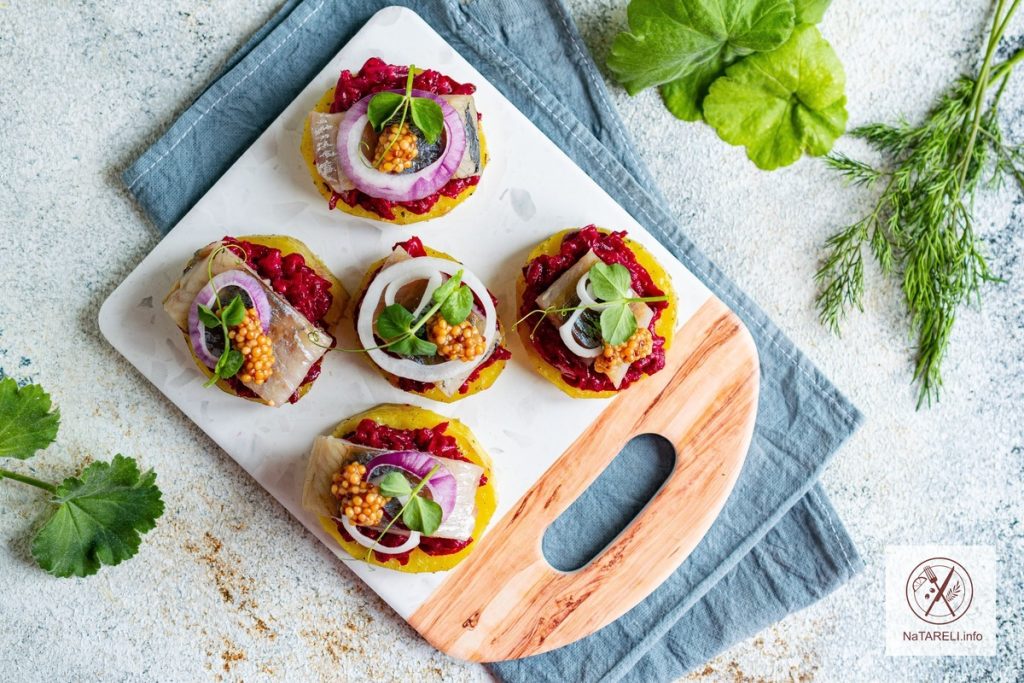
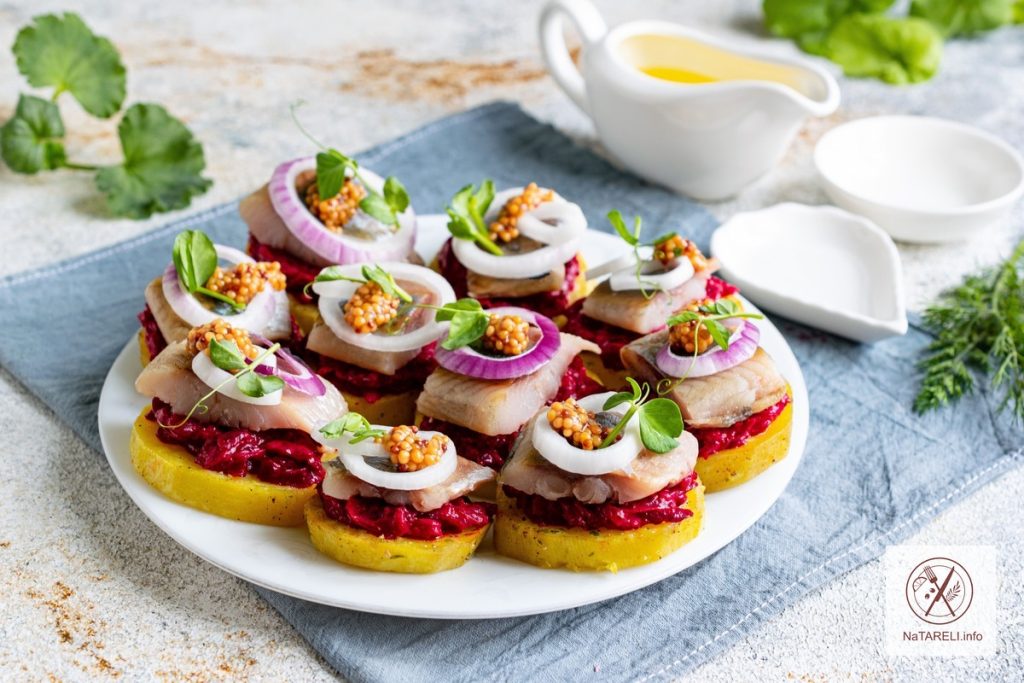
Marinated mackerel with chili ketchup and onions is a delicious appetizer for both everyday and festive menus. Discover a completely new taste of your favorite fish!

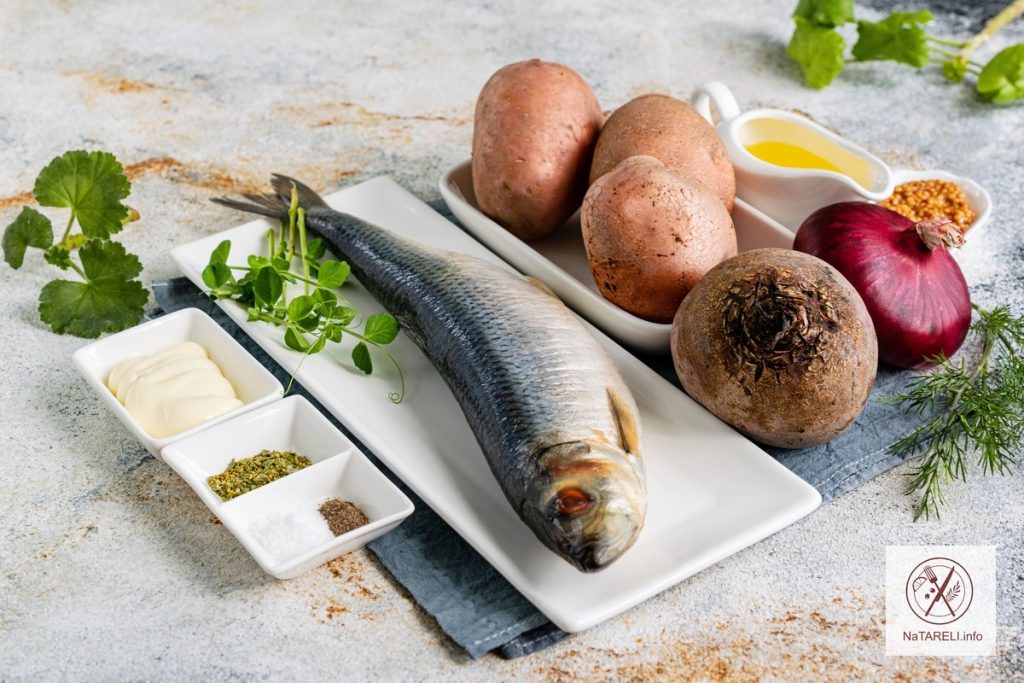
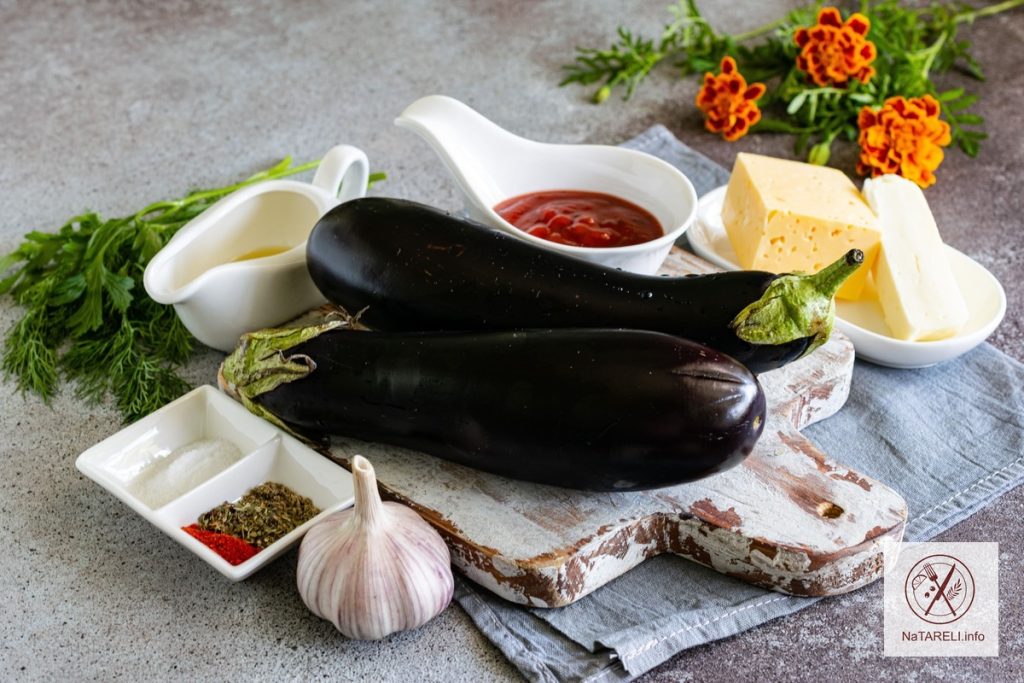
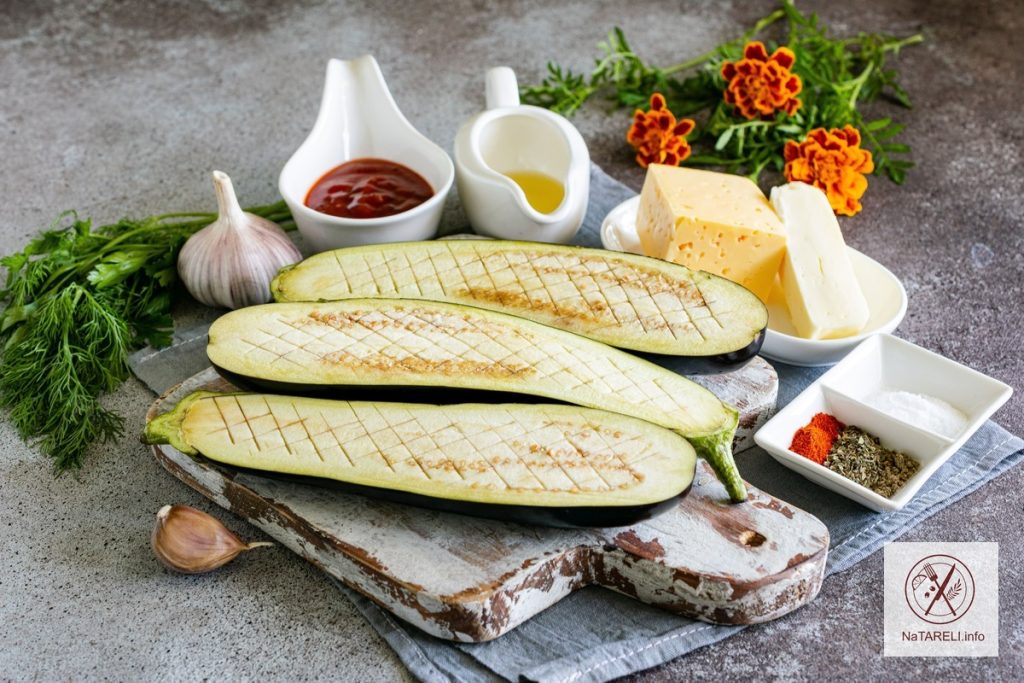
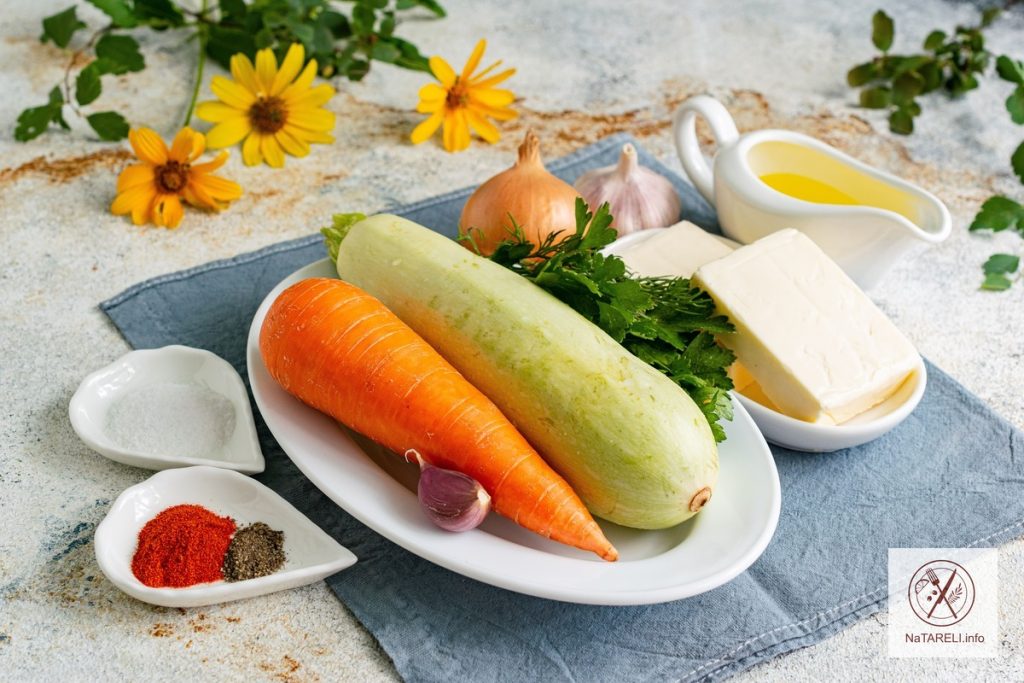
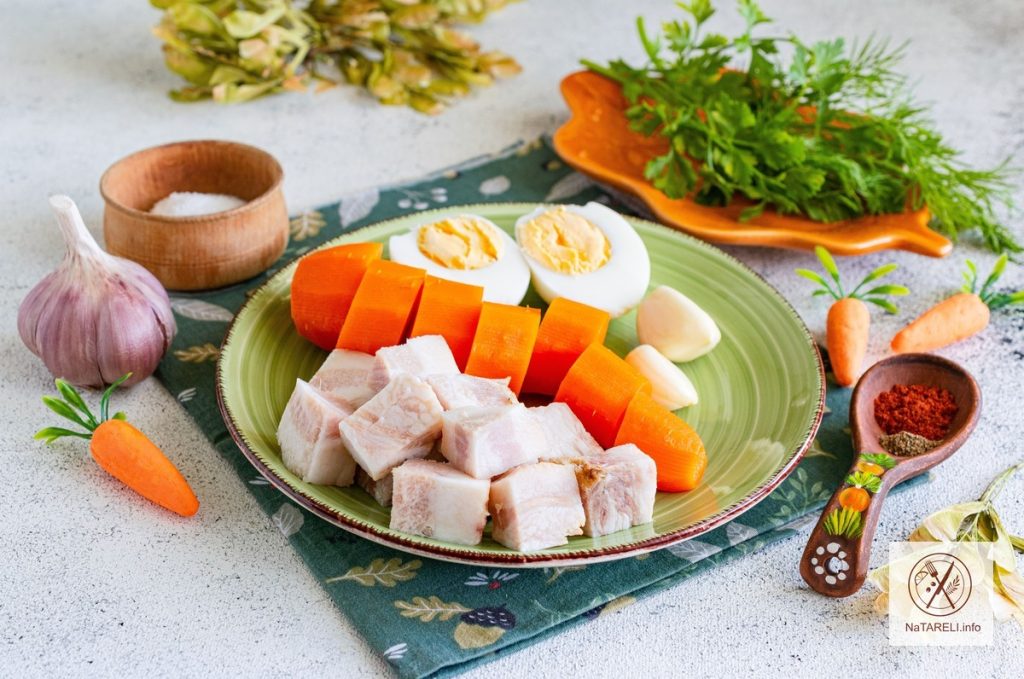
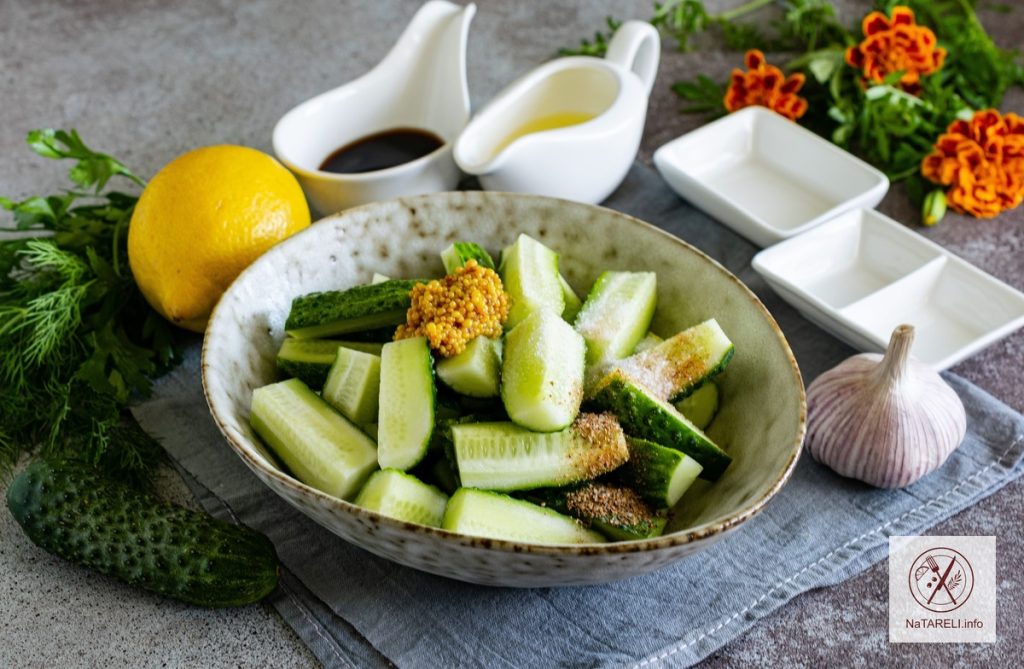
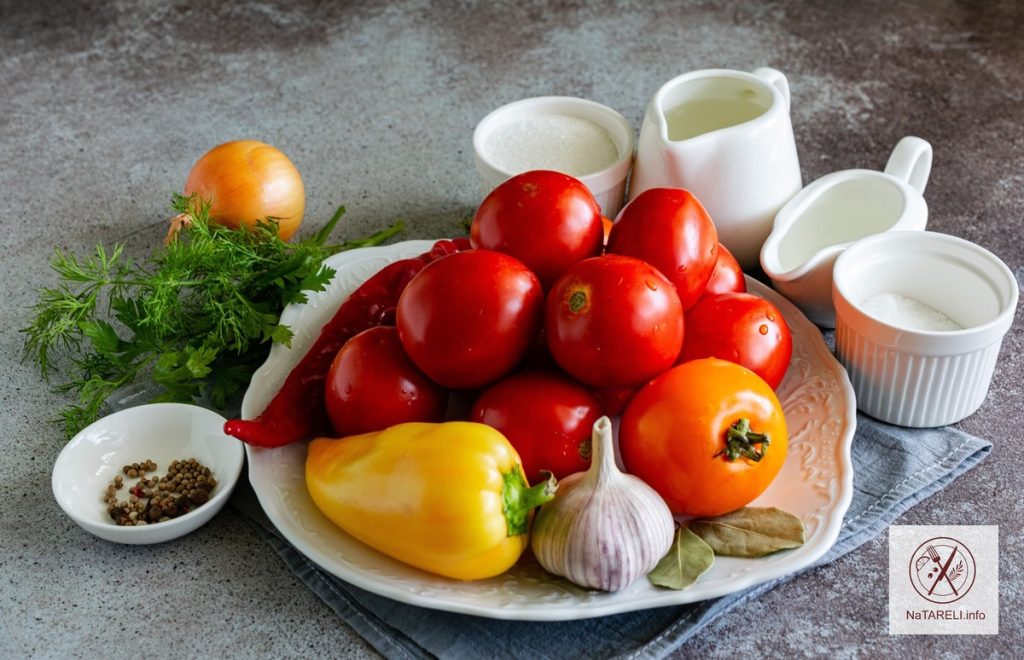
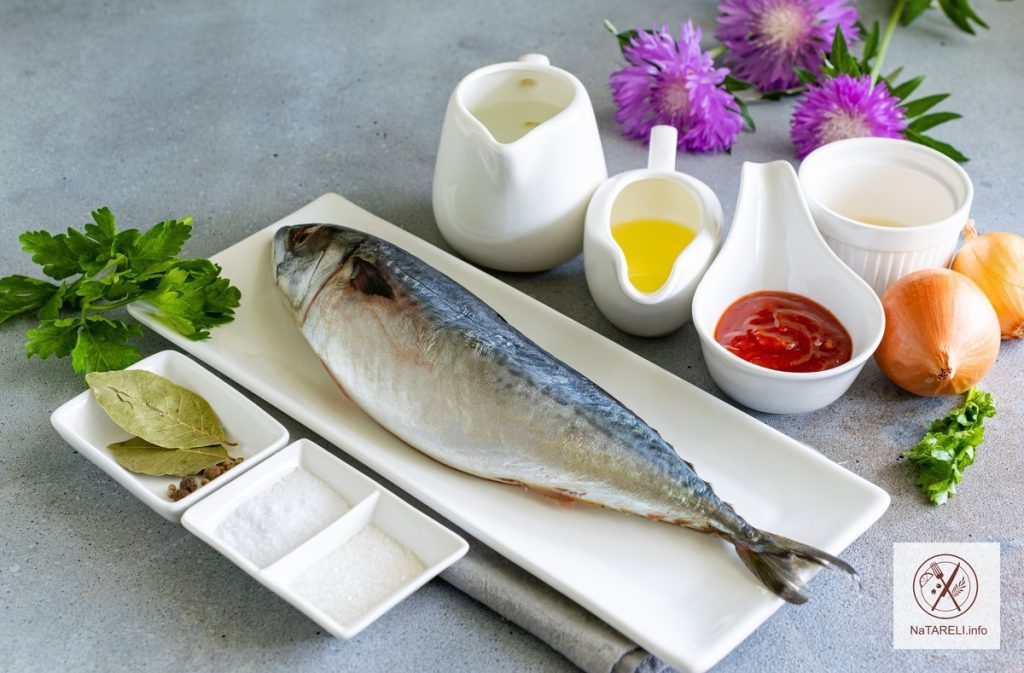
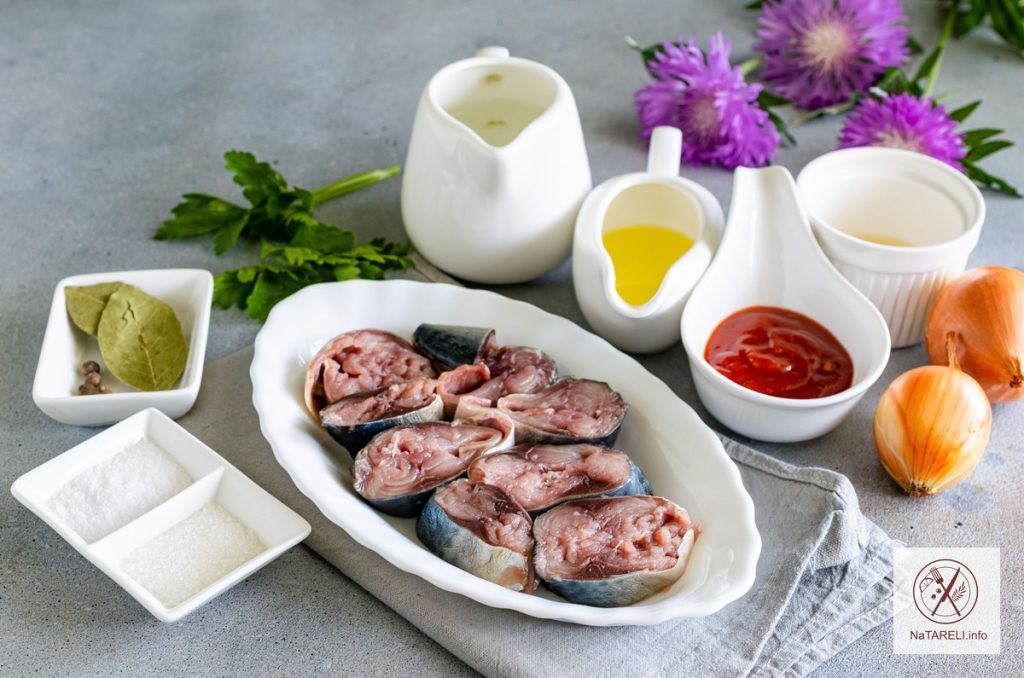
Ingredients for cooking mackerel marinated with chili ketchup:

Recipe for cooking mackerel marinated with chili ketchup

Step-by-step instructions:

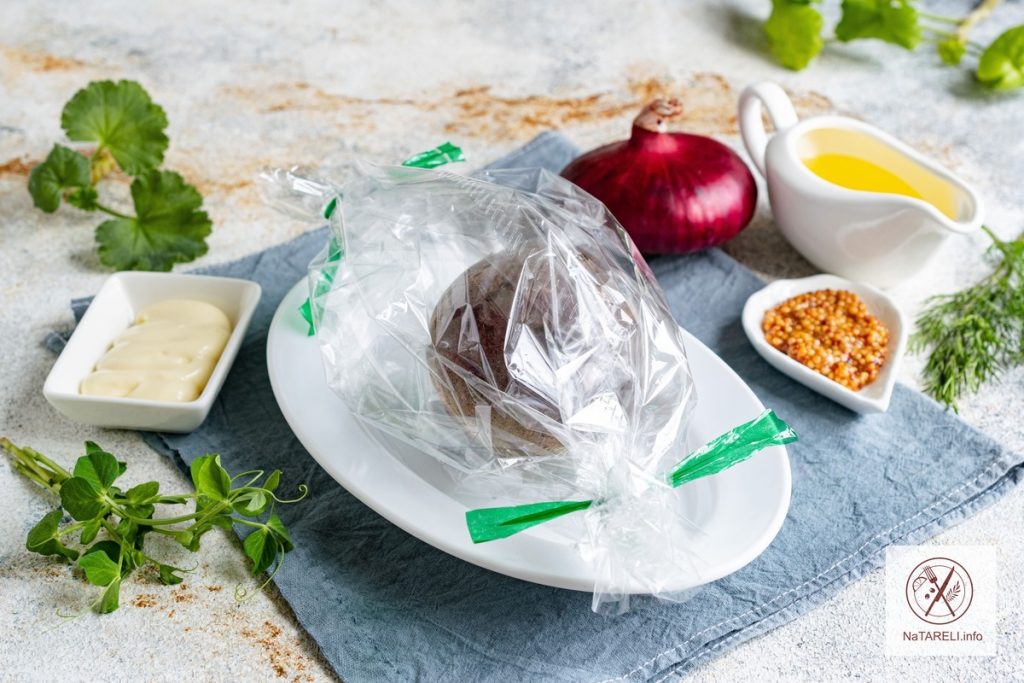
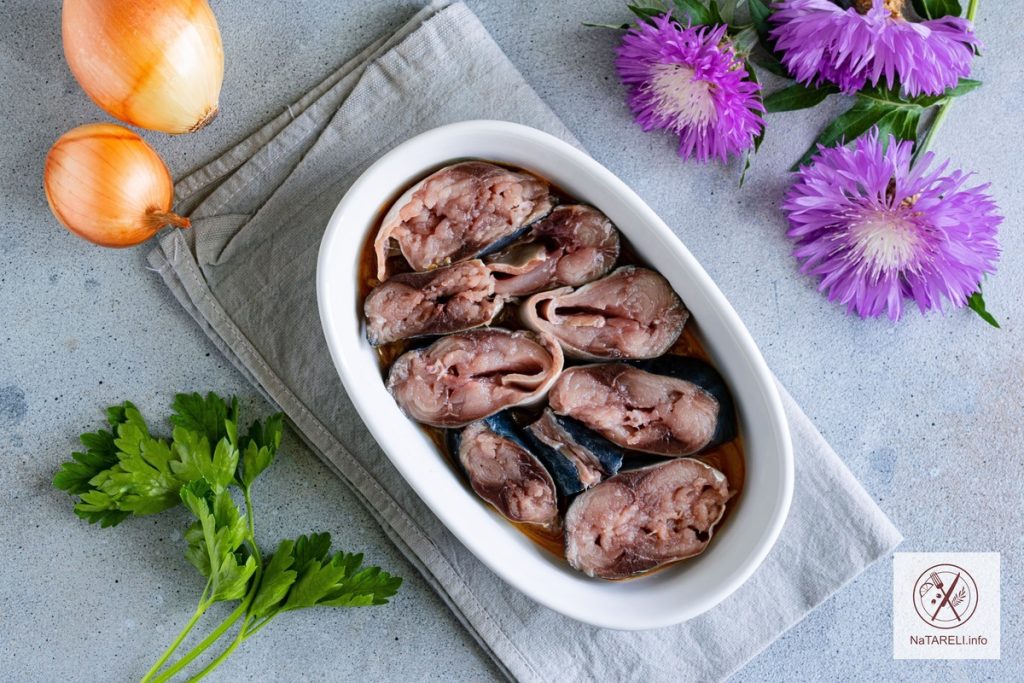
1. Defrost the mackerel at room temperature, wash, dry from excess moisture. Cut off the head, tail and fins of the fish. Remove the entrails and black film. Cut the mackerel carcass into portions 1.5-2 cm thick.

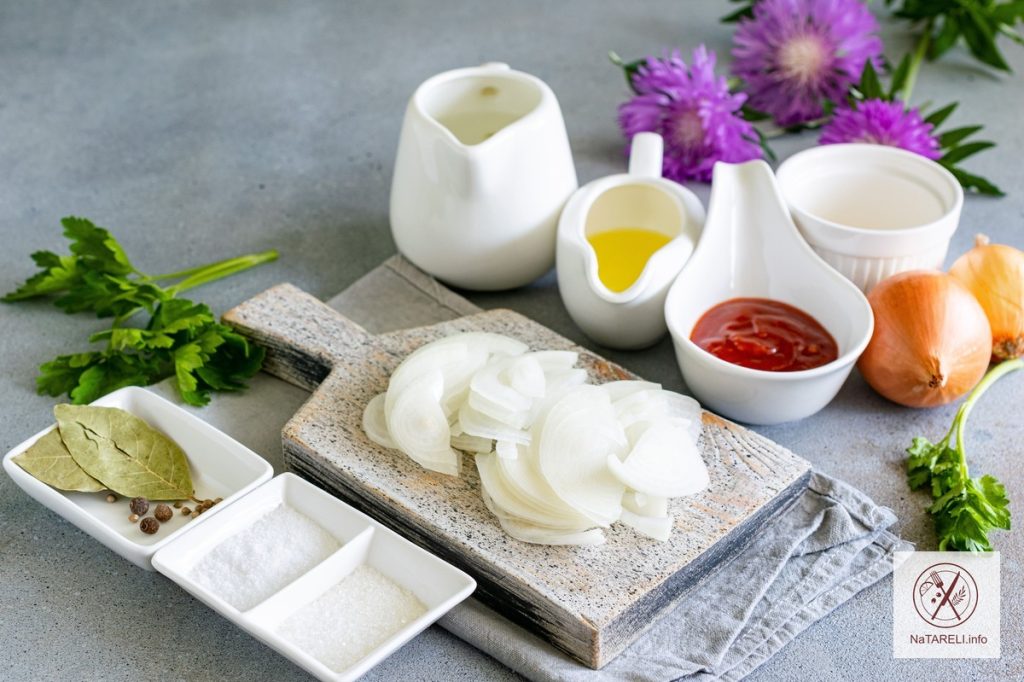
2. Peel the onion, cut into thin half rings.

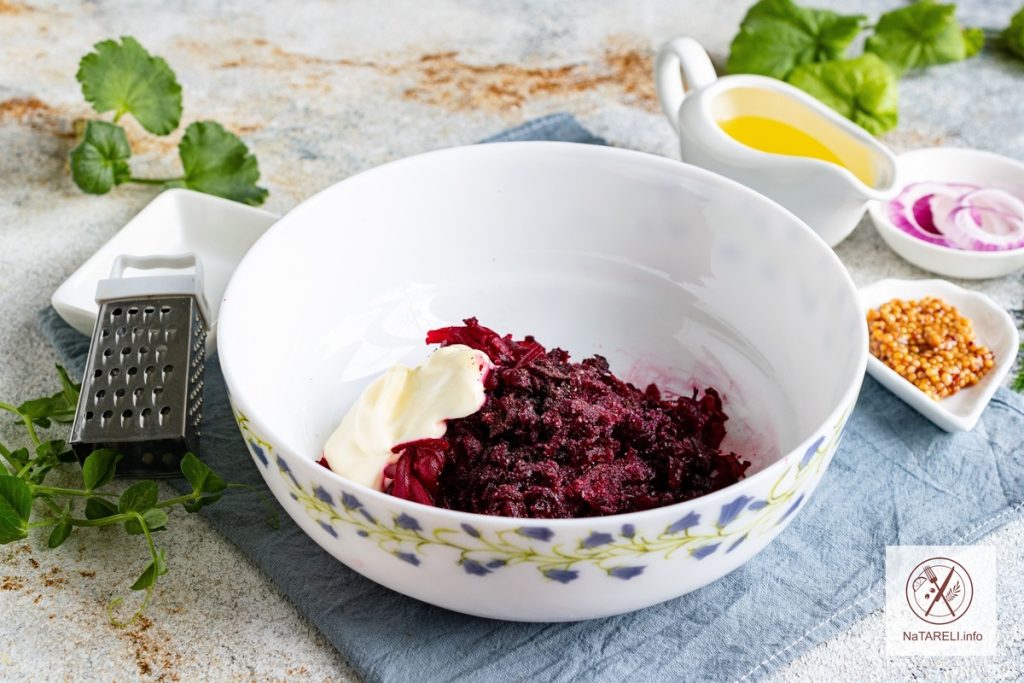
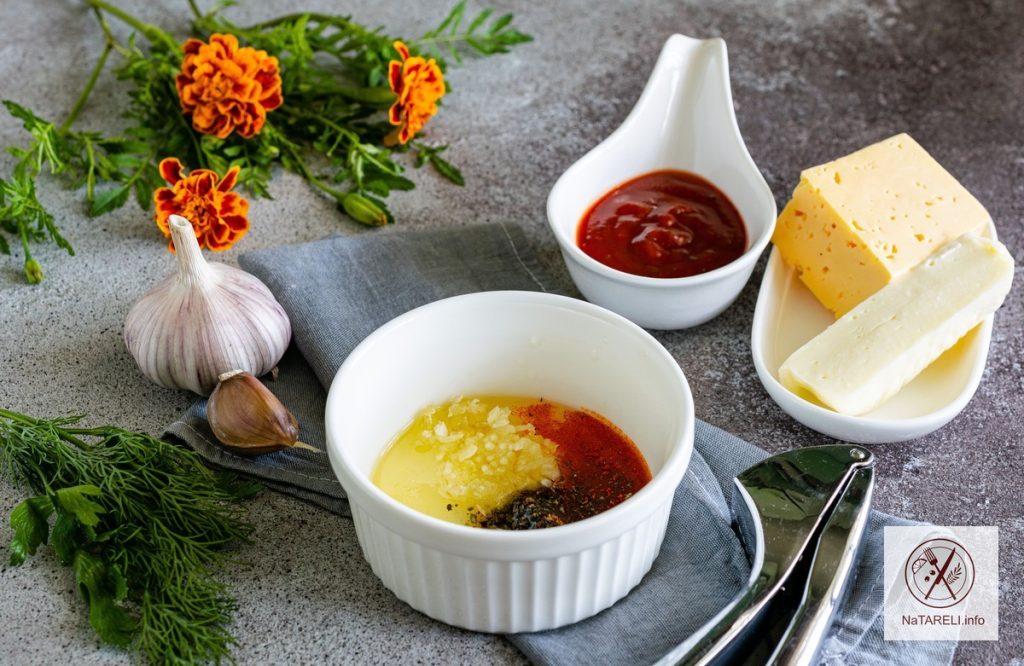
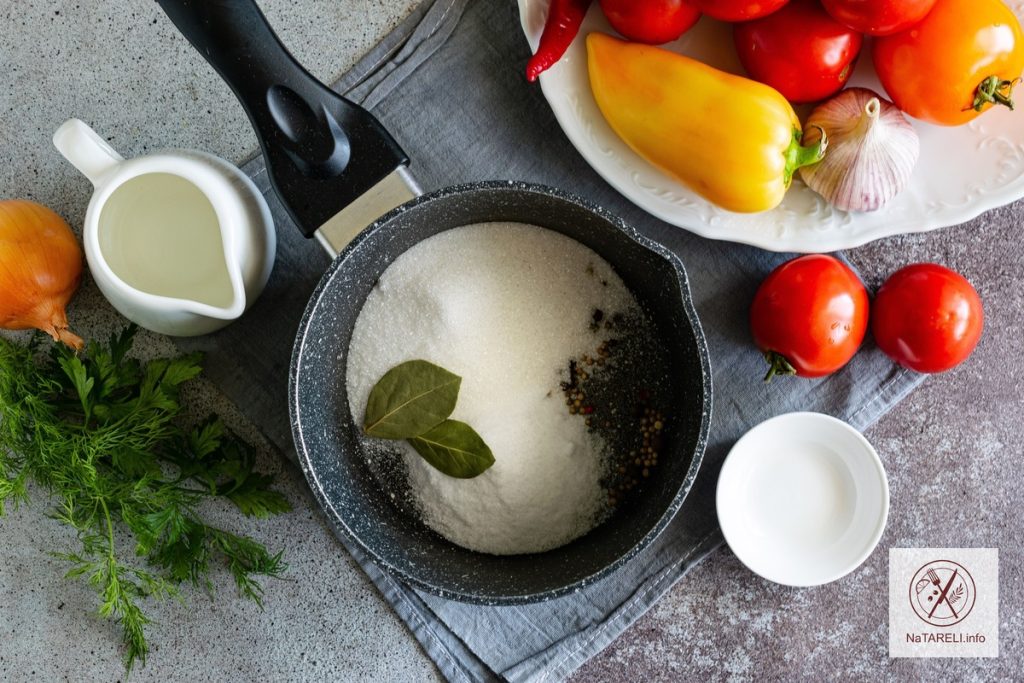
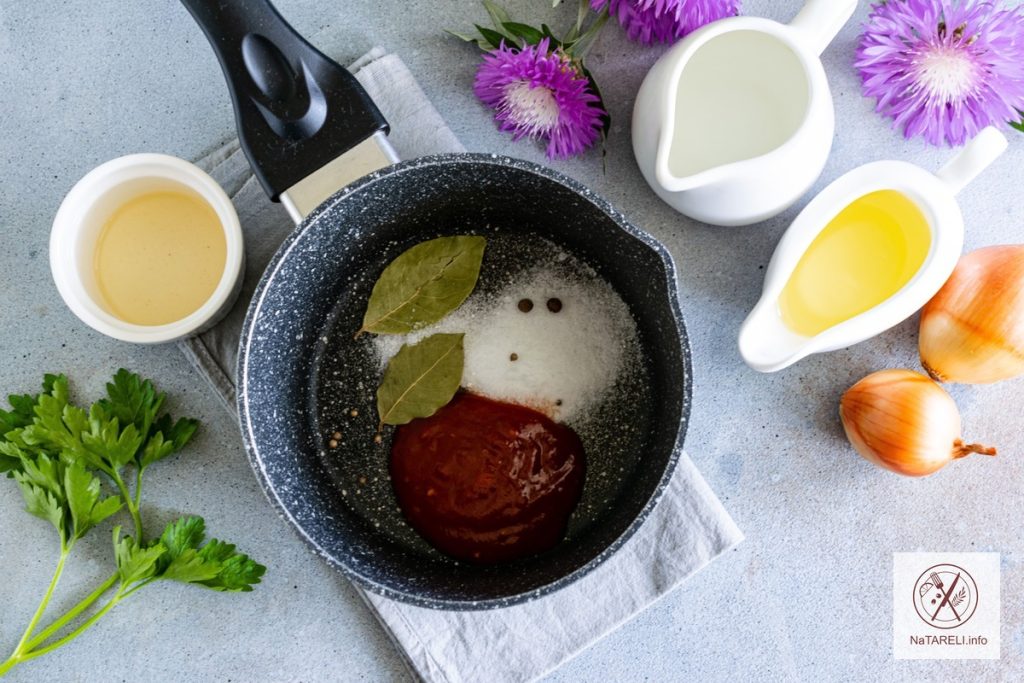
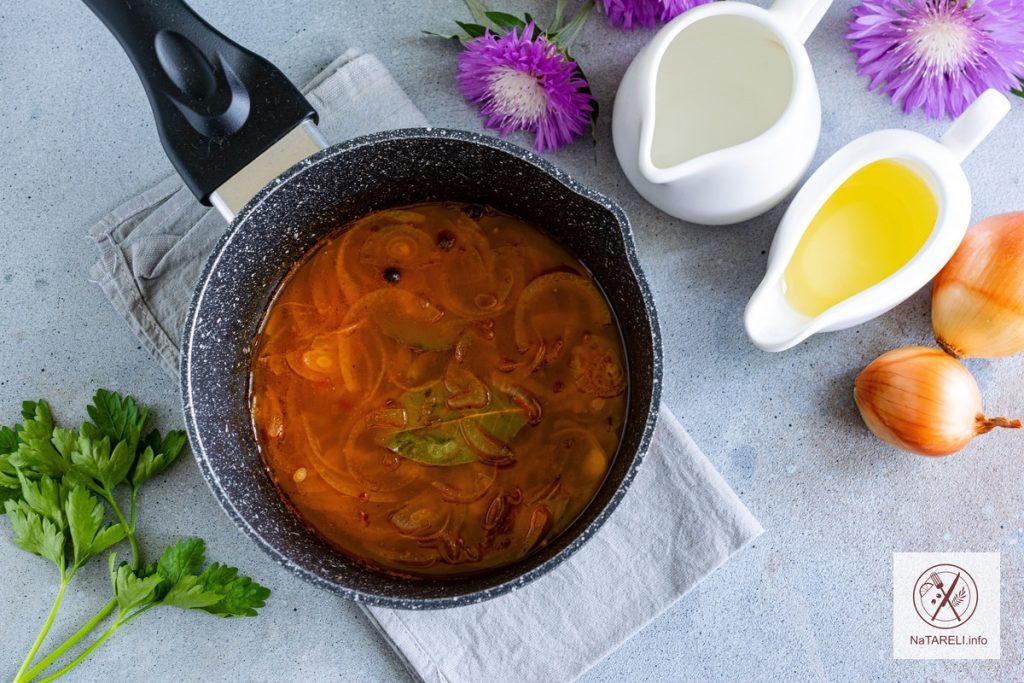
3. Mix the ingredients for the marinade in a ladle: chili ketchup, sugar, salt, bay leaf, allspice and coriander.

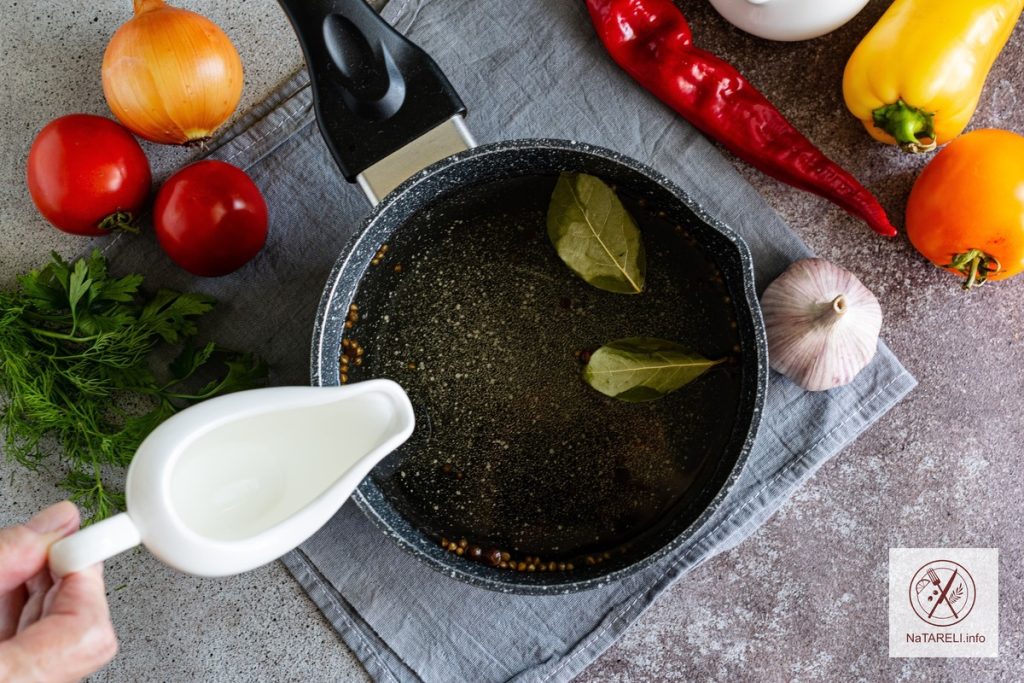
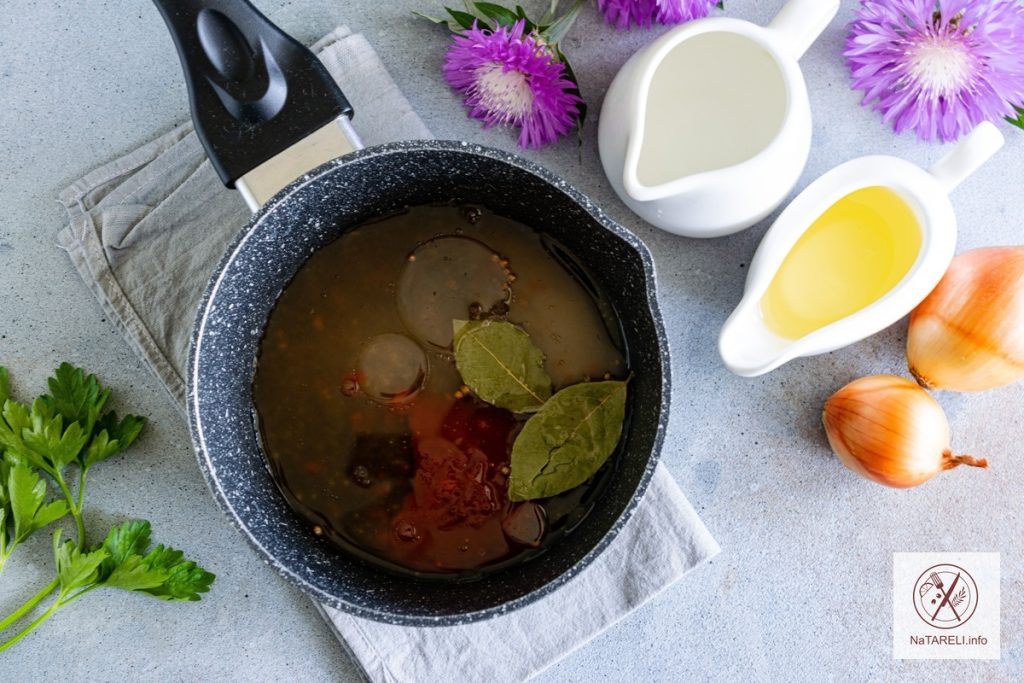
4. Pour water, vegetable oil and apple cider vinegar into the resulting mixture.

5. Add half rings of onion to the marinade.

6. Stirring until the salt and sugar are completely dissolved, bring the marinade to a boil. Cook the marinade for 2 minutes, then remove from heat.

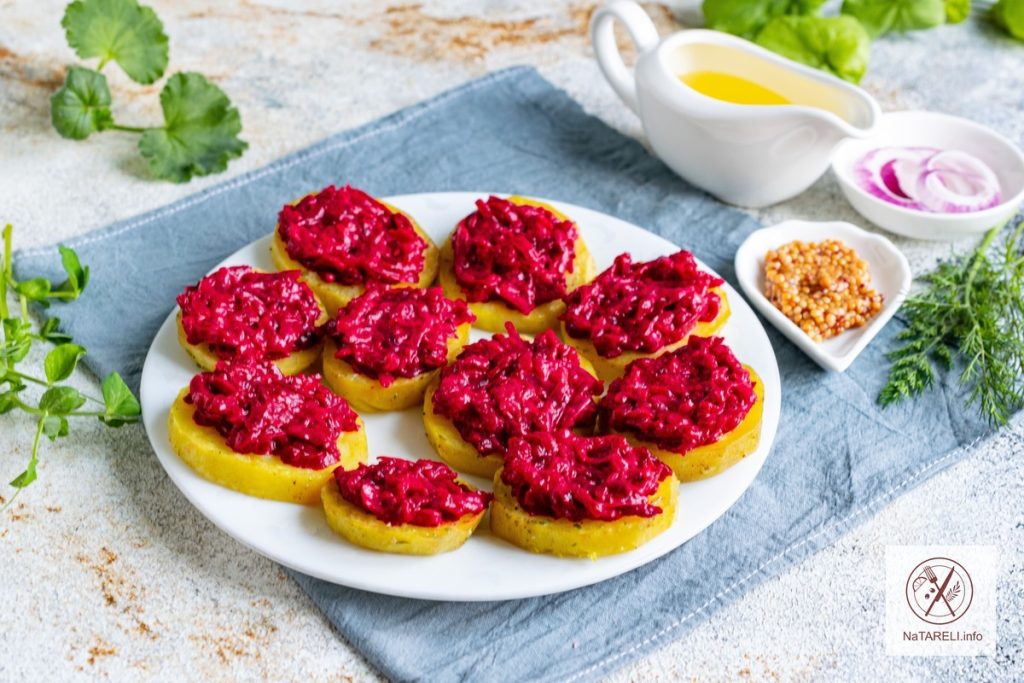
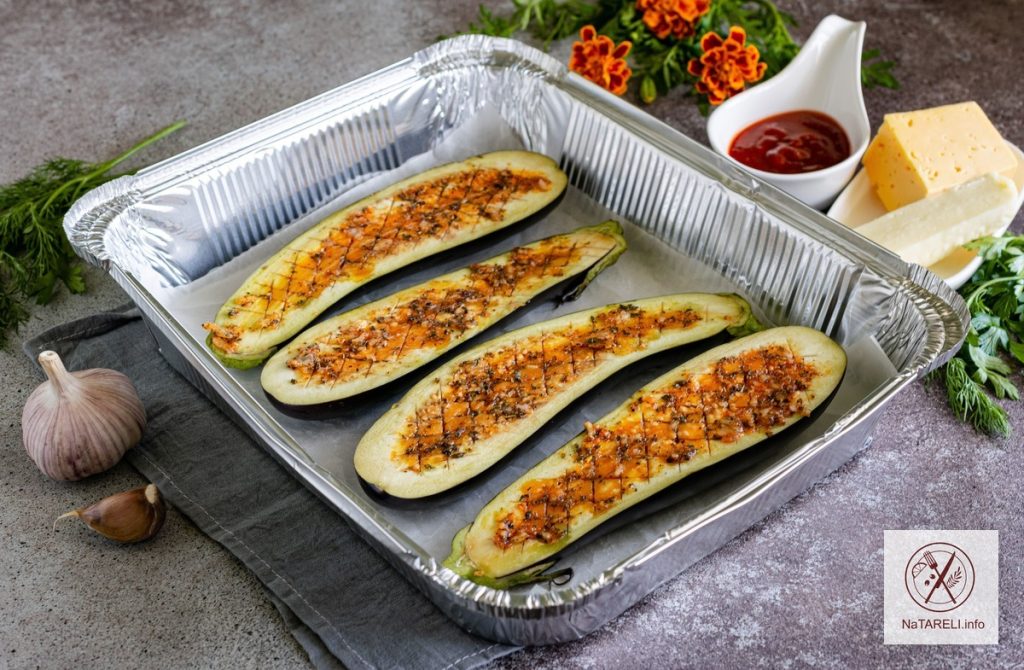
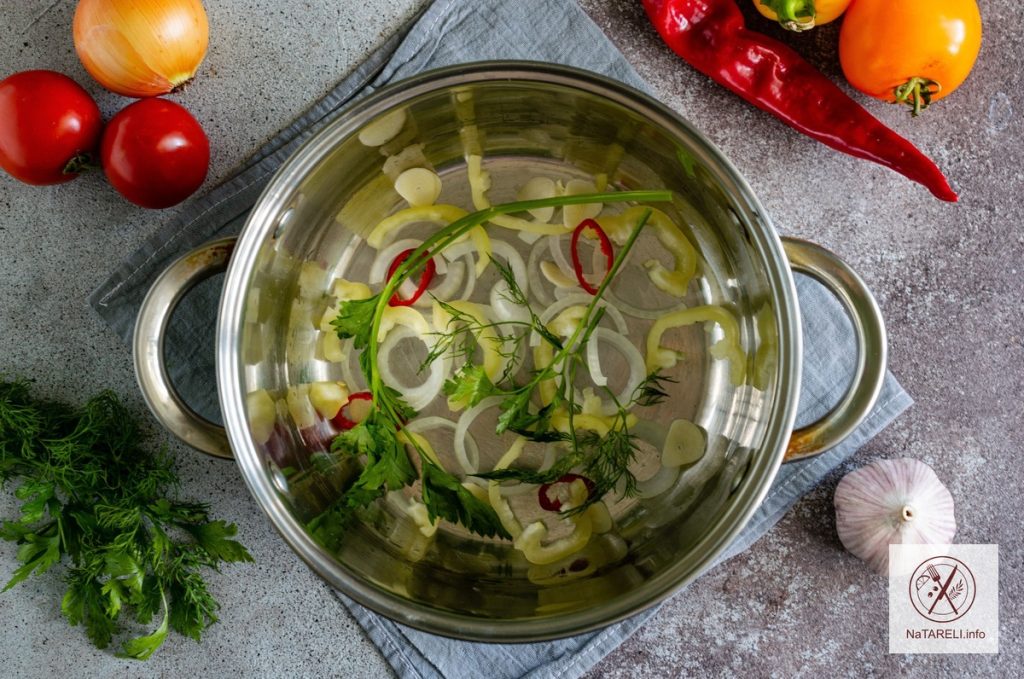
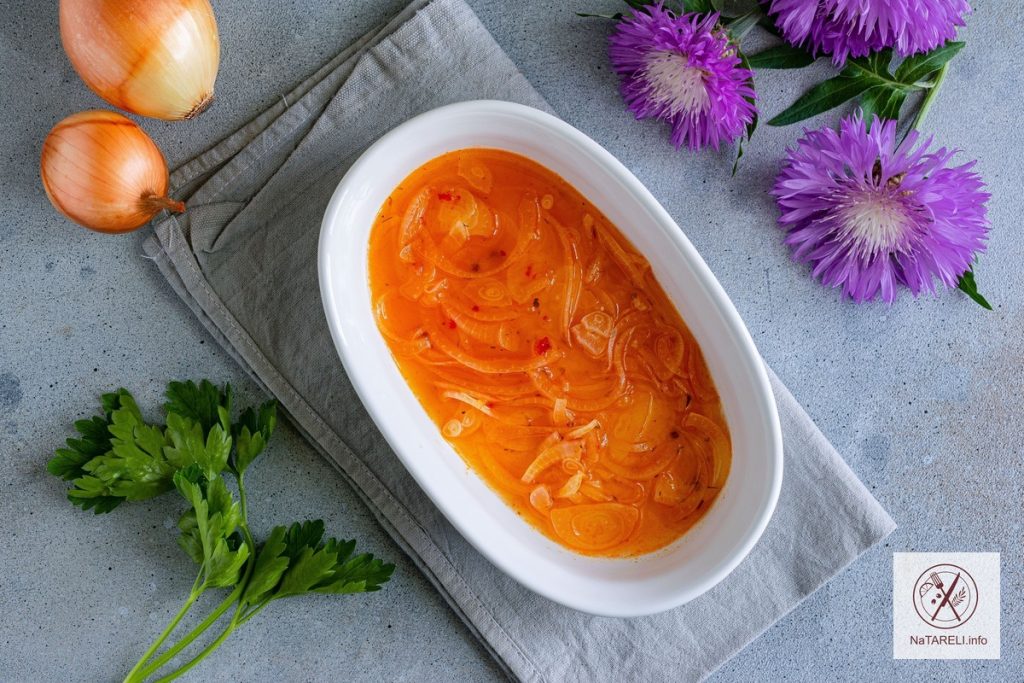
7. Pour some marinade with onions into the bottom of the container in which we will marinate the fish.

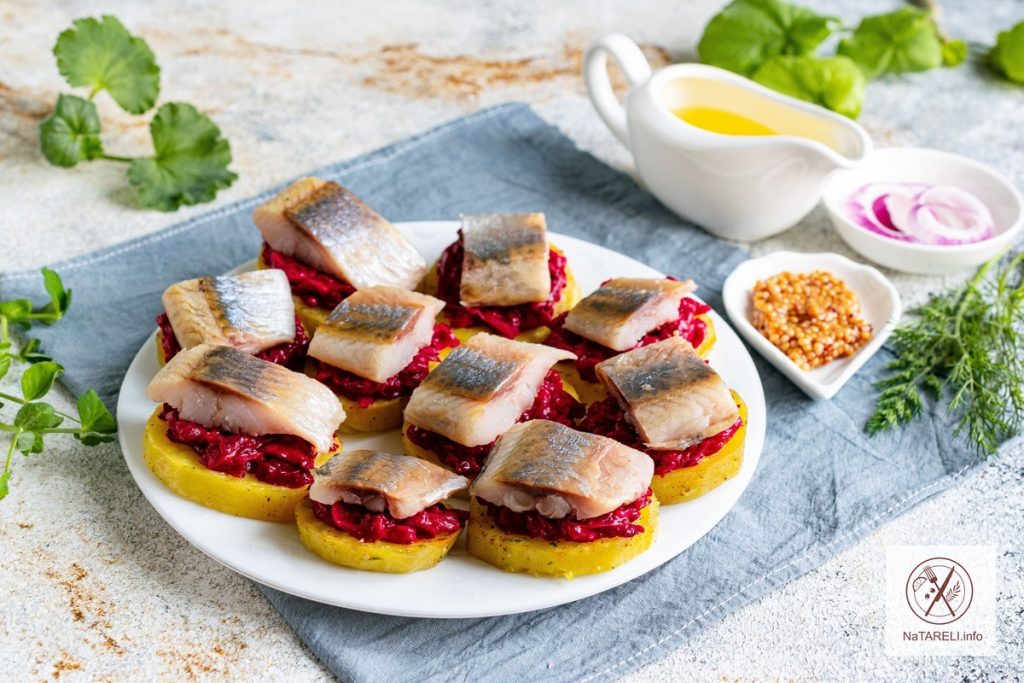
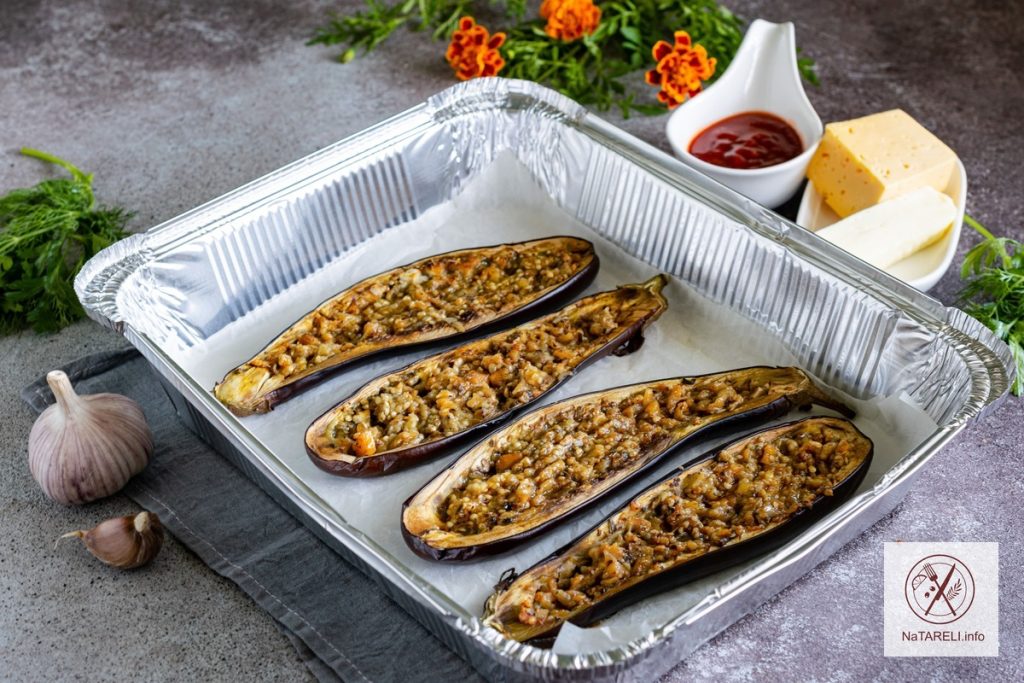
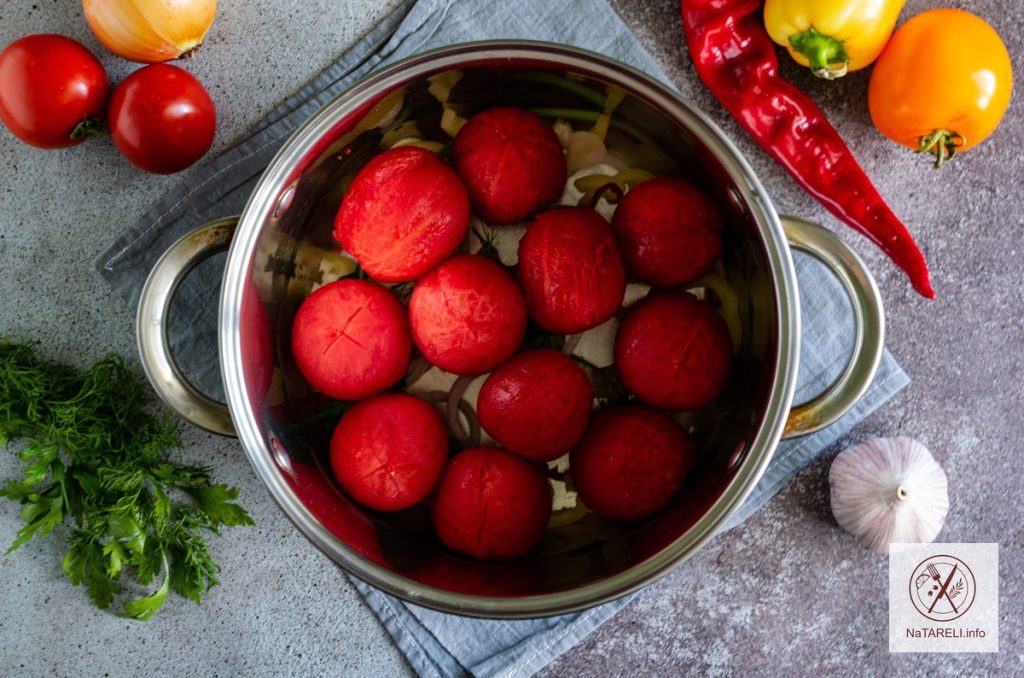
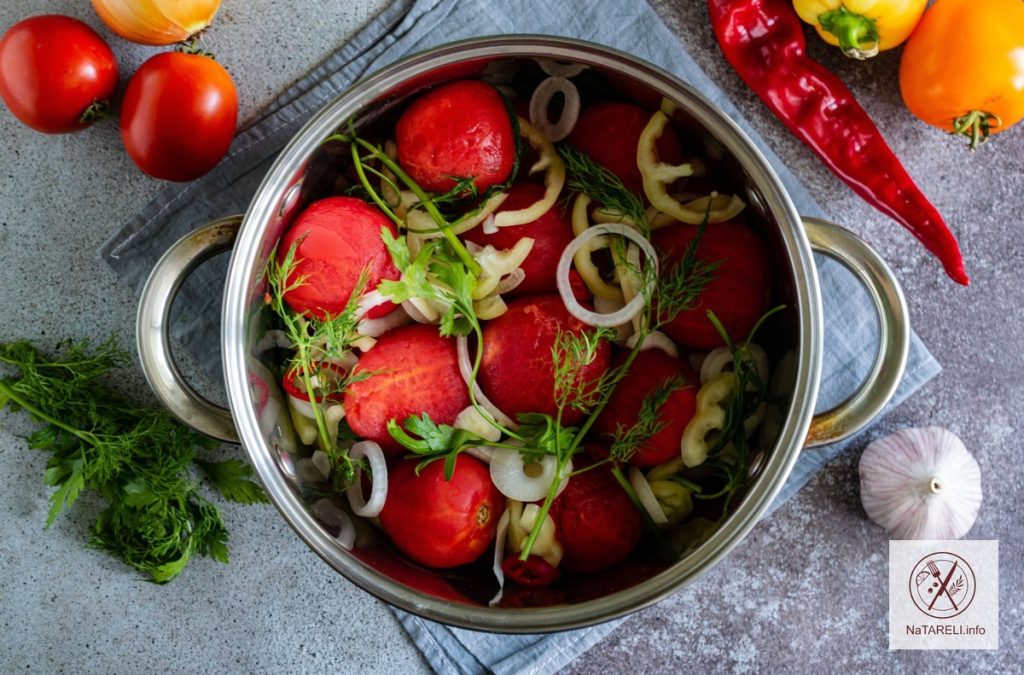
8. Place pieces of mackerel on top.

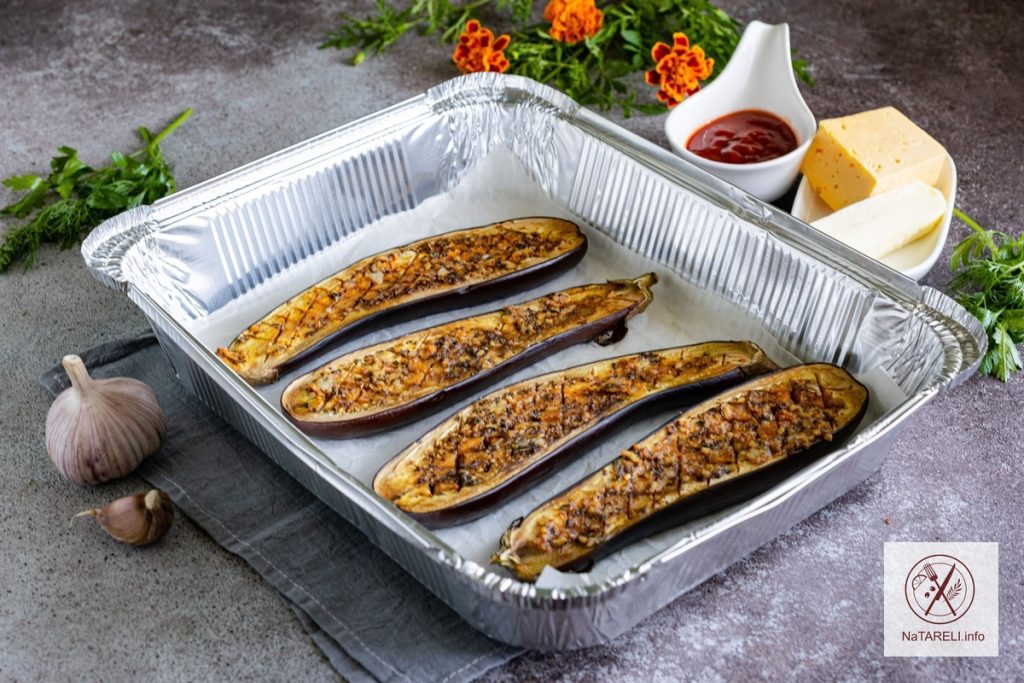
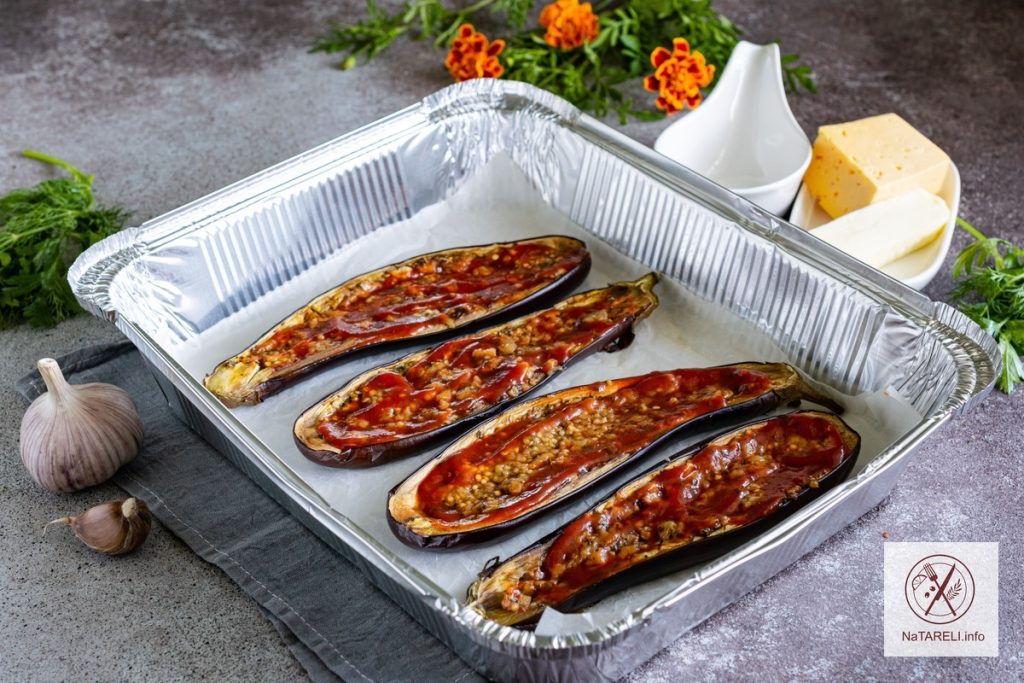
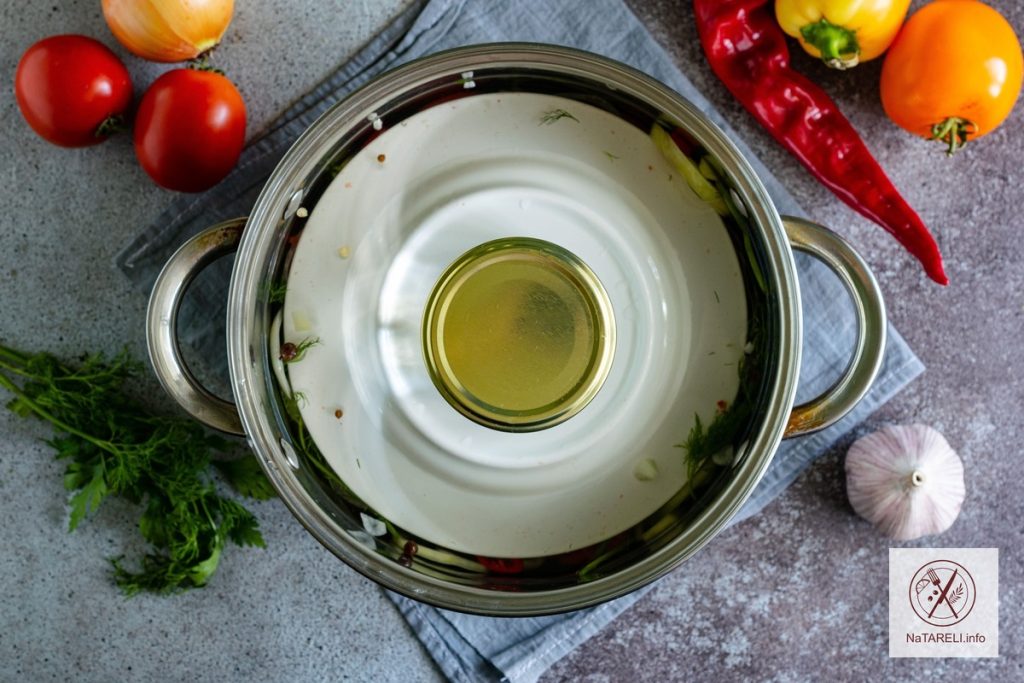
9. Pour the hot marinade over the fish, it should completely cover the mackerel. Cover the appetizer with a lid and leave at room temperature until it cools. Then put the fish in the refrigerator for 24 hours.

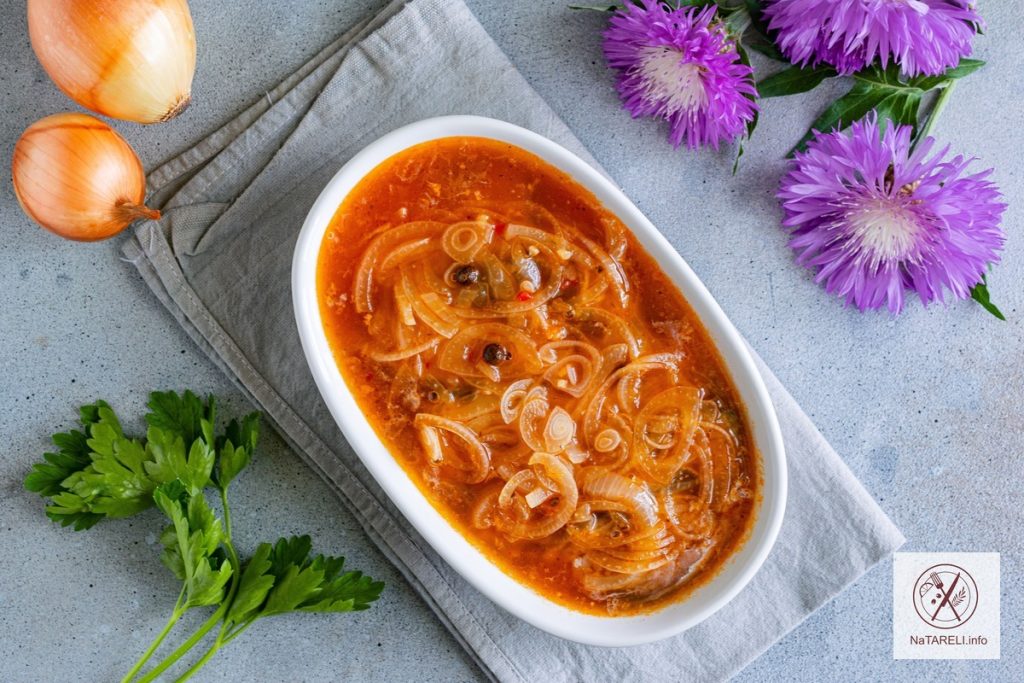
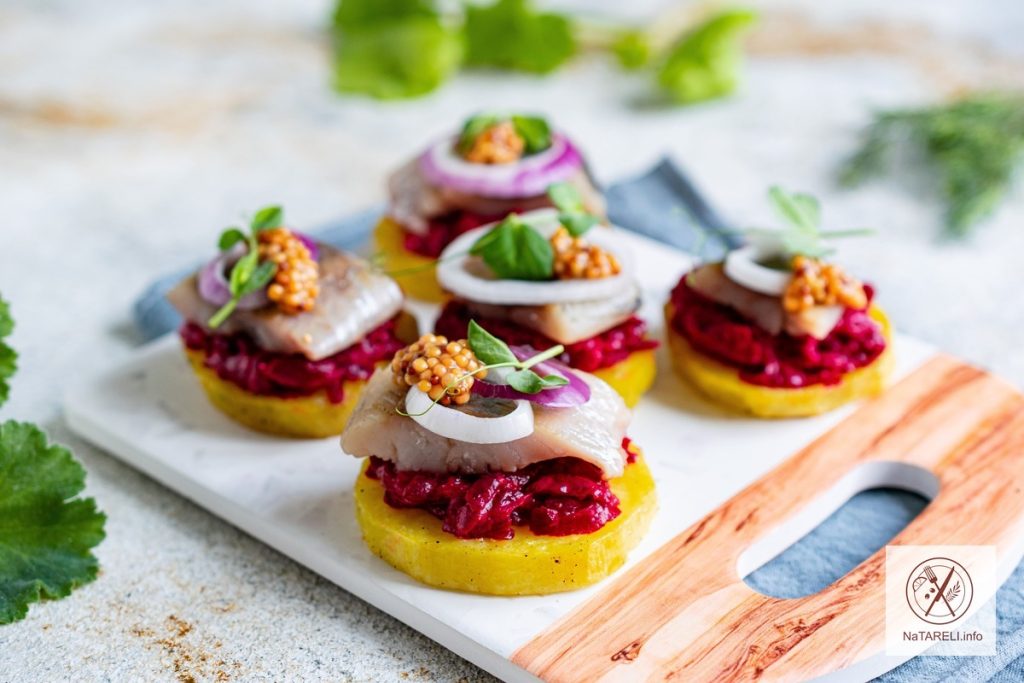
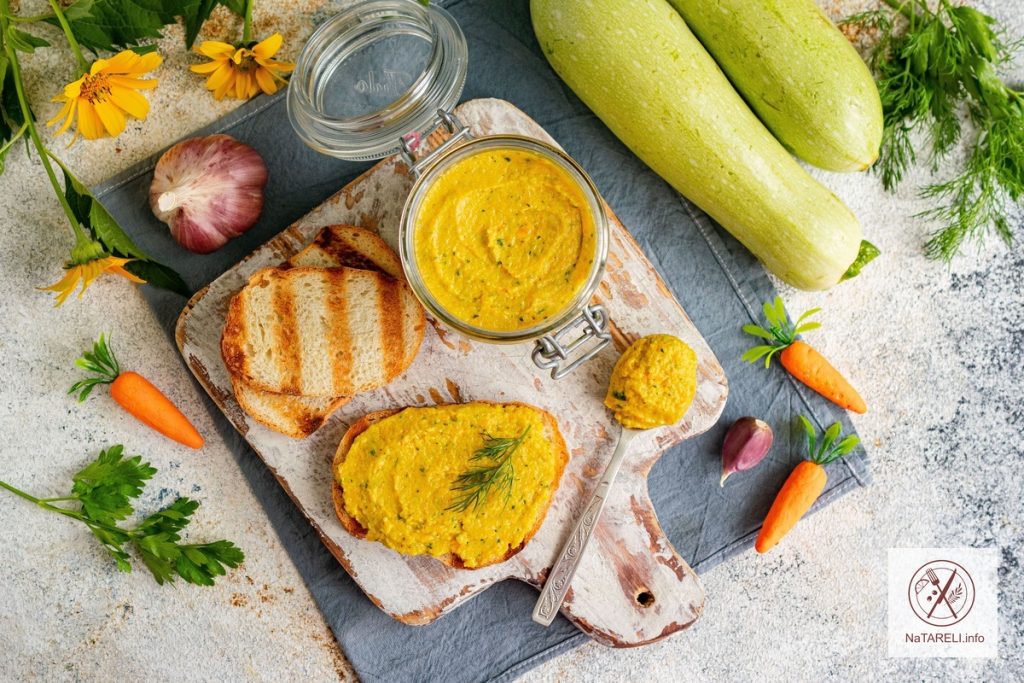
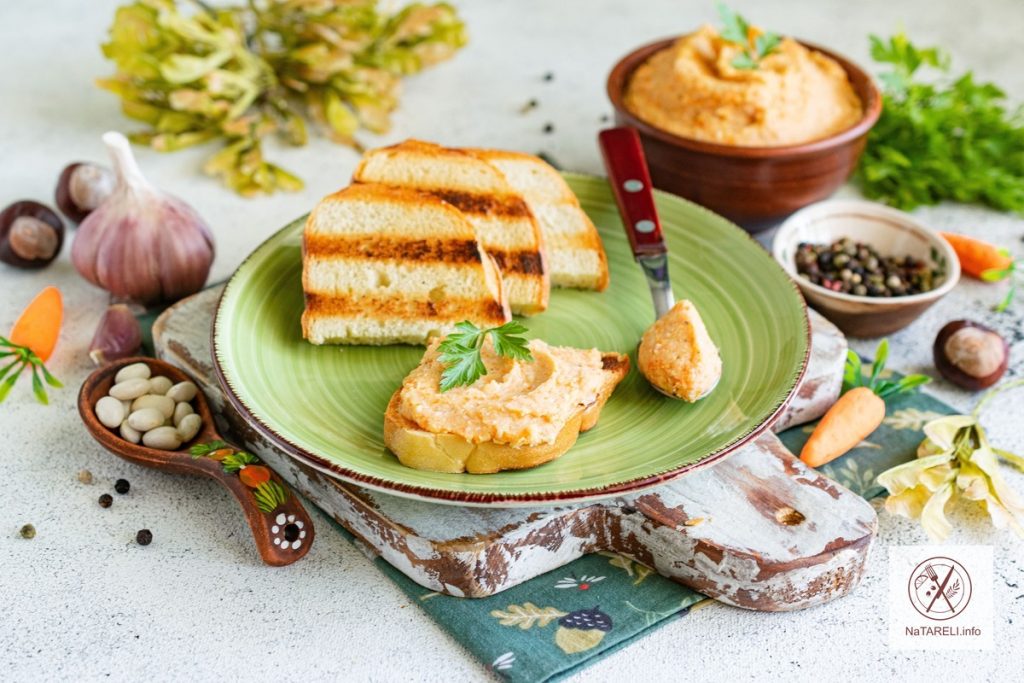
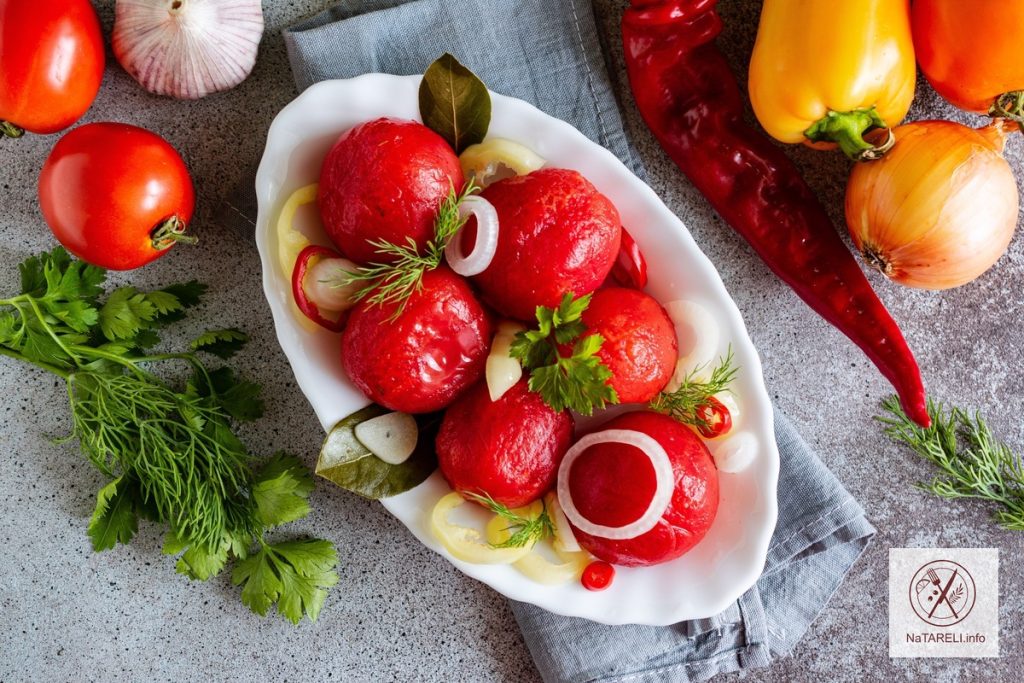
10. After the specified time, the tender and very aromatic marinated mackerel will be ready. Serve the fish with onions as a cold appetizer.

Bon appetit!

Try cooking:

Mackerel pate

Mackerel baked in soy sauce


Potato appetizer with beets and herring

I offer you a very tasty and interestingly decorated dish made from simple and affordable ingredients! Lightly salted herring goes well with beets and potatoes, so I suggest making a tasty and impressive appetizer from them.

Baked potato slices, aromatic beetroot mass and lightly salted herring fillet – an amazing combination! Sweet red onion and French mustard complement the appetizer wonderfully, giving it a piquant note. These canapes are perfect for a festive table. Guests will appreciate the original design and amazing taste of the appetizer.

To save time, you can use already peeled herring fillet in oil. Beets can be prepared in advance or baked in the microwave, it’s quick and easy.

Ingredients for making a potato appetizer with beets and herring:

Recipe for making a potato appetizer with beets and herring

Step-by-step instructions:

1. Wash the potatoes, peel them, cut them into 1 cm thick slices. Transfer the vegetables to a deep bowl, pour in the sunflower oil, add salt and spices to taste. I used potato seasoning.

2. Stir the vegetables so that they are evenly coated with oil, salt and spices. Place the potato slices on a baking sheet or in a heat-resistant baking dish. Place the vegetables in an oven preheated to 180 degrees for 15 minutes.

3. After the specified time, the potatoes will be baked and soft. Transfer the vegetable slices to a flat plate, cool to room temperature.

4. Wash the beets, prick them with a fork, put them in a baking bag, and tie it on both sides. Put the plate with the beets in the microwave. Cook the vegetables at maximum power for 10-15 minutes, depending on the size of the beets.

5. Cool the vegetables to room temperature, peel them, and chop them on a coarse grater. Add mayonnaise, salt, and ground black pepper to taste to the beets, and mix.

6. Put the beet mixture on the potato slices.

7. Cut off the head, tail, and fins from the herring. Remove the entrails and black film, and separate the fish into fillets. Peel the herring from the skin and bones, cut the fillet into portioned pieces 2-3 cm wide. Put the fish pieces on top of the beet mixture.

8. Peel the red onion and cut into thin rings. Place the onion rings on the fish. Decorate the appetizer with French mustard and herbs.

9. Serve the appetizing potato appetizer with beets and herring immediately after cooking. Bon appetit!

Please note:

Spicy salted herring at home

“False Caviar” from herring, carrots and smoked cheese


Lavash envelopes with cottage cheese and hard cheese

I suggest making delicious and filling envelopes from available ingredients. We will use thin lavash as a base, and cottage cheese and hard cheese for the filling. The result is a very tasty and healthy dish that is perfect for breakfast, as a snack on the road or for a picnic.

The combination of thin crispy lavash and melted hard cheese with herbs will appeal to everyone without exception. If desired, parsley can be replaced with cilantro. This recipe is simple and easy to prepare, it does not require much time and a large set of products.

I cooked the envelopes on an electric grill. In warm weather, they can be baked on the grill, so the dish will be even more appetizing.

Ingredients for making lavash envelopes with cottage cheese and hard cheese:

Recipe for making lavash envelopes with cottage cheese and hard cheese

Step-by-step instructions:

1. Put the cottage cheese in a deep bowl, mash with a fork. Grind the hard cheese on a coarse grater, add to the sour-milk cottage cheese.

2. Beat 1 chicken egg into the resulting mixture.

3. Wash dill and parsley, dry from excess moisture, chop finely and add to the filling. Add salt and spices to taste. Mix the ingredients until smooth.

4. Cut the pita bread sheet into rectangles measuring 20×30 cm. I got 4 blanks.

5. Put 1/4 of the cheese filling on one edge of the pita bread.

6. Wrap the pita bread into an envelope so that the filling is inside. In this way, we form all 4 envelopes.

7. Heat the electric grill to 180 degrees. Grease the grill plates with vegetable oil. Place the pita bread envelopes on the grill. Cook the snack for 2-3 minutes until golden brown.

8. Serve the crispy envelopes with juicy filling hot with fresh vegetables.

9. If you don’t have an electric grill, you can fry the envelopes in a dry frying pan or bake them in the oven. Bon appetit!

You may also like:

Liver pancake rolls with Korean carrots


Baked eggplant boats with satsebeli sauce and cheese

This method of cooking eggplant is the most popular. This is because any filling will do for eggplants and it is the baked version that makes a simply impeccable dish.

Today I offer you Georgian-style eggplant boats with satsebeli sauce and cheese. This dish will be a great option for lunch or a light dinner. In season, this dish can be cooked very often – it is tasty, quick and healthy.

For the recipe, choose young cheese with a high percentage of fat, which melts well when heated. I used two types of cheese: Dutch and mozzarella. During the baking process, they create an appetizing stretchy crust on the vegetables, which gives the dish a creamy taste and aroma.

Ingredients for cooking eggplant boats baked in the oven with satsebeli sauce and cheese:

Recipe for cooking eggplant boats baked in the oven with satsebeli sauce and cheese

Step-by-step instructions:

1. Wash the eggplants, cut in half. Make cross-shaped cuts on the vegetables with a knife, as in the photo.

2. In a separate bowl, mix olive oil, pressed garlic, salt and spices to taste. Mix the ingredients until smooth.

3. Using a culinary brush, grease the eggplant halves with the resulting aromatic mixture. Place the eggplant boats in a heat-resistant baking dish or on a baking sheet covered with parchment.

4. Send the vegetables to the oven preheated to 200 degrees for 15 minutes. After the specified time, the eggplants will be baked and soft.

5. Using a fork, mash the eggplant pulp until smooth.

6. Grease the vegetables with satsebeli sauce.

7. Sprinkle the eggplant boats with grated cheese. You can use several types of cheese, it will only taste better.

8. Return the eggplant boats to the oven for another 5 minutes, so that the cheese on top melts and browns.

9. Sprinkle the finished dish with fresh herbs. Cilantro, dill or parsley are ideal.

10. Serve the juicy and aromatic eggplant boats hot. Bon appetit!

You may also like:

Eggplants baked with tomatoes, boiled sausage and hard cheese in the oven

Puff pastry pie with eggplant and cheese

Eggplant appetizer with sweet pepper and garlic


Zucchini pate with processed cheese

Today I will tell you a simple but very tasty recipe for zucchini pate. You only need to cut the vegetables, fry until soft and beat all the ingredients with a blender. A minimum of time, and your breakfasts will no longer be boring.

Tender, creamy pate with aromatic spices and herbs turns out very tasty, satisfying and healthy. The piquant taste and creamy structure of the pate will not leave anyone indifferent. The snack can be spread on pita bread or slices of crispy dried bread. The pate can be served with corn chips or put into waffle tartlets.

Ready zucchini pate with processed cheese should be stored in the refrigerator in a glass container with an airtight lid.

Ingredients for zucchini pate with processed cheese:

Recipe for zucchini pate with processed cheese

Step-by-step instructions:

1. Peel the onion, cut into small cubes. Wash the carrots, peel, chop on a coarse grater. Place the vegetables in a frying pan with heated vegetable oil. Stirring, sauté the onion and carrot over medium heat for 5 minutes.

2. Wash the zucchini, trim the ends, cut the vegetables into 1 cm cubes. If you are using ripe zucchini, first peel the vegetables and remove the core with large seeds. Add the zucchini to the pan with the vegetables. Stir, continue to fry the ingredients together over medium heat until soft.

3. Add a clove of garlic passed through a press. Salt the vegetables to taste, season with smoked paprika and black pepper. Stir the ingredients, remove the pan from the heat.

4. Transfer the fried vegetables, cooled to room temperature, to a blender bowl. Add coarsely chopped processed cheese and sprigs of fresh herbs. I used dill and parsley.

5. Blend the ingredients with a blender until smooth.

6. Transfer the finished zucchini pate with processed cheese to a glass container. Seal the jar tightly with a lid and refrigerate for at least 1 hour. After the specified time, the pate will cool and thicken.

7. Serve the tender and aromatic zucchini pate with slices of fresh crispy bread. Now you know how to make a delicious appetizer of vegetables and processed cheese!

Bon appetit!

You may also like:

Mackerel pate

Bean pate with smoked lard


Bean pate with smoked lard

Bean pate is a tasty and healthy snack with a high content of protein and fiber. It turns out to be filling, tender and aromatic. The pate can be spread on slices of fresh bread, pancakes or sheets of lavash. For a buffet, you can fill waffle or shortbread tartlets with bean pate.

You can make a lean version of bean pate by excluding lard and chicken egg. Instead, you can add fried mushrooms with onions to the pate. You will get a very tasty and satisfying vegetarian dish.

I recommend making pate from white beans, because they have a less pronounced taste and a softer structure compared to red beans.

Ingredients for making bean pate with smoked lard:

Recipe for bean pate with smoked lard

Step by step instructions:

1. Boil the beans until tender. To make them cook faster, pre-soak the beans in cold water. There is another way to quickly cook beans. To do this, fill them with cold water and bring to a boil.

2. Then drain the boiling water, pour cold water over the beans again and add a tablespoon of vegetable oil. Continue cooking the beans under the lid until soft for 40-50 minutes.

3. Strain the finished beans from the water, discard in a colander and cool to room temperature.

4. Boil the chicken egg hard, cool, peel. Wash the carrots, boil in the peel until done, cool to room temperature. Peel the garlic cloves.

5. Peel the carrots, cut into large pieces. Peel the smoked lard, chop coarsely.

6. Pass the boiled beans through a meat grinder with a fine grate.

7. Grind all the other ingredients in the same way, add them to the beans.

8. Salt the mixture to taste, season it with black pepper and smoked paprika.

9. Mix the pate until smooth.

10. Transfer the finished snack to a glass container, seal it tightly with a lid and store in the refrigerator.

Spread the bean pate on pieces of fresh baguette, garnish with fresh herbs and serve as an appetizer.

Bon appetit!

Try cooking:

Mackerel pate

Sprat pate with hard cheese and sautéed vegetables


Crispy lightly salted cucumbers in 1 hour with soy sauce and lemon juice

Lightly salted cucumbers are great because they cook very quickly, literally in 15 minutes. Then you just have to wait 1.5 hours for the vegetables to marinate and soak up the aroma of fresh herbs.

I usually cook these lightly salted cucumbers as an appetizer for shashlik while the wood burns out in the grill. By the time the meat is baked on the coals, the lightly salted cucumbers will already be marinated and ready to eat. The vegetables are very tasty, juicy, crispy and incredibly aromatic. The dressing of soy sauce and lemon juice with vegetable oil gives the cucumbers a piquant sweet and sour note.

For the recipe, it is best to use young small vegetables with unripe seeds and thin skin. If you like spicy snacks, add a few thin rings of chili pepper to the cucumbers.

Ingredients for making crispy lightly salted cucumbers in 1 hour with soy sauce and lemon juice:

Recipe for making crispy lightly salted cucumbers in 1 hour with soy sauce and lemon juice

Step-by-step instructions:

1. Wash the cucumbers, cut off the ends. Cut the vegetables into 4-5 cm long strips.

2. Transfer the vegetables to a deep bowl. Add French grain mustard, salt, sugar and ground pepper mixture to the cucumbers.

3. Pour lemon juice, soy sauce and refined vegetable oil over the vegetables.

4. Add garlic cloves pressed through a press and finely chopped dill and parsley for flavor. If desired, you can replace the parsley with cilantro.

5. Mix the appetizer thoroughly so that all the ingredients are combined.

6. Cover the bowl with a lid or cling film and put it in the refrigerator for 1.5 hours. During the specified time, you can stir the appetizer several times so that the vegetables are evenly soaked in the dressing.

7. Serve crispy lightly salted cucumbers as a cold appetizer with shashlik, baked chicken or grilled fish. It’s very tasty, be sure to try this recipe! Bon appetit!

Try to cook:

Lightly salted cucumbers in a jar using the hot method

Pickled cucumbers for the winter with lemon without vinegar


Vegetable sauté with honey in a multicooker

Vegetable sauté is a very popular dish in the summer-autumn period. Each housewife prepares sauté in her own way, adding various vegetables and spices to it. I also have several favorite sauté options, one of which I want to share with you.

Vegetable sauté according to this recipe turns out very tasty and aromatic, moderately sweet due to the addition of honey to the recipe. Following the principles of sauté preparation, vegetables must be fried separately in a frying pan or in a multicooker bowl, and then combined and stewed together until done. Thanks to this, the sauté turns out especially juicy and tender.

If desired, such sauté can be prepared for the winter. In this case, at the end of cooking, add 80 ml of 9% table vinegar to the vegetables, place the sauté in sterilized glass jars and roll up using a machine.

Ingredients for cooking vegetable sauté with honey in a multicooker:

Recipe for cooking vegetable sauté with honey in a multicooker

Step-by-step instructions:

1. Peel the onion, cut into medium-sized cubes. Peel the garlic cloves, cut into thin slices. In a deep frying pan, combine 50 ml of vegetable oil and honey. When the mixture begins to caramelize, put the chopped vegetables in the pan.

2. Stir occasionally, sauté the onion with garlic over medium heat until golden brown. Using a slotted spoon, transfer the fried vegetables to the multicooker bowl or deep saucepan.

3. Wash the bell pepper, cut in half, remove the seed box. Cut the vegetables into medium-sized cubes. To make the sauté look appetizing, I used vegetables of different colors. Fry the bell pepper in the remaining vegetable oil until lightly golden. Transfer the vegetables to the onion and garlic.

4. Wash the zucchini, cut into medium cubes, fry in a frying pan until soft. Add the vegetables to the multicooker bowl.

5. Wash the eggplants, cut off the ends. Cut the vegetables into cubes, like the other ingredients. Place the eggplants in a frying pan with the remaining vegetable oil. Stir-fry the vegetables over medium heat until golden brown and add to the rest of the vegetables.

6. Gently mix the fried vegetables.

7. Wash the tomatoes, cut them in half, remove the stalk. Grind the tomatoes into a homogeneous puree using a blender or a meat grinder with a fine grate. Add thick tomato puree to the sauté.

8. Add a pod of hot pepper for spiciness. Add salt, finely chopped herbs and spices for flavor. Mix the ingredients thoroughly. Cook the vegetable sauté on the “Stewing” program for 40 minutes.

The aromatic and very tasty vegetable sauté can be served hot or pre-cooled in the refrigerator.

Bon appetit!

Please note:

Eggplant caviar with apples

Zucchini caviar for the winter without sterilization


Quick pickled tomatoes without skin

I present to you a recipe for delicious lightly salted tomatoes without skin. It will take you 30 minutes to prepare this snack, and after 48 hours it can be served.

The peeled vegetables are soaked in a marinade with spices and turn out very tasty, aromatic and appetizing in the shortest possible time. For the recipe, choose small and hard fruits without dents and damage. I used tomatoes of the «Plum» variety. Soft, overripe vegetables are best left for making tomato juice. The amount of onions, garlic and spices can be adjusted to your taste.

The combination of juicy tomatoes, aromatic garlic, bell peppers, spicy spices and herbs will turn a familiar snack into a memorable dish with a rich taste and delicate texture. Be sure to try to repeat this recipe and write your impressions in the comments. I am very interested to know your opinion!

Ingredients for quick pickled tomatoes without skin:

Recipe for quick pickled tomatoes without skin

Step-by-step instructions:

1. Prepare the marinade for the snack. Mix sugar, salt, spices and bay leaves in a ladle.

2. Pour in purified water. Add 9% table vinegar. Stirring until the dry ingredients are completely dissolved, bring the marinade to a boil. Turn off the heat and cool the marinade to room temperature.

3. Prepare the vegetables. Wash the tomatoes and make a cross-shaped cut on top of each tomato.

4. Transfer the vegetables to a deep bowl. Pour boiling water over the tomatoes and leave for 2 minutes.

5. Drain the hot water from the vegetables. Peel the tomatoes.

6. Peel the onion and cut into half rings 2-3 mm thick. Wash the sweet pepper, cut in half, remove the seed box, and cut into half rings. Cut the peeled garlic cloves into thin slices. Wash the hot pepper, cut out the seed box, and cut the vegetables into thin rings.

7. Place a small amount of onions, garlic, sweet and hot peppers on the bottom of a saucepan or deep bowl. Add a few sprigs of dill and parsley for flavor.

8. Place peeled tomatoes on top in one layer. Alternating layers, place all ingredients in the saucepan.

9. Pour the marinade cooled to room temperature over the vegetables and herbs.

10. Put the appetizer under pressure. I covered the vegetables with a plate and placed a half-liter jar of water on top. Cover the saucepan with a lid or cling film and put it in the refrigerator for 48 hours.

11. After the specified time, the quick pickled tomatoes without skin will be ready to eat.

Serve them as an appetizer with meat dishes or a side dish of potatoes.

Enjoy your meal!

Please pay attention to this:

Pickled tomatoes with dry mustard in 4 days

Raw adjika from tomatoes with horseradish and garlic


Eggplant caviar with apples

Juicy, aromatic and incredibly tasty eggplant caviar is prepared from the simplest ingredients. Every summer it becomes a hit of everyday and holiday menus. There are many options for preparing eggplant caviar.

Today I suggest preparing eggplant caviar with apples, onions, sweet peppers and tomatoes. It turns out very tasty, juicy and aromatic. Apples give the dish a light pleasant sourness, making the appetizer especially delicious. For the recipe, it is convenient to use a deep frying pan or a saucepan with a thick bottom. You can also prepare eggplant caviar in a multicooker.

This aromatic and vitamin-rich Lenten dish can be served both warm and chilled. With a slice of fresh crispy bread or as a side dish to the main dishes – it is very tasty!

Ingredients for making eggplant caviar with apples:

Recipe for making eggplant caviar with apples

Step-by-step instructions:

1. Peel the onion, cut into small cubes. Place the vegetables in a saucepan or a thick-bottomed pan with heated vegetable oil. Stirring, saute the onions over medium heat until golden brown.

2. Wash the tomatoes, cut in half, remove the stalk, and cut into small cubes. Add the chopped vegetables to the sautéed onion. Mix the ingredients, simmer the vegetables under the lid over low heat for 5 minutes.

3. Wash the eggplants, cut off the ends. Without peeling the vegetables, cut them into small cubes. Add the eggplants to the pan with the onions and tomatoes.

4. Wash the bell peppers, cut in half, remove the seed box. Cut the vegetables into small cubes, add to the pan after the eggplants.

5. Wash the sweet and sour apple, cut it in half, remove the core and seeds. Grind the fruit on a coarse grater, add to the rest of the ingredients.

6. Mix the ingredients. For flavor, add bay leaves and black allspice peas to the eggplant caviar. Put a hot pepper pod in the pan, it will give the dish a pleasant hot note. Stirring occasionally, simmer the eggplant caviar over low heat under a loosely closed lid so that excess liquid evaporates during cooking.

7. After 40 minutes, add salt, sugar and ground spices to taste to the eggplant caviar. Mix the ingredients, continue cooking the caviar for another 5 minutes, then remove the hot pepper from it and turn off the stove.

8. The finished eggplant caviar with apples can be served immediately after cooking hot or pre-cooled in the refrigerator.

9. If you want to seal the appetizer for the winter, place boiling caviar in sterilized jars, cover with lids, roll up, wrap and cool. Store the finished preserves in a cool, dark place.

Bon appetit!

Try cooking:

Zucchini caviar for the winter without sterilization

Raw adjika from tomatoes with horseradish and garlic