Puff pastry strudel with stewed cabbage and sausages

Let’s make strudel with cabbage and sausages. To save time, we will use ready-made puff pastry. It turns out to be a very tasty, simple and quick dinner for the whole family.

For the recipe we will need inexpensive products that can be purchased at the nearest store. Therefore, preparing strudel will not require much expense or a lot of time. The baked goods are very tasty, with a crispy, appetizing crust and juicy filling. If desired, smoked sausages can be replaced with ham, bacon or boiled chicken fillet.

The strudel turns out aromatic, soft, with a lot of filling. Delicious both hot and cold. I assure you, the whole family will love this cabbage baked goods.

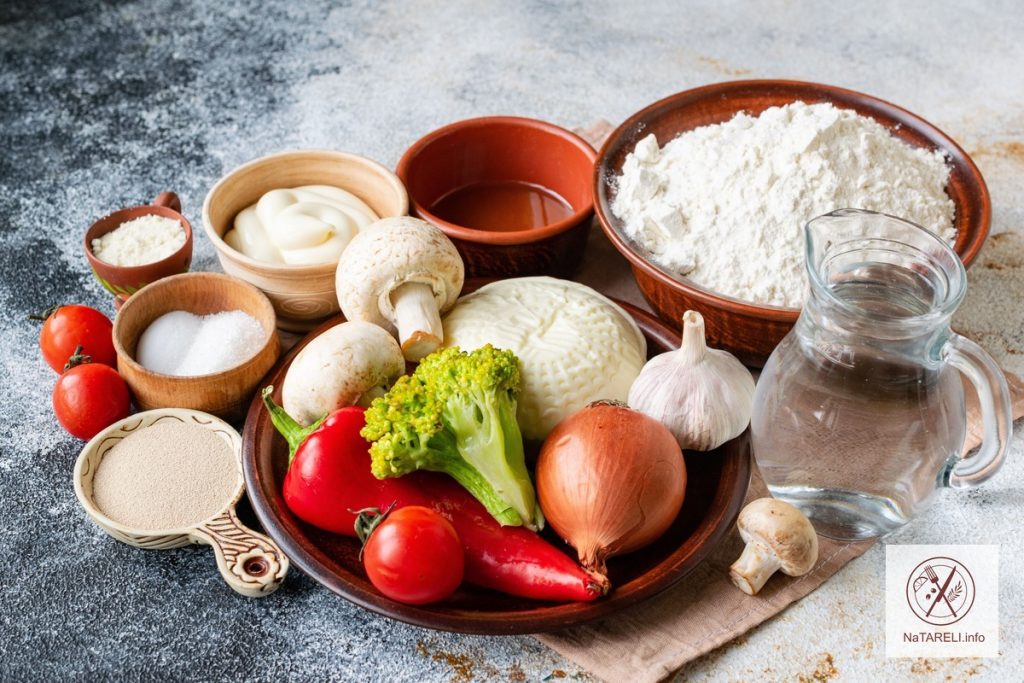
Ingredients for making strudel with stewed cabbage and sausages:

Recipe for strudel with stewed cabbage and sausages

Step-by-step instruction:

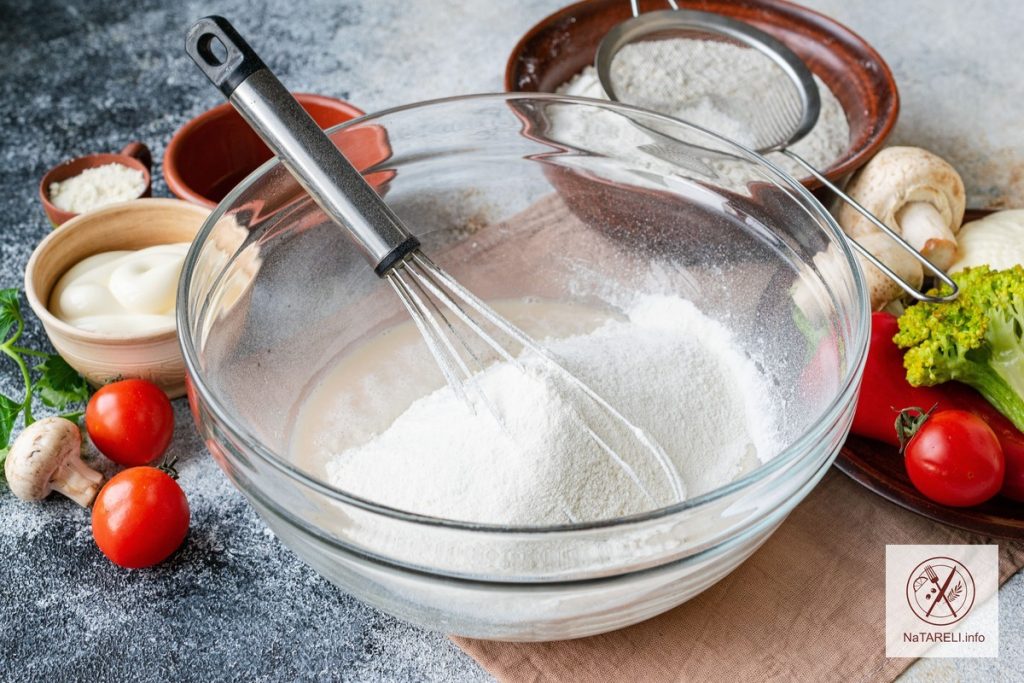
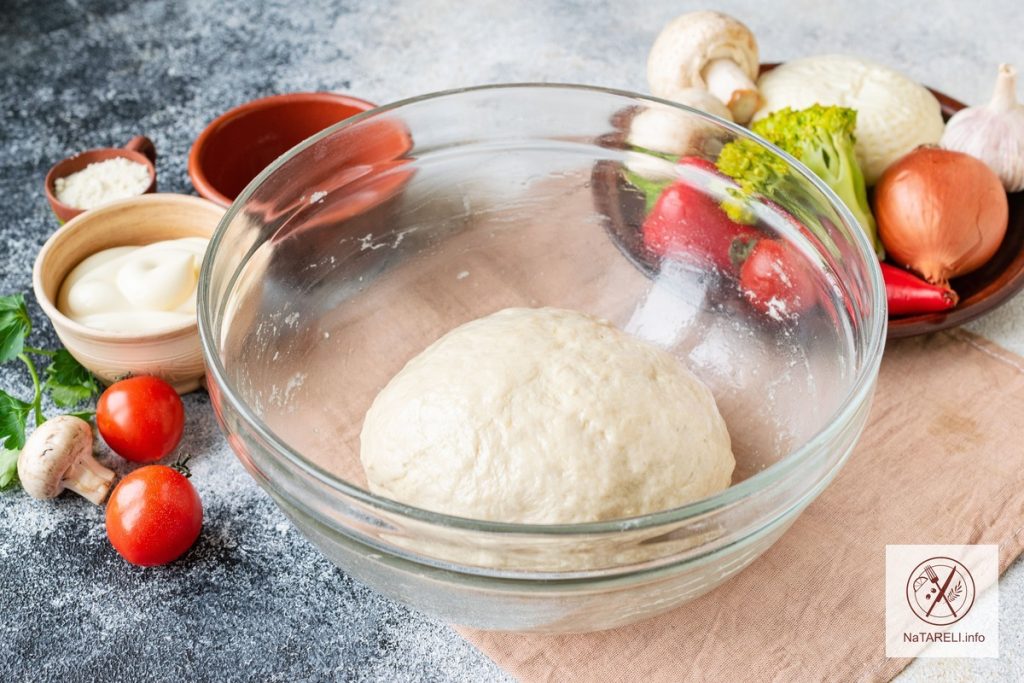
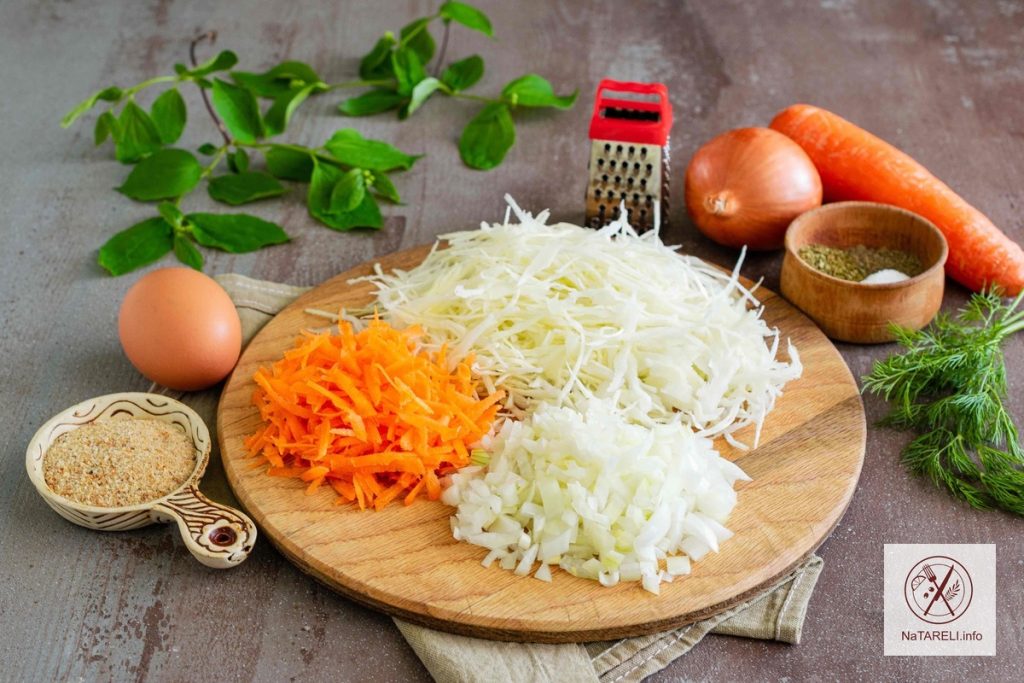
1. Remove the puff pastry without yeast from the refrigerator in advance and defrost it at room temperature until it becomes elastic. Meanwhile, prepare the filling. Peel the onions and cut them into small cubes. Wash the carrots, peel them, and grate them on a coarse grater. Shred the white cabbage into thin strips.

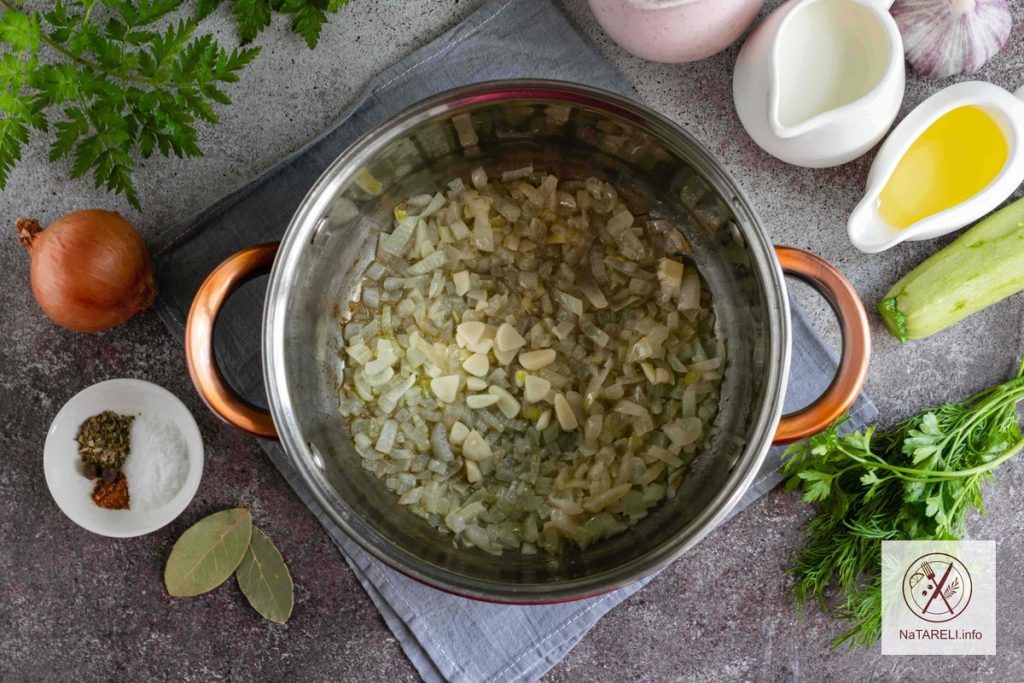
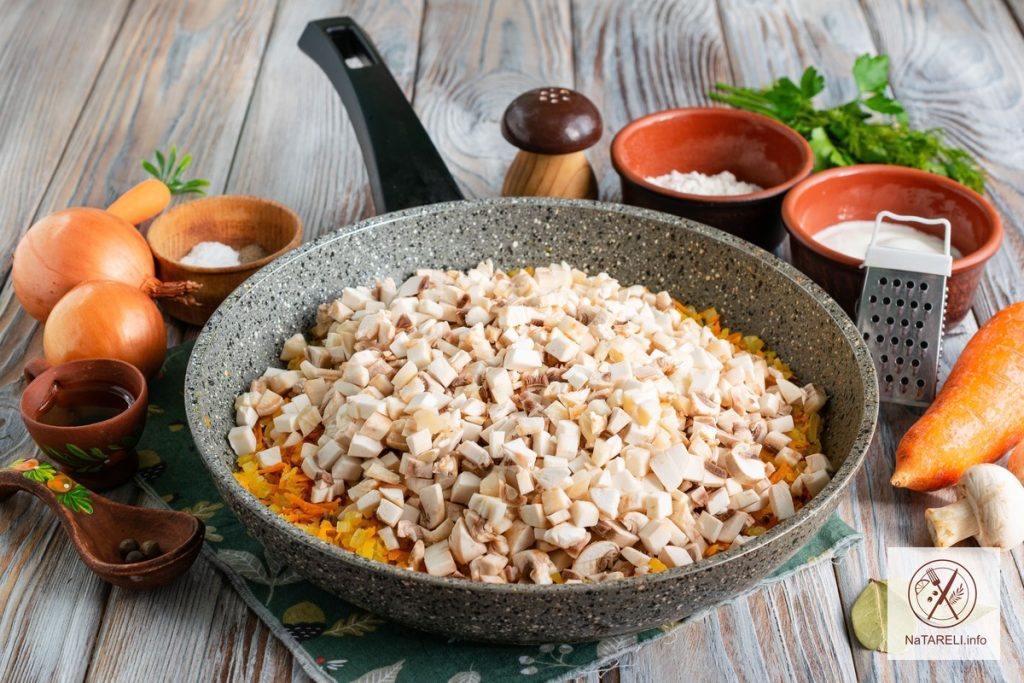
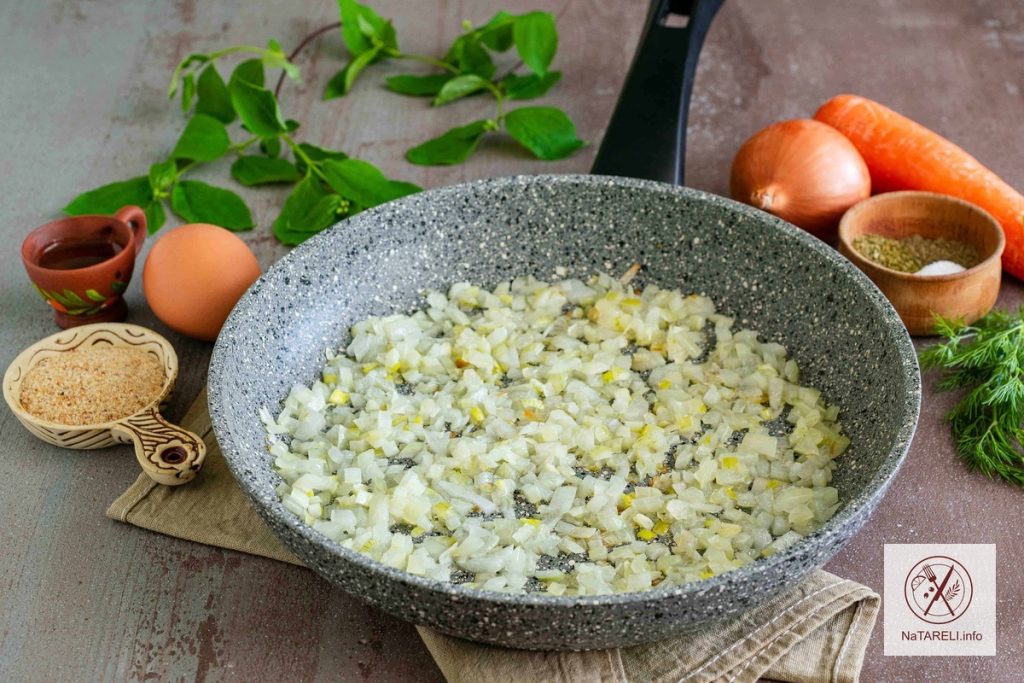
2. Place chopped onions in a frying pan with heated vegetable oil. Stirring, saute the vegetables over medium heat until golden brown.

3. Add grated carrots and white cabbage to the onions. Stir the vegetables and continue sautéing them together over medium heat until soft.

4. Peel the sausages from the casing and cut into strips.

5. Add smoked sausages and finely chopped dill to the vegetables. Add salt and spices to taste. Stirring, continue to fry the ingredients together over low heat for another 5 minutes. Turn off the stove and cool the filling to room temperature.

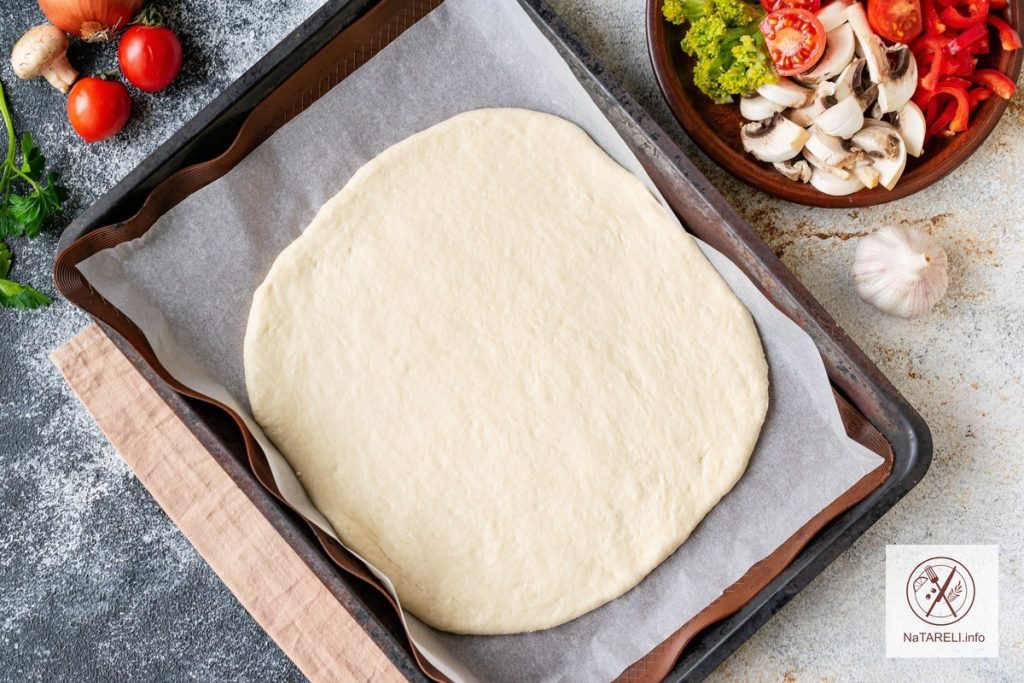
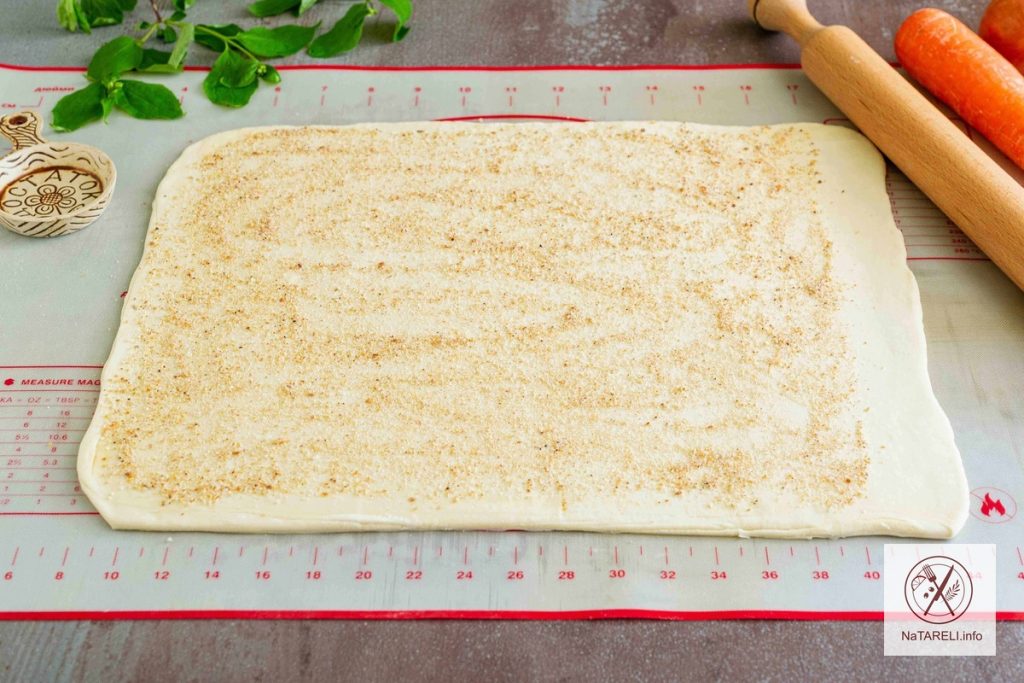
6. On a silicone mat or work surface sprinkled with wheat flour, roll out the puff pastry into a rectangular layer 3 mm thick. Sprinkle the dough with breadcrumbs, leaving one edge of the dough 2 cm free.

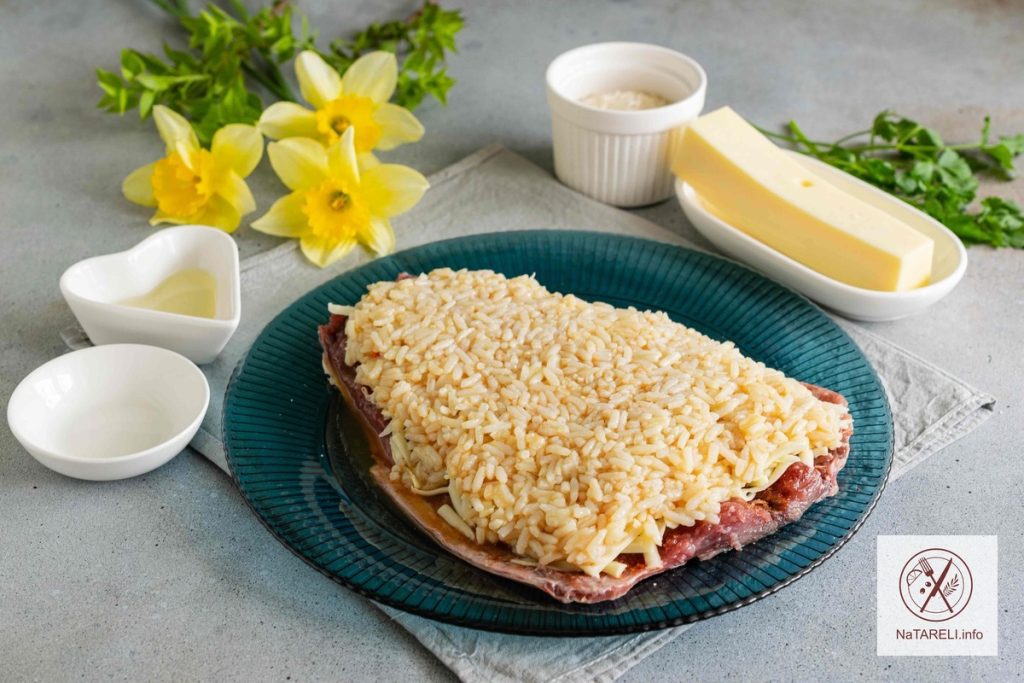
7. Spread the filling of stewed vegetables and sausages evenly on top.

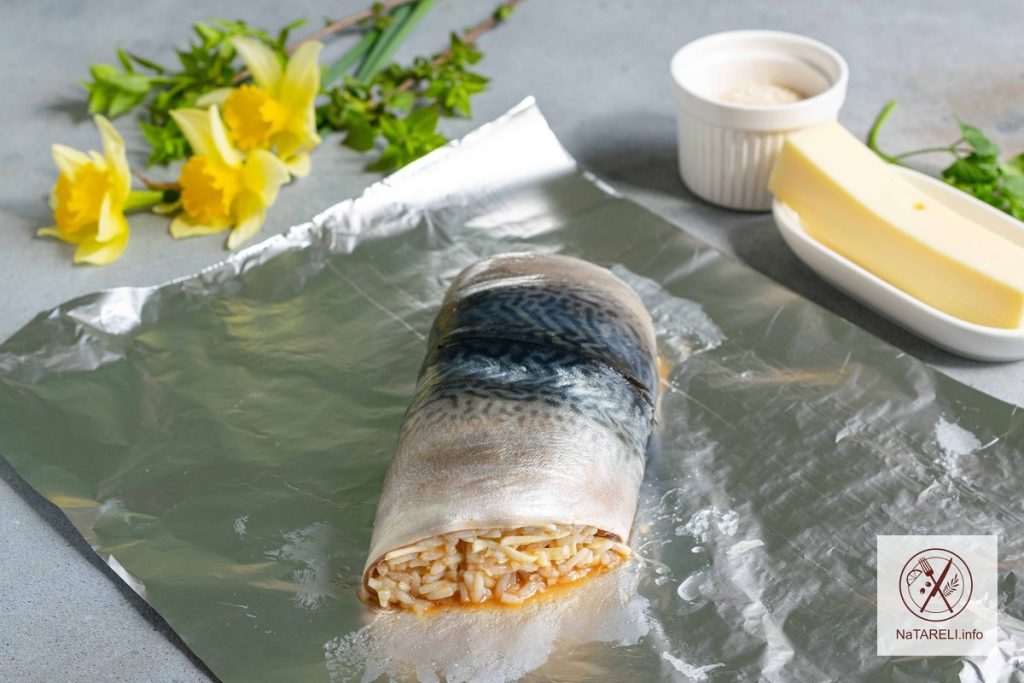
8. Roll the dough and filling into a tight roll, brushing each turn with melted butter.

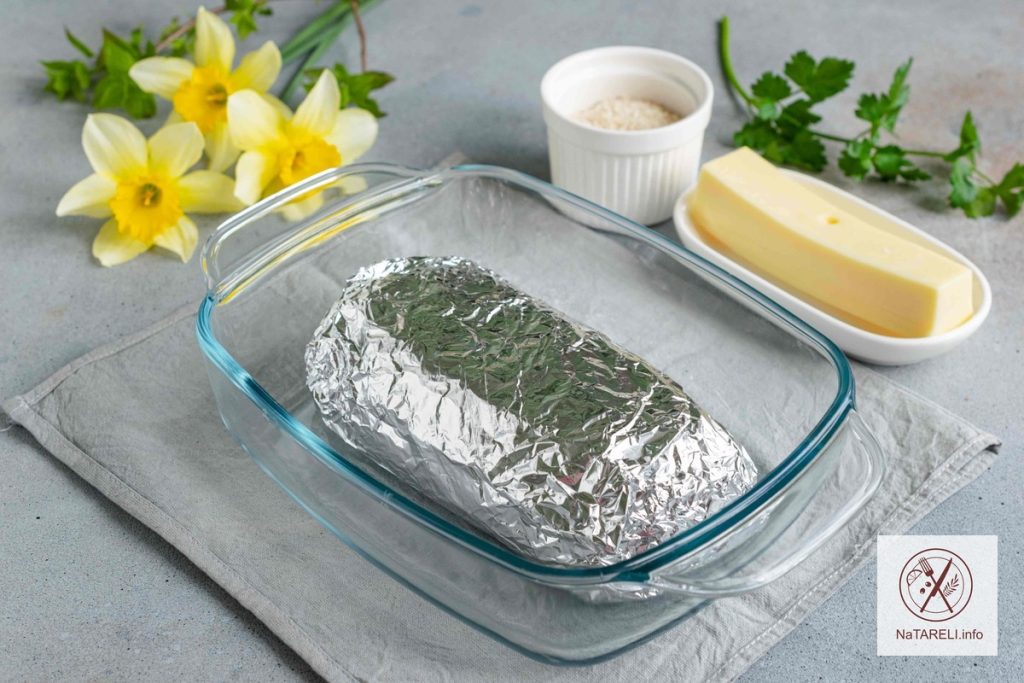
9. Carefully pinch the seam of the roll so that it retains its shape during baking. Transfer the strudel to a baking sheet lined with parchment. Brush the product with beaten chicken egg.

10. Place the strudel with cabbage and sausages in an oven preheated to 180 degrees for 40-45 minutes. Grease the finished hot product with the remaining melted butter.

11. Cool the baked goods to room temperature, cut into portions and serve.

Bon appetit!

Pay attention: Puff pastry pie with sausage, tomatoes and onions


Vermicelli with chicken and vegetables in a frying pan

If you have thin noodles, chicken and some vegetables, you can prepare a quick and tasty lunch. We will cook all the ingredients in one pan, which is very convenient.

At the same time, you get juicy and flavorful chicken and an appetizing side dish for it. During the cooking process, the vermicelli is soaked in juice from chicken and vegetables and turns out very tasty. For the recipe, use any part of the chicken, I used chicken drumsticks. Chicken wings and thighs are also suitable. If you like boneless meat, you will need chicken breast or a juicier thigh fillet.

In addition to onions and carrots, you can add bell peppers, garlic or frozen green peas to the chicken.

Ingredients for cooking vermicelli with chicken and vegetables in a frying pan:

Recipe for cooking vermicelli with chicken and vegetables in a frying pan

Step-by-step instruction:

1. Stirring constantly, fry thin vermicelli in a dry frying pan until golden brown.

2. Wash the chicken drumsticks and dry them from excess moisture with paper napkins. Rub the chicken pieces with a mixture of salt and ground spices. Leave the chicken drumsticks at room temperature for 20-30 minutes to marinate. Place the meat in a frying pan with heated vegetable oil. Fry the chicken drumsticks over medium heat until golden brown on all sides.

3. Peel the onions and cut them into medium-sized cubes. Add chopped vegetables to chicken drumsticks.

4. Wash the carrots, peel them, and chop them on a coarse grater. Add grated carrots to the pan with chicken and onions. Stirring, continue to fry the ingredients together until the vegetables are soft.

5. To give the dish a piquant creamy note, add rich sour cream and tomato sauce to the pan.

6. Pour in hot water. The liquid should almost completely cover the chicken pieces.

7. Pour the fried thin vermicelli into the frying pan. Mix the ingredients, cover and cook over low heat for 15 minutes.

8. After the specified time, the chicken drumsticks and vermicelli will be completely cooked and the liquid will evaporate. Decorate the finished dish with finely chopped dill and parsley.

9. Serve thin vermicelli with chicken and vegetables immediately after cooking, until the dish has cooled.

Bon appetit!

Try cooking:

Chicken stew with eggplant and pepper


Snack triangles of lavash with minced meat and hard cheese

Lavash is a versatile product made from unleavened dough, from which you can prepare many delicious and simple dishes, from rolls to lasagna or Napoleon cake. Today I propose to prepare snack triangles of pita bread stuffed with minced chicken and hard cheese, fried in batter in a frying pan. The finished dish turns out very juicy, satisfying and aromatic. Snack triangles taste like pasties; they are convenient to take with you on the road or on a picnic.

The recipe is simple and quick; preparation does not require much time or special culinary skills. If desired, the filling can be varied using boiled meat, sausages, sautéed vegetables, fried or pickled mushrooms, different types of cheese and herbs.

An appetizing snack of crispy lavash with a juicy filling instantly disappears from the table. If you like experiments, delicious and easy to prepare dishes, be sure to save this recipe!

Ingredients for preparing snack triangles of pita bread with minced meat and hard cheese:

Recipe for making snack triangles of pita bread with minced meat and hard cheese

Step-by-step instruction:

1. Wash the chicken fillet and dry it from excess moisture with paper napkins. Trim the meat from fat and films, cut into medium-sized pieces, and transfer to a blender bowl. Peel the onion and garlic clove, wash it, cut it into several pieces and add to the chicken fillet. Add parsley, salt and ground spices to taste to the blender bowl.

2. Grind the ingredients into homogeneous thick minced meat, transfer it to a deep bowl. Grind the hard cheese on a coarse grater and add to the minced chicken. Mix the filling until smooth.

3. Prepare batter for snack triangles made from pita bread. In a deep bowl, combine 2 chicken eggs and sour cream. Mix the ingredients with a whisk until smooth.

4. Add sifted wheat flour and 0.5 teaspoon of salt to the batter. Mix the ingredients until smooth.

5. Cut the round pita bread in half. Evenly distribute the minced chicken filling with hard cheese around the entire perimeter of the lavash.

6. Fold the lavash with filling twice, forming a triangle. This is how we form all products.

7. Dip the lavash triangles into the batter so that the products are completely covered with it.

8. Place the appetizer in a frying pan with heated vegetable oil.

9. Fry the lavash triangles in batter over medium heat until golden brown on both sides.

10. Place the finished appetizer on a plate lined with paper napkins to remove excess oil. Serve juicy and delicious lavash triangles hot. An excellent addition would be fresh vegetables, sour cream sauce with herbs or spicy ketchup.

Bon appetit!

Check out these other delicious recipes:

Lavash roll with chicken and cottage cheese in the oven

Kefir pancakes with salmon and cream cheese


Baked mackerel roll with rice and hard cheese

Let’s prepare an original mackerel dish. This fatty and oily fish with few bones is perfect for making a delicious meatloaf. Mackerel fillet stuffed with boiled rice, eggs and hard cheese is rolled into a roll and baked in foil. The result is a very juicy and tender roll. It is perfect for the holiday table and for the everyday menu.

Fish roll can be served as a cold appetizer or supplemented with a side dish of baked or boiled potatoes, crumbly rice or bulgur. The finished dish holds its shape well, is easily cut into portions and has a very appetizing cut. It turns out very elegant, festive and tasty.

Using this principle, you can prepare a mackerel roll with different fillings, using sautéed vegetables, fried mushrooms, pickled cucumbers, boiled eggs and various spices.

Ingredients for making baked mackerel roll with rice and hard cheese:

Recipe for baked mackerel roll with rice and hard cheese

Step-by-step instruction:

1. Wash the rice thoroughly, place it in a small saucepan and add 200 ml of cold water. After the water boils, add a pinch of salt and boil the cereal until tender for 15 minutes. Place the rice in a colander and cool to room temperature. Transfer the rice into a deep bowl, pour in soy sauce, add 1 chicken egg.

2. Mix the ingredients until smooth.

3. Defrost freshly frozen mackerel at room temperature, wash it, and dry it to remove excess moisture. Cut off the head, tail and fins. We remove the mackerel’s entrails, backbone and large bones. On a work surface, open the fish carcass, skin side down, like a book.

4. Salt the mackerel to taste, season with ground spices.

5. Grate the hard cheese on a grater with a large blade. Distribute the grated cheese evenly over the fish.

6. Place the filling of boiled rice with egg and soy sauce on top.

7. Roll the fish with the filling into a tight roll, moving from the tail to the head. Transfer the roll to a sheet of foil greased with vegetable oil.

8. Wrap the fish roll tightly in foil and transfer the workpiece to a baking dish. Place the fish roll in an oven preheated to 180 degrees for 25 minutes. Then turn off the heat and leave the roll in the oven for another 10 minutes. Cool the finished dish in foil to room temperature, then put it in the refrigerator overnight.

9. The next day, serve the baked mackerel roll with rice and hard cheese, cutting it into portions. An excellent addition would be fresh vegetables, mashed potatoes or rice.

Bon appetit!

Try to cook:

Yeast pie with mackerel “Fish”


Creamy zucchini soup with chicken broth

Do you want something light and refreshing, but at the same time tasty and satisfying? Prepare zucchini soup with chicken broth for lunch. This dish will pleasantly surprise you with its delicate creamy taste and appetizing appearance. Serve it with garlic croutons or slices of fresh baguette.

Delicate zucchini puree soup with cream has an amazing aroma, pleasant taste and creamy consistency. The recipe is very simple, quick and inexpensive. It will perfectly help diversify the daily menu. In my opinion, this is an excellent first course for baby or diet food.

Young zucchini does not need to be peeled before cooking. For more mature vegetables, it is better to first remove the peel and large seeds.

Ingredients for making creamy zucchini soup with chicken broth:

Recipe for creamy zucchini soup with chicken broth

Step-by-step instruction:

1. Peel the onions and cut them into medium-sized cubes. Peel a large clove of garlic and cut into thin slices. Pour olive oil into a thick-bottomed pan. When it warms up, put the chopped vegetables into the pan. Stirring, saute the onions and garlic over medium heat until light golden brown.

2. Wash the zucchini, cut off the tails, cut the vegetables into medium-sized cubes. Add chopped zucchini to sautéed vegetables. Stir and continue frying the ingredients together for another 2-3 minutes.

3. Wash the potatoes, peel them, and cut them into medium-sized cubes. Add the potatoes to the pan with the remaining ingredients.

4. Pour hot chicken broth over the vegetables. Cover the pan with a lid and bring the soup to a boil. Remove the resulting foam with a slotted spoon, reduce the heat and simmer the soup over low heat until the zucchini and potatoes are cooked.

5. Using an immersion blender, puree the zucchini soup with chicken broth until smooth.

6. Return the pan with soup to the fire. Pour heavy cream into the puree soup, add salt and spices to taste. Bring the soup to a boil again and remove from heat.

7. Pour the prepared squash puree soup into portioned plates. Decorate each serving with crispy croutons, fresh herbs and ground paprika.

Bon appetit!

Check out these other delicious soup recipes:

Creamy soup with radish tops

Oatmeal soup with chicken broth


Salad with radish, apple and hard cheese

In early spring, bright bunches of juicy radishes appear on the shelves of markets and shops. This healthy and budget-friendly vegetable is a real storehouse of vitamins and microelements. It contains a lot of vitamin C, B vitamins, vitamin PP, as well as potassium, magnesium, iron, phosphorus and other useful substances.

In my opinion, the most common radish dishes are salads. I suggest preparing a light, tasty and healthy radish salad with apple and hard cheese. The spicy Dijon mustard dressing gives the dish a special piquant note. This appetizing salad is perfect for a diet. It will be a wonderful addition to a juicy steak or baked chicken.

A fragrant, crispy and tasty salad will not only fill you up, but also enrich it with vitamins. To preserve maximum beneficial microelements, I recommend preparing the salad immediately before consumption.

Ingredients for preparing salad with radishes, apples and hard cheese:

Recipe for salad with radish, apple and hard cheese

Step-by-step instruction:

1. Wash the radishes, cut off the tails, cut the vegetables into strips. Wash the sweet and sour apple, cut it in half, remove the core and seeds. Cut the fruit into strips and sprinkle with lemon juice to prevent the apples from darkening. Cut the hard cheese into cubes the same size as the rest of the ingredients.

2. Transfer the radish, apple and hard cheese into a deep salad bowl.

3. Wash the lettuce leaves, dry them from excess moisture with paper napkins, cut into strips and add to the salad.

4. Dress the salad with a small amount of sour cream and Dijon mustard. If desired, sour cream can be replaced with Greek yogurt. Add salt and ground black pepper to taste.

5. Gently stir the salad so that all ingredients are combined with the dressing.

6. Decorate a juicy and crispy salad of radishes, apples and hard cheese with fresh parsley and serve. Additionally, you can add pine nuts or walnuts, dried in a dry frying pan, to the salad.

Bon appetit!

You may like:

Radish salad with carrots and apple


Pizza on yeast dough with vegetables and mushrooms

Incredibly tasty and aromatic pizza can be prepared at home. The yeast dough according to this recipe turns out even tastier than in the pizzeria, it is very soft and airy. From the specified amount of ingredients you can prepare one large pizza for a whole baking sheet or 2 pizzas with a diameter of 30 cm. You can use any filling to your taste. I decided to make a vegetable pizza with mushrooms and mozzarella. It turned out very tasty, juicy and satisfying. I admit, I liked this filling option even more than pizza with chicken, meat or seafood.

Another feature of this recipe is its simplicity and ease of preparation. I am sure you will be satisfied with the result. By changing the ingredients for the filling, each time you will get a new delicious dish.

To make the pizza fluffy and soft, it is important not to add too many toppings. Let it be no more than 4 layers of 1 cm. If you use fresh herbs, add them before serving so that they remain juicy and aromatic.

Ingredients for making pizza on yeast dough with vegetables and mushrooms:

Recipe for pizza on yeast dough with vegetables and mushrooms

Step-by-step instruction:

1. Prepare yeast dough for pizza. In a deep bowl, mix warm water (temperature no more than 38 degrees), dry yeast and sugar. Mix the ingredients with a whisk until smooth. Leave the dough in a warm place for 15 minutes for the yeast to activate.

2. Add half of the sifted wheat flour to the dough, mix the ingredients until smooth.

3. Add the remaining wheat flour to the dough, add salt.

4. Mix the ingredients, add olive oil to the dough.

5. Knead a homogeneous soft dough. It should be elastic and not stick to your hands. Place the dough in a deep bowl greased with olive oil. Cover the bowl with the dough with cling film or a dry towel and leave to proof in a warm place for 1 hour.

6. Meanwhile, prepare the pizza sauce. In a deep bowl, mix mayonnaise, soy sauce, a clove of garlic passed through a press and ground black pepper to taste. Stir the sauce until smooth.

7. Prepare the ingredients for the filling. Cut onions and bell peppers into half rings. Wash the cherry tomatoes and cut them in half. Thaw frozen broccoli florets at room temperature and cut into large pieces. If you are using fresh cabbage, first blanch it in boiling water for 3 minutes. Wash fresh champignons, cut them in half, cut into slices 5 mm thick.

8. After 1 hour, the dough will rise and increase in volume by 2-3 times.

9. Punch down the dough and divide it into 2 equal parts. Roll out one piece of dough on a semolina-sprinkled work surface into a circle 30 cm in diameter. Place the pizza base on a baking sheet lined with parchment paper.

10. Grease the dough with half the sauce.

11. Distribute the filling of vegetables and mushrooms on top.

12. Sprinkle the pizza with grated mozzarella.

13. Place the pizza with vegetables and mushrooms in an oven preheated to 220 degrees for 7-10 minutes. When the sides of the pizza are browned, carefully remove it from the oven.

Decorate the aromatic pizza with fresh parsley, cut into portions and serve.

Bon appetit!

Try to cook:

Yeast pie with mackerel “Fish”

Puff pastry pie with canned tuna and eggs


Mushroom champignon sauce

Mushroom champignon sauce is universal because it can be served with any main course. It goes well with potatoes, pasta, and crumbly porridges. By changing the side dish and adding mushroom sauce, you get a new and tasty dish every time.

Champignon sauce with vegetables and sour cream is prepared very simply and quickly. Spices can be varied to suit your taste. Champignons can be replaced with wild mushrooms; chanterelles and porcini mushrooms are perfect.

The sauce is thick, rich, with a bright mushroom taste and aroma. Instead of water, you can use mushroom broth, preferably wild mushrooms. This sauce will be very flavorful!

Ingredients for making mushroom champignon sauce:

Recipe for making mushroom sauce from champignons

Step-by-step instruction:

1. Peel the onions and cut them into small cubes. Wash the carrots, peel them, and chop them on a fine grater. Place the vegetables in a frying pan with heated vegetable oil. If desired, you can add 30 g of butter to the vegetable oil for a creamy taste.

2. Stirring, sauté onions and carrots over medium heat for 5-7 minutes until soft.

3. Wash fresh champignons and cut into small cubes. Add chopped mushrooms to sautéed vegetables. Stir and continue frying the ingredients together for 5 minutes.

4. In a separate bowl, mix wheat flour and water until smooth. Instead of water, you can use vegetable or mushroom broth, this will make the sauce even tastier and more aromatic.

5. Pour the resulting mixture into the frying pan with vegetables and champignons. Mix the ingredients, add salt and spices to taste. Cover the pan with a lid and simmer the mushroom sauce over low heat for 15 minutes.

6. Then add rich sour cream to the mushroom sauce. Stir and continue to simmer the sauce under the lid over low heat for another 5 minutes.

7. At the end of cooking, add finely chopped dill and parsley.

8. Serve aromatic mushroom sauce made from champignons with your favorite side dish. This could be vegetable puree, rice, bulgur, buckwheat, egg noodles or spaghetti.

Bon appetit!

Pay attention to the recipe for delicious mushrooms:

Marinated champignons: quick recipe


Pickled daikon – a delicious oriental snack

Let’s prepare a very tasty, juicy and aromatic cold daikon appetizer. It goes well with meat and fish dishes. It will take 24 hours to marinate this healthy root vegetable. Ready marinated daikon can be stored in the refrigerator for 2 weeks. The snack does not lose its taste and remains juicy and piquant thanks to turmeric. This Asian spice gives daikon an appetizing golden hue and has antibacterial properties.

Daikon for pickling can be cut into thin slices using a special shredder or a curly knife. If desired, vinegar can be replaced with lemon juice. It is not as strong as vinegar, so add a little more, 70 ml will be enough.

Don’t be afraid to experiment with spices. Additionally, you can add star anise, saffron and clove buds to the marinade. If you want to make the appetizer spicy, add a few chili peppers.

Ingredients for making pickled daikon:

Pickled daikon recipe

Step-by-step instruction:

1. First, prepare the marinade, as it must cool to room temperature. In a ladle, mix sugar, salt and ground turmeric. The amount of sugar can be adjusted at your discretion – from 3 to 5 tablespoons. I added 3 tablespoons of sugar, I got a sweet and sour marinade. Accordingly, the daikon turned out to be sour. If you like it sweeter, add more sugar. Pour all the spices into the mixture, pour in 500 ml of purified water. Stirring until the sugar and salt are completely dissolved, bring the marinade to a boil. Remove the ladle with the marinade to a cool place and cool it to room temperature.

2. Wash the daikon, cut off the tails, and peel them. Cut the vegetables into thin rings. You can also cut daikon into thin long strips using a vegetable peeler. The thinner the slice, the faster the vegetables will marinate. Peel the garlic cloves and cut into thin slices.

3. Place daikon slices in a glass jar, alternating them with garlic slices.

4. Pour the marinade that has cooled to room temperature over the ingredients. It should completely cover the vegetables.

5. Close the jar hermetically with a lid. Place the daikon in the refrigerator for 1 day. During this time, the root vegetable will marinate well, be filled with the aroma of spices and acquire a yellow tint.

6. After 24 hours, the pickled daikon will be ready. Serve it as a cold appetizer with baked chicken, shish kebab, and grilled fish.

Bon appetit!

Try other recipes for delicious snacks:

Korean carrots

Pickled cabbage “Provencal”


Liver muffins

The liver is considered a storehouse of nutrients. There is practically no fat in it, and in terms of protein volume it is in no way inferior to chicken breast. In many countries, liver is considered a delicacy and is regularly included in your diet. I suggest making delicious and healthy snack muffins from offal. For the recipe I used chicken liver, it is more tender.

Thanks to vegetables, liver muffins turn out very juicy and aromatic. Baking in portioned molds gives the appetizer an appetizing appearance and simplifies serving. Muffins taste like liver cutlets, but they are more tender and have less calories. They will not harm your figure; for the dough, instead of wheat flour, we will use oatmeal. In my opinion, this is a versatile snack. It will diversify the daily menu and will decorate the holiday table. Liver muffins are best served hot. They go well with any side dish. A great addition would be cranberry or any other sweet and sour sauce.

Be sure to try this recipe. Even those who don’t like offal will like these muffins.

Ingredients for making liver muffins:

Recipe for liver muffins

Step-by-step instruction:

1. Wash the chicken liver and dry it from excess moisture with paper napkins. Remove the veins from the by-products, cut them into several pieces and place them in a blender bowl. Wash the carrots, peel them, chop them coarsely, add them to the chicken liver. Peel the onions, cut them into several parts, and add them to the blender bowl. For flavor, add a peeled clove of garlic.

2. Using a blender, grind the ingredients until smooth. Add oatmeal, baking powder, salt and ground spices to the resulting mixture. Beat in 1 chicken egg.

3. Grind the ingredients again until smooth using a blender. Place the dough for liver muffins into individual silicone molds, filling them 2/3 full.

4. Grind the hard cheese on a grater with a large blade. Distribute the grated cheese over the liver mass.

5. Place the liver muffins in an oven preheated to 180 degrees for 30 minutes. During the cooking process, the products will increase in volume and turn out very tender and airy. When the grated cheese on top has melted and browned, carefully remove the liver muffins from the oven. Cool them slightly on a wire rack, then carefully remove from the pan and serve warm.

Dietary chicken liver muffins can be complemented with your favorite side dish or fresh vegetable salad.

Bon appetit!

Try a delicious liver recipe: Chicken liver brawn with vegetables