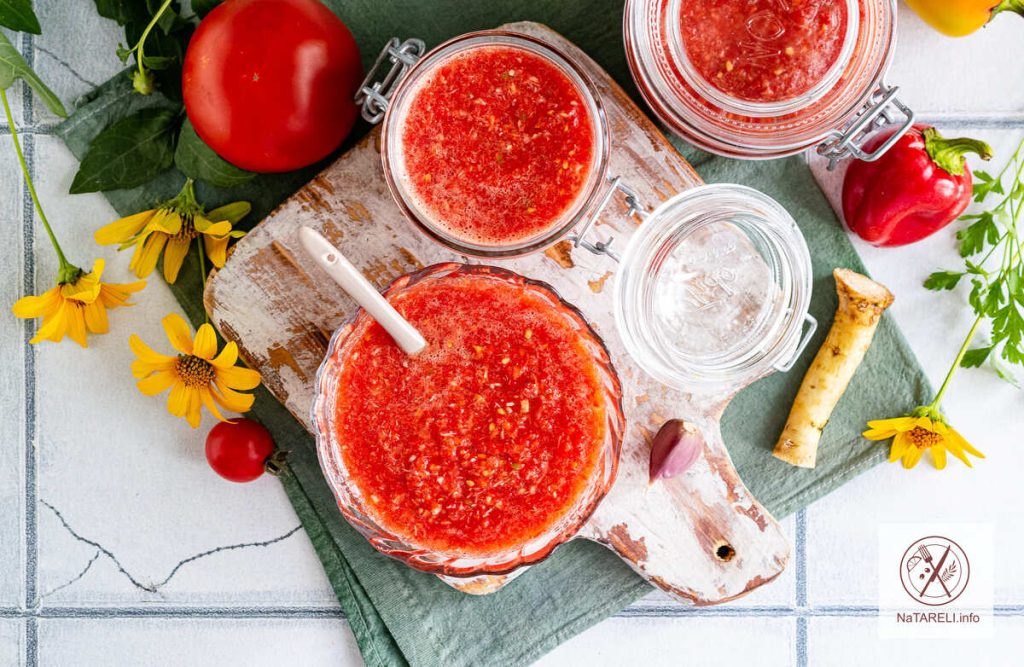
Raw adjika from tomatoes with horseradish and garlic
I suggest preparing a tasty and aromatic seasoning for the winter – raw adjika with horseradish, which is quick to prepare and also quick to eat. Adjika according to this recipe does not need to be cooked, it contains only raw ingredients. Thanks to this, adjika will retain all its best qualities, will be enriched with a large number of vitamins. Therefore, having spent literally 30 minutes on its preparation, you will get a fantastically tasty source of a large number of nutrients.
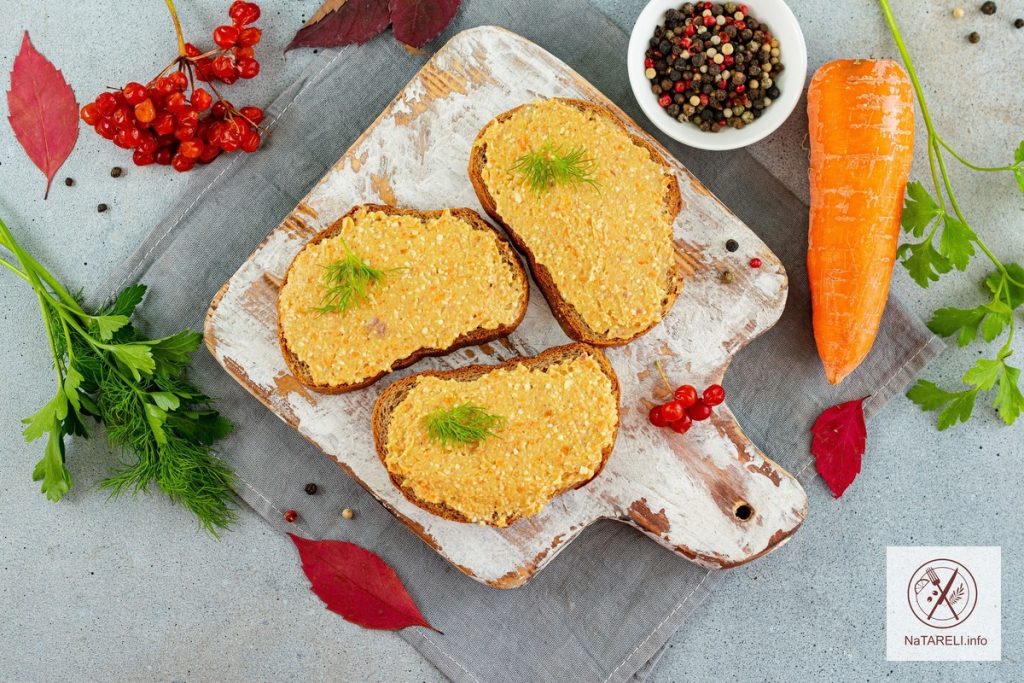
I prepare adjika from tomatoes with horseradish and garlic every year. My whole family loves this snack. You can use it to prepare a sauce for meat or a tasty gravy. You can marinate chicken and meat in adjika from tomatoes. And just with a slice of fresh bread it is very tasty and healthy, especially during the cold season.
Ready adjika should be stored in the refrigerator. During the year, it does not lose its taste and useful properties. Adjika will turn out very beautiful and bright, piquantly hot and incredibly tasty. Spicy lovers will be delighted!
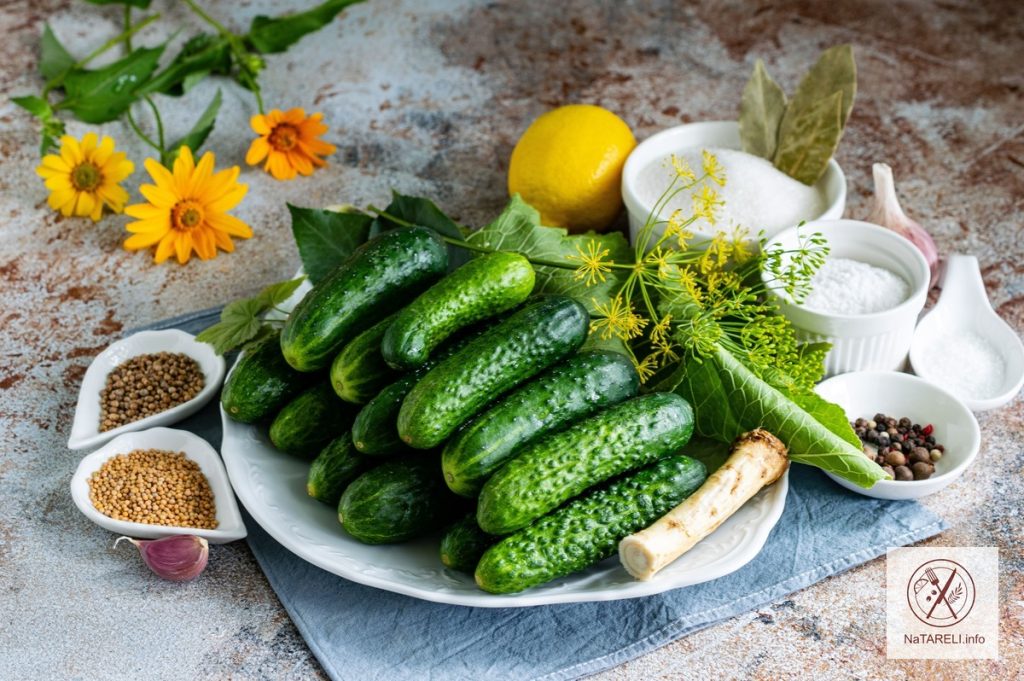
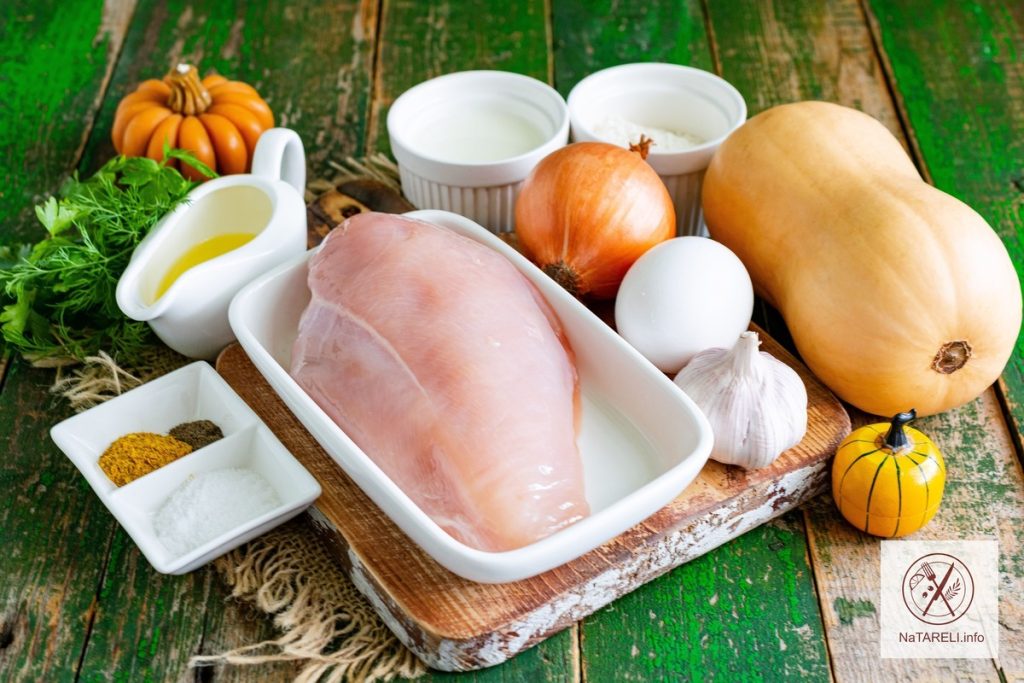
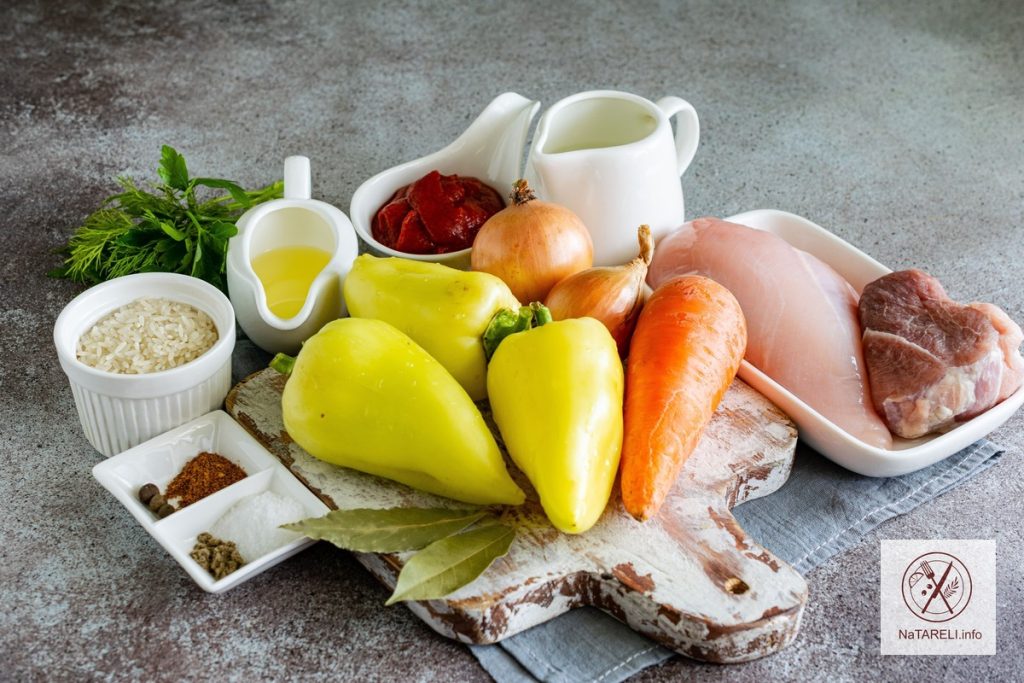
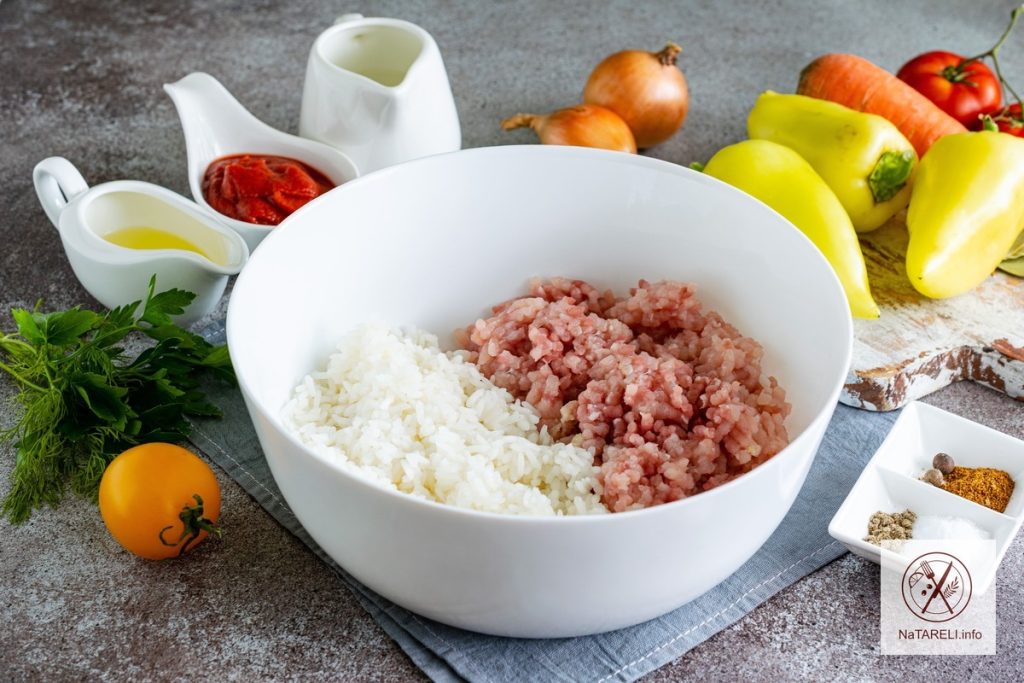
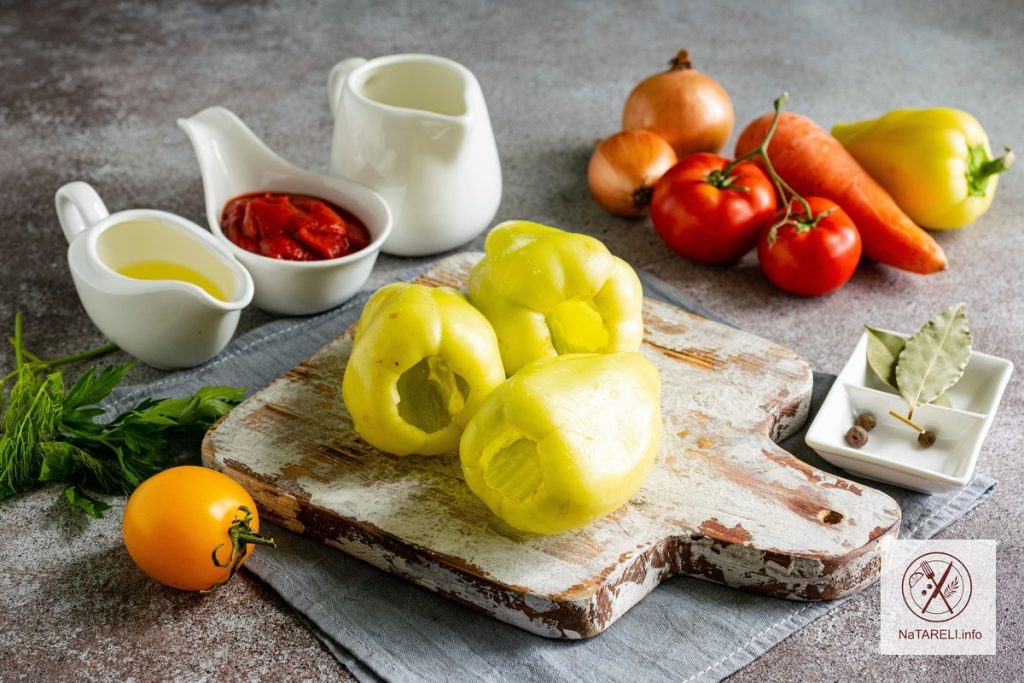
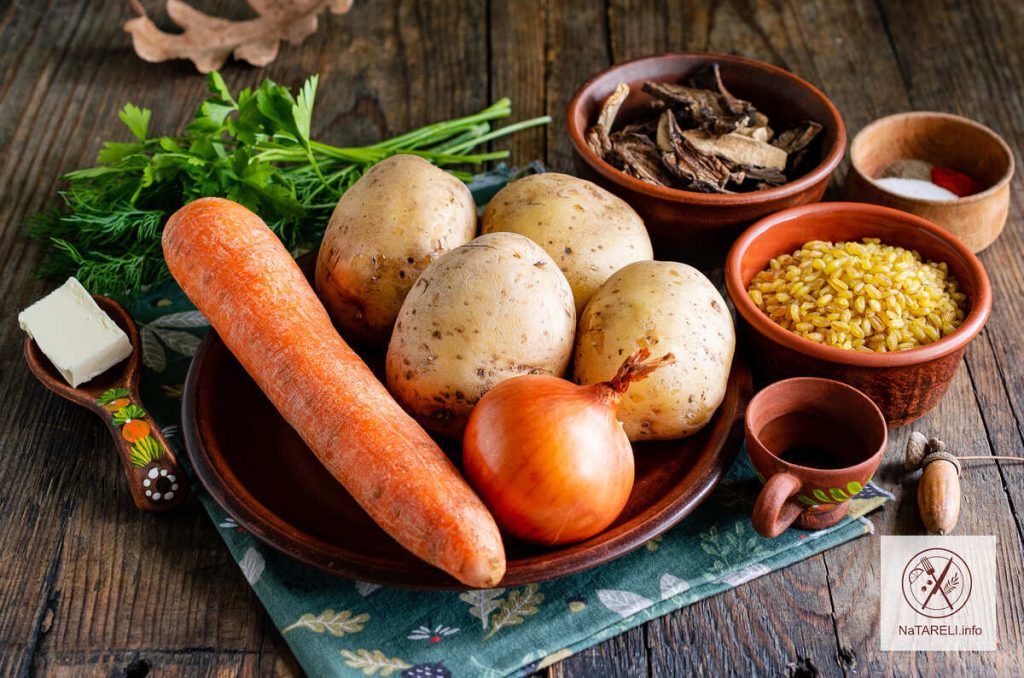
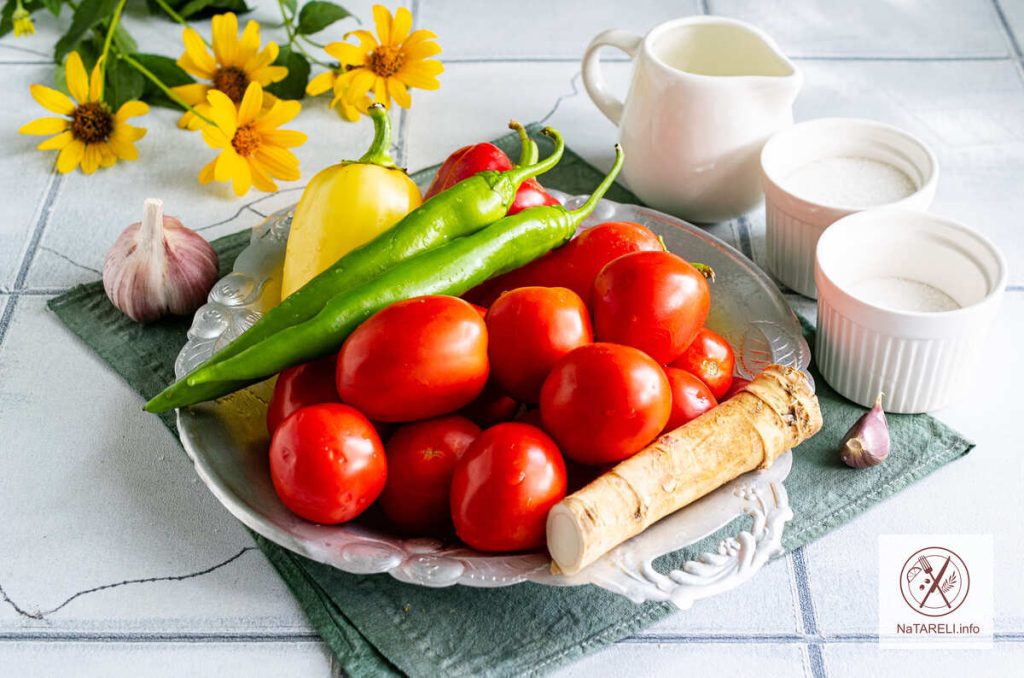
Ingredients for making raw adjika from tomatoes with horseradish and garlic:
Recipe for making raw adjika from tomatoes with horseradish and garlic
Step-by-step instructions:
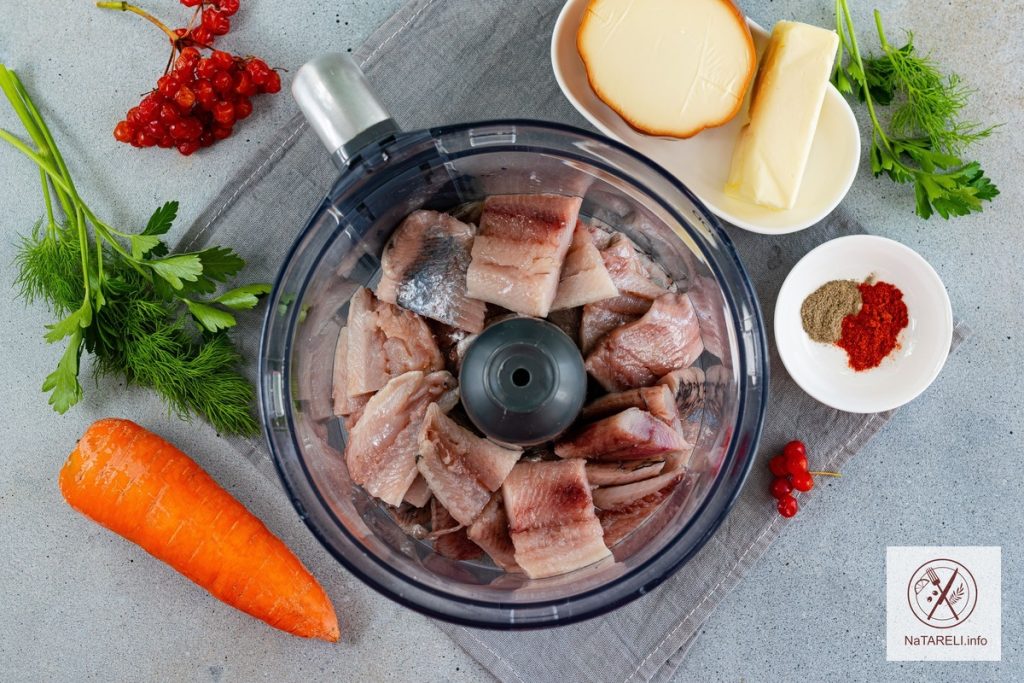
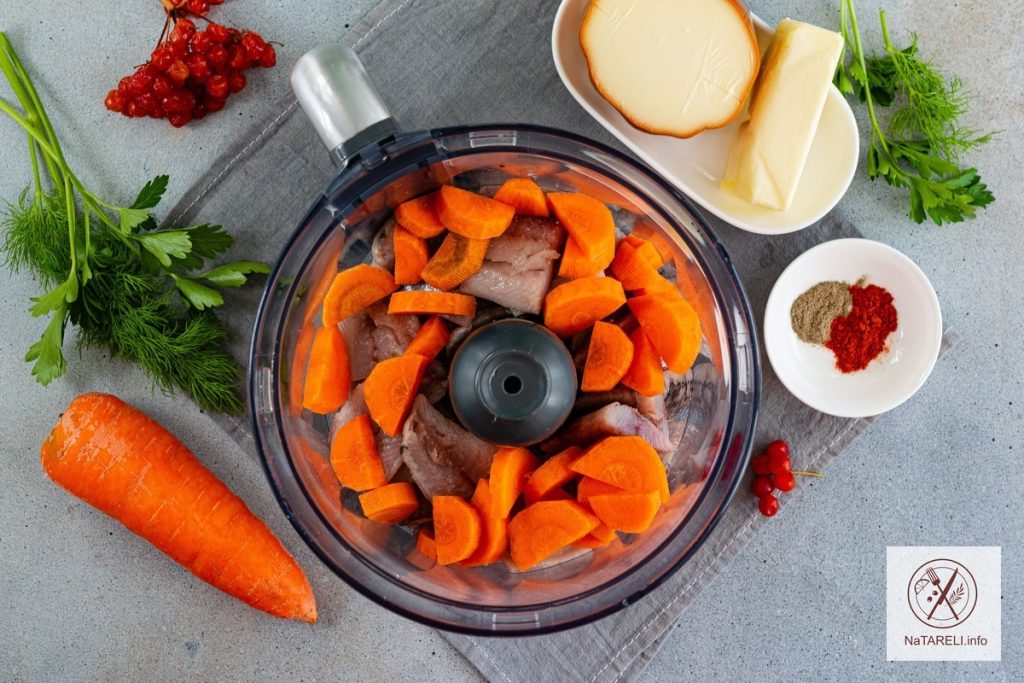
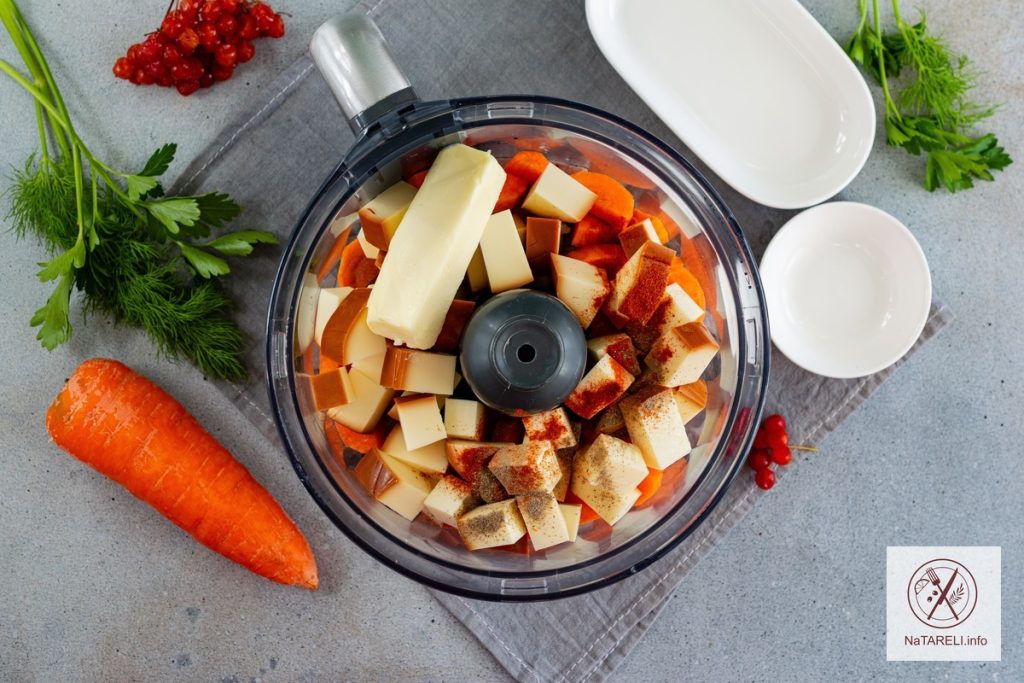
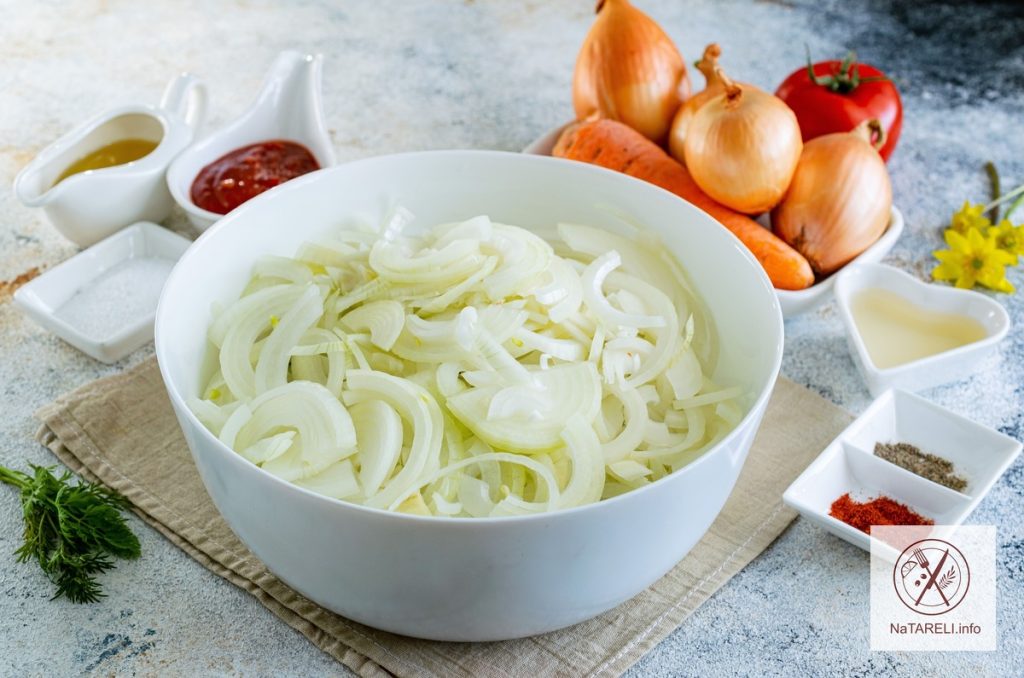
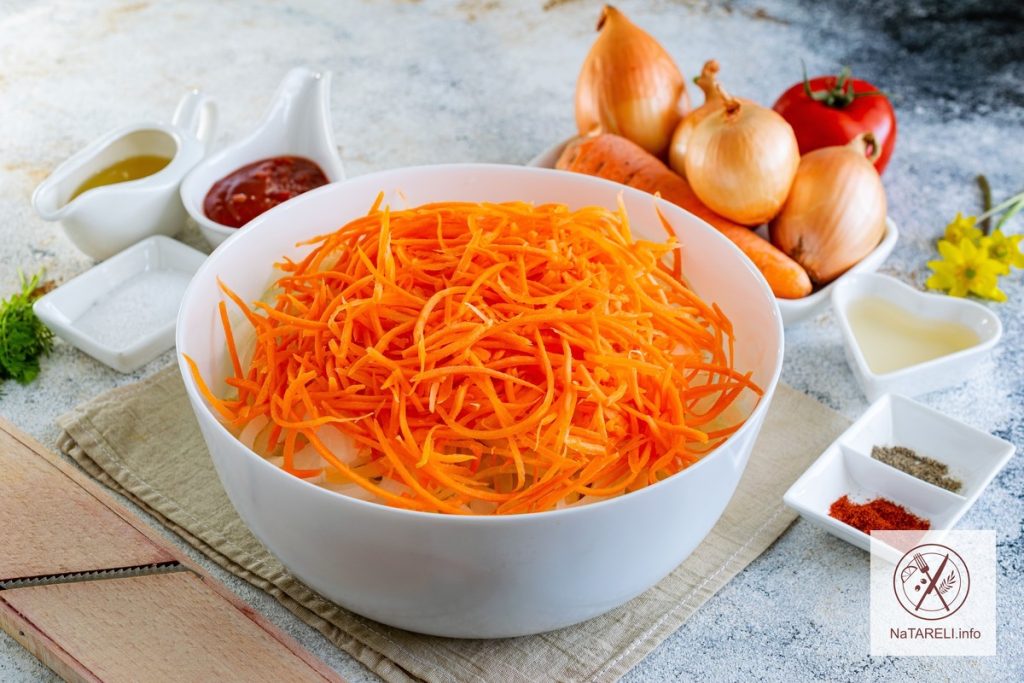
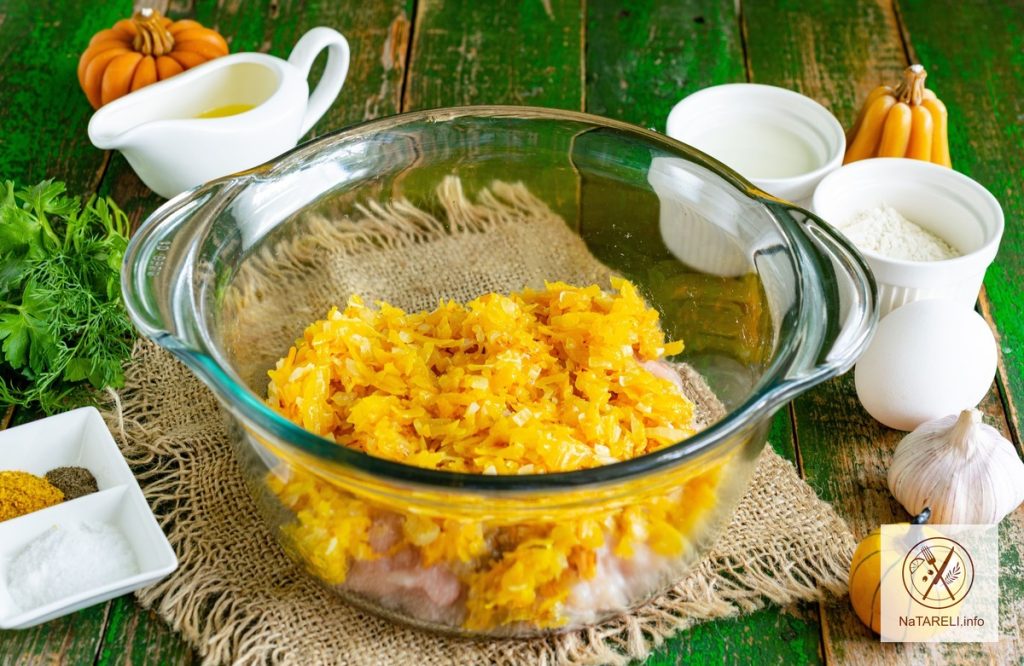
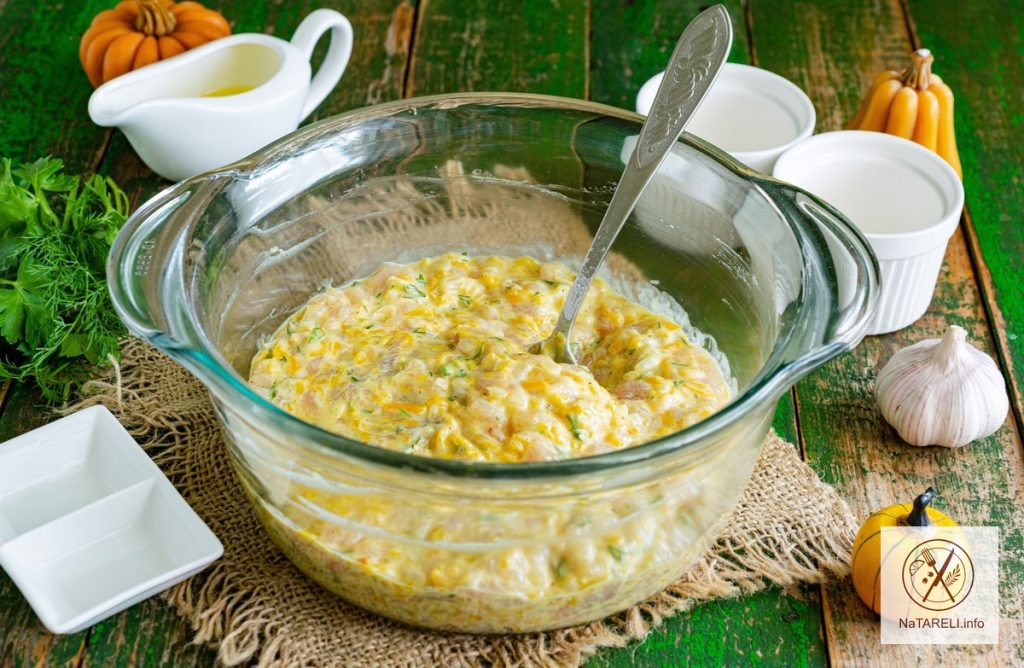
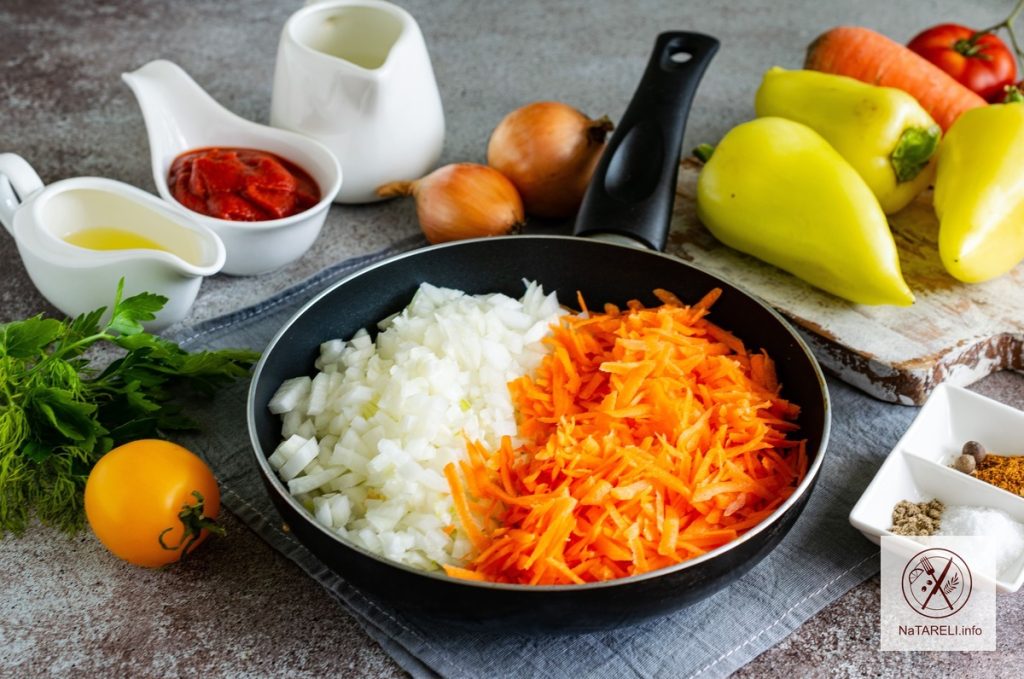
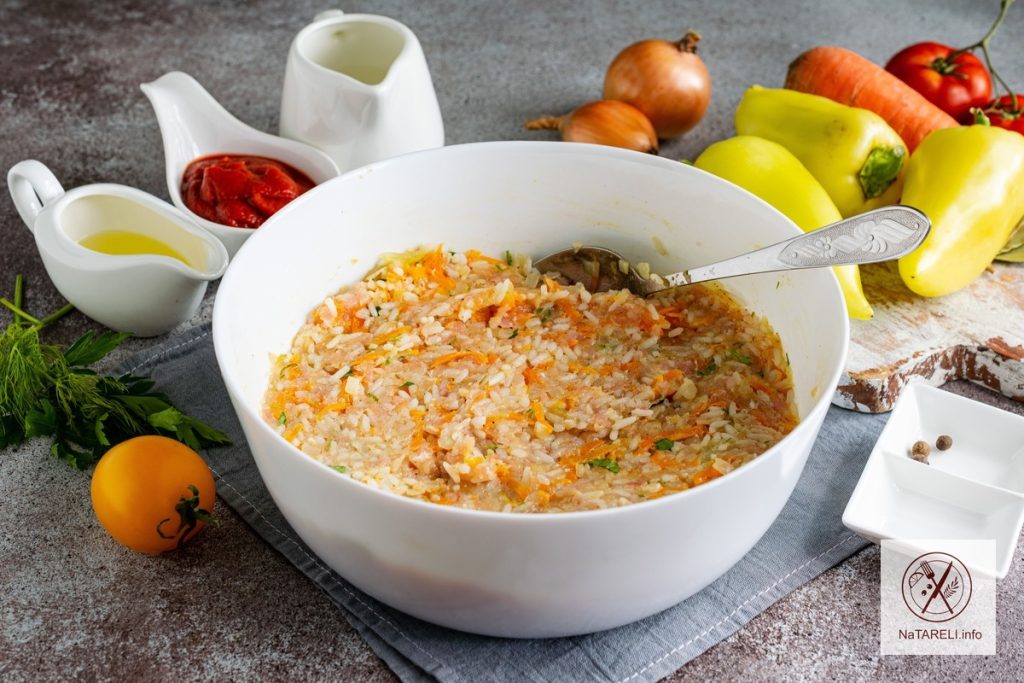
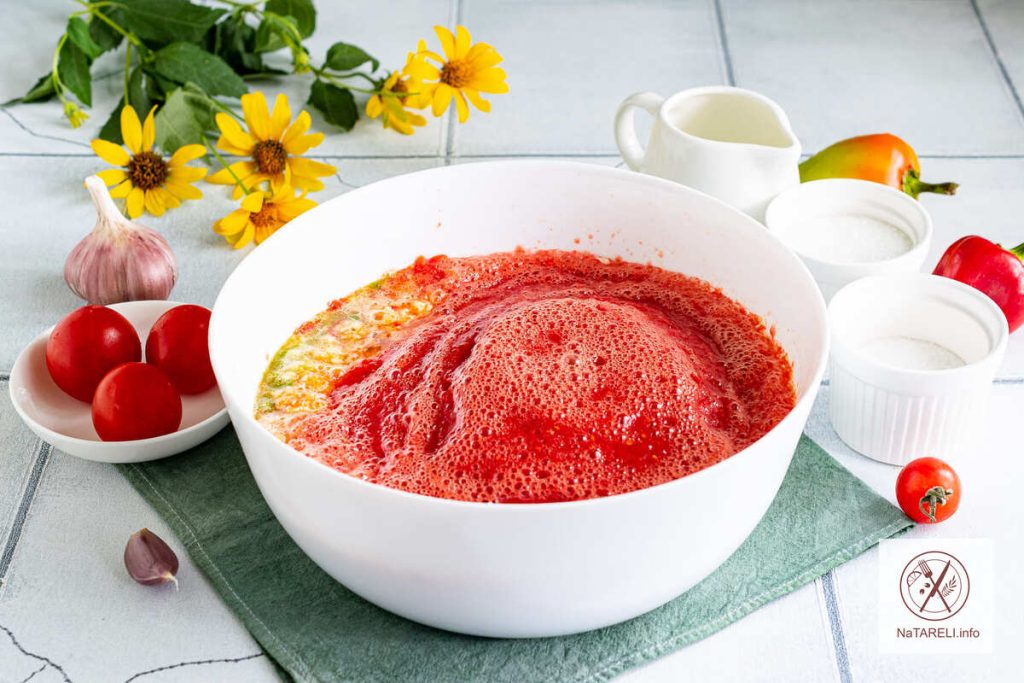
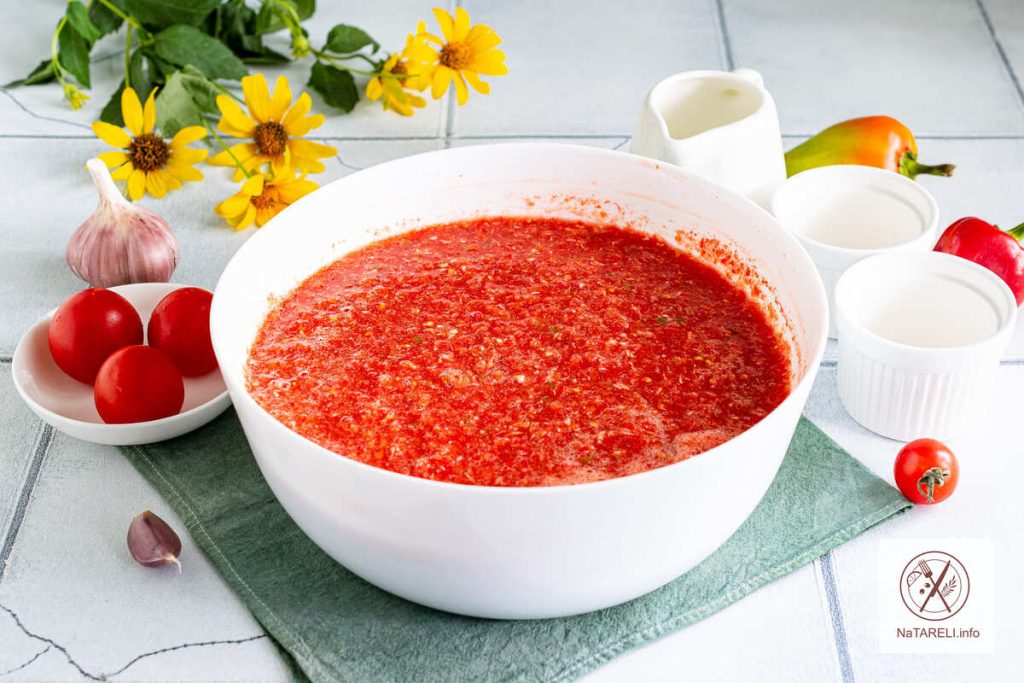
1. Wash tomatoes, cut in half, remove stalks. Cut large vegetables into several pieces. Peel horseradish root and garlic. Wash bell and hot peppers, remove seed box, cut into large pieces. Grind all ingredients using a meat grinder with a fine grid.
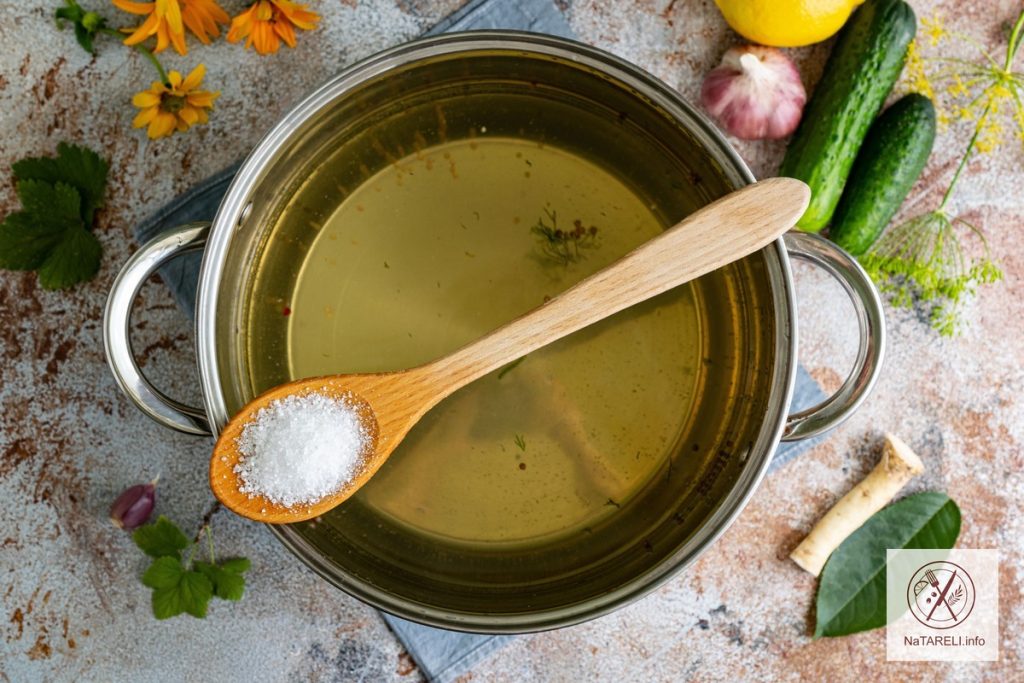
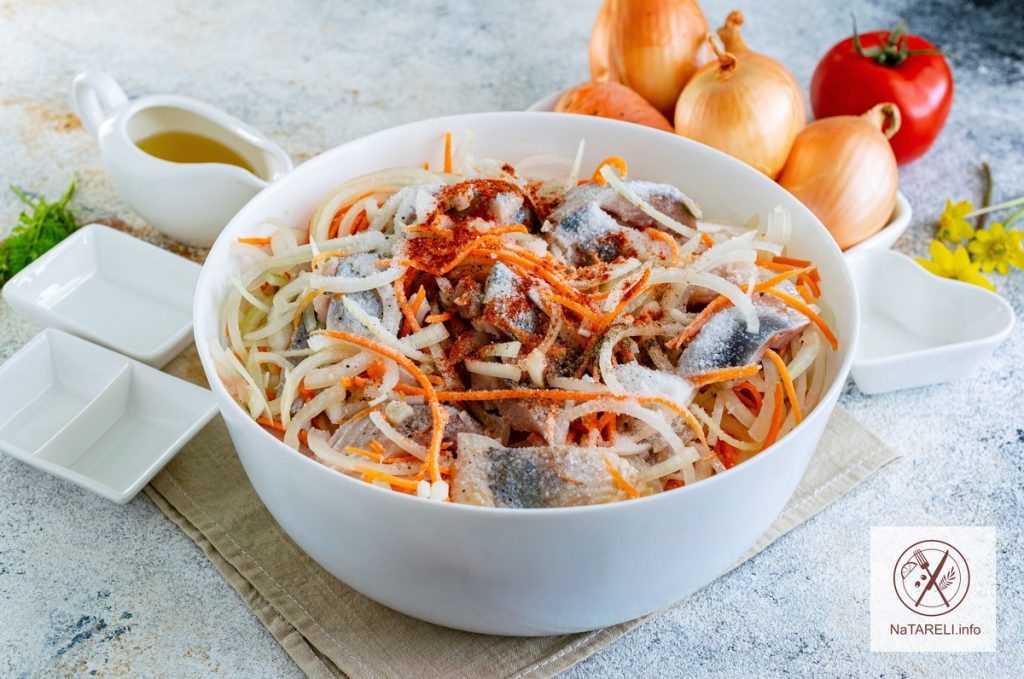
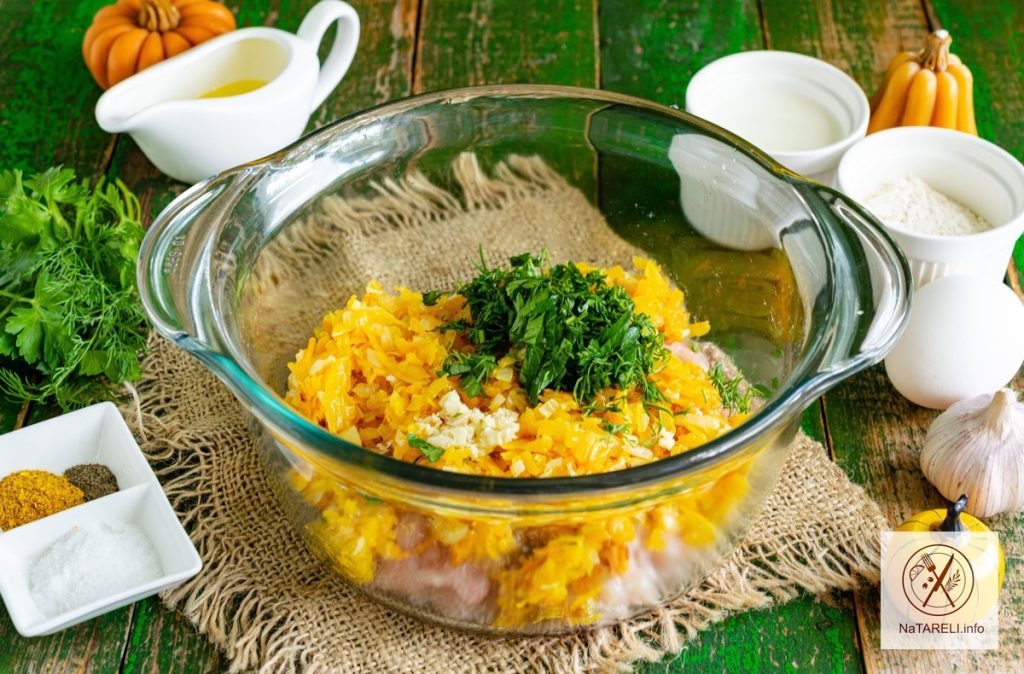
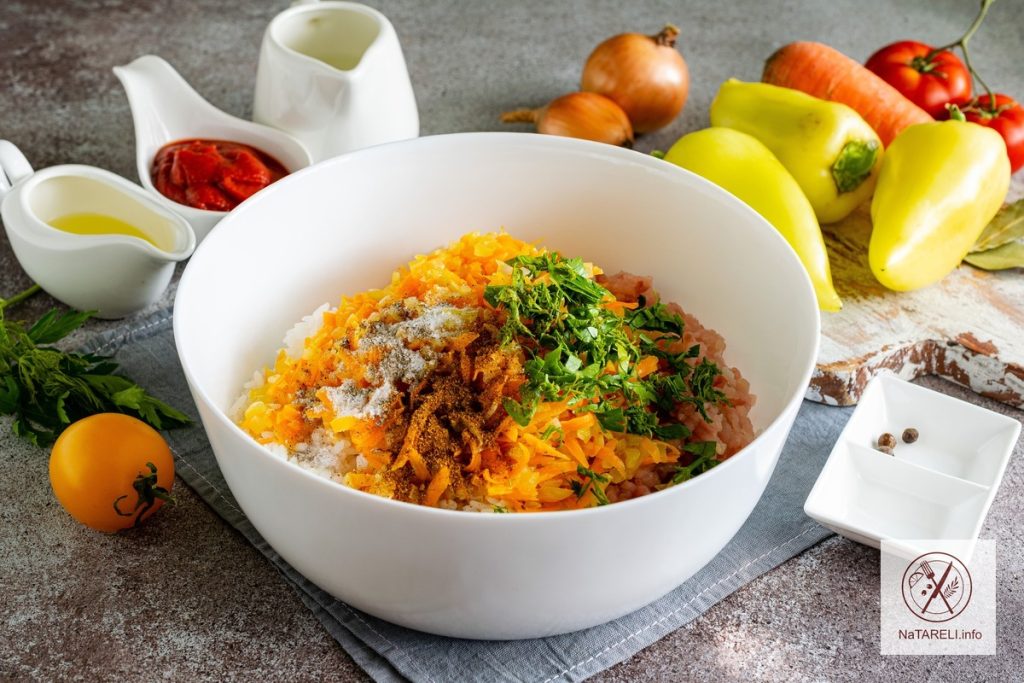
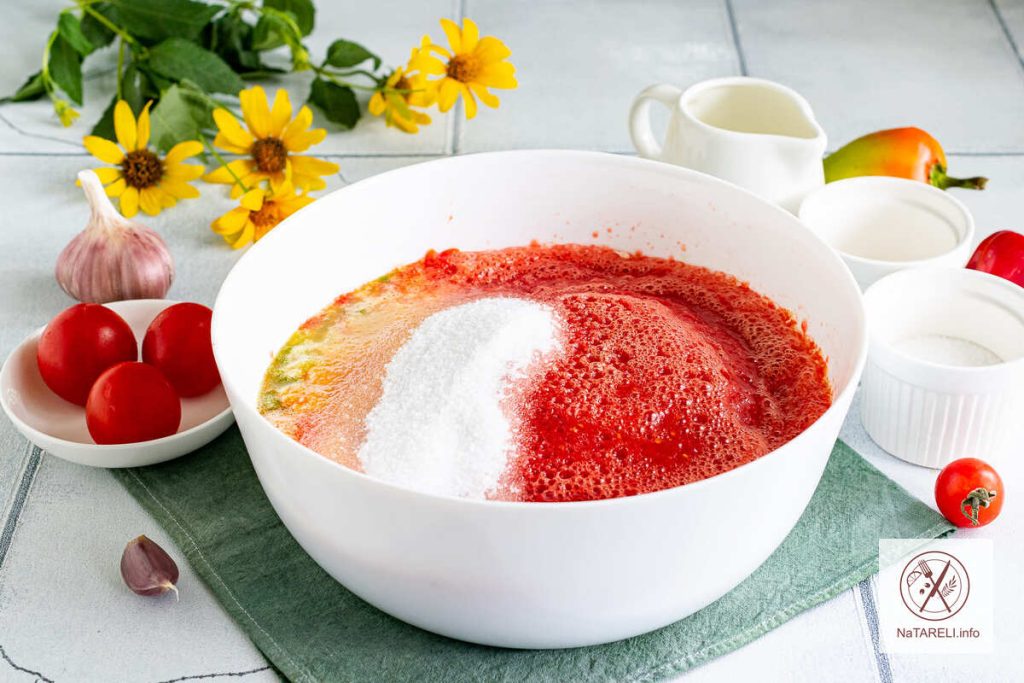
2. Add salt.
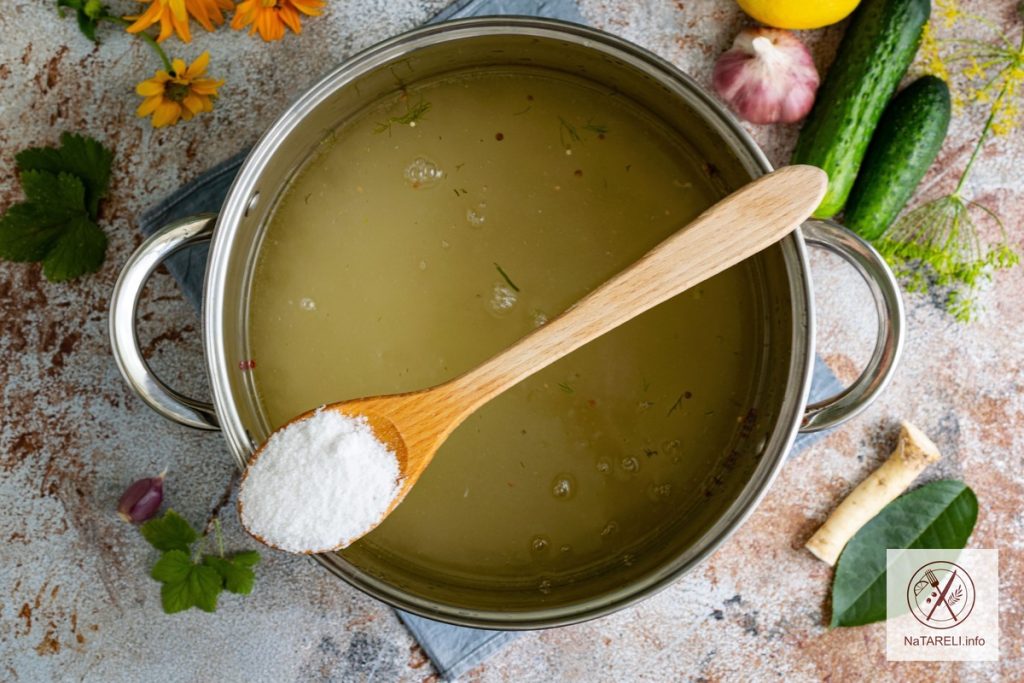
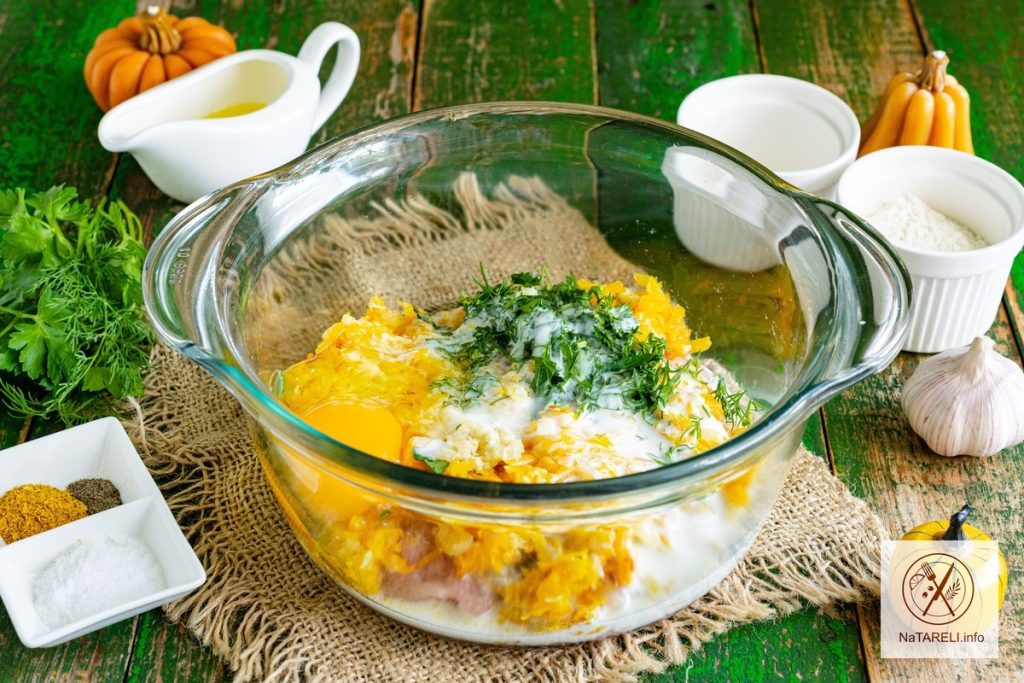
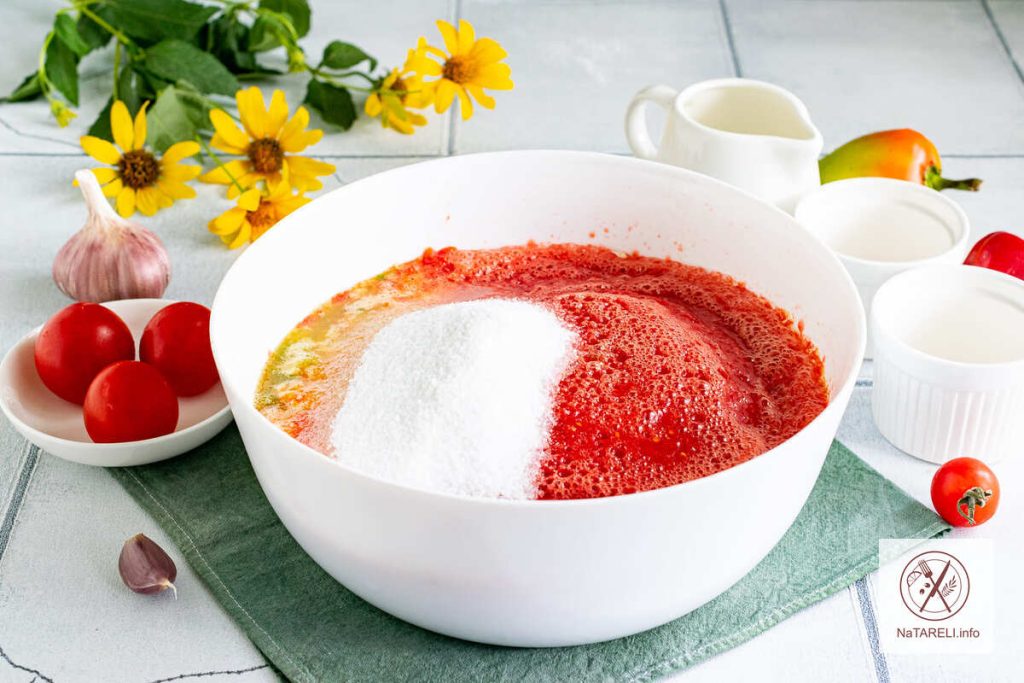
3. Add sugar.
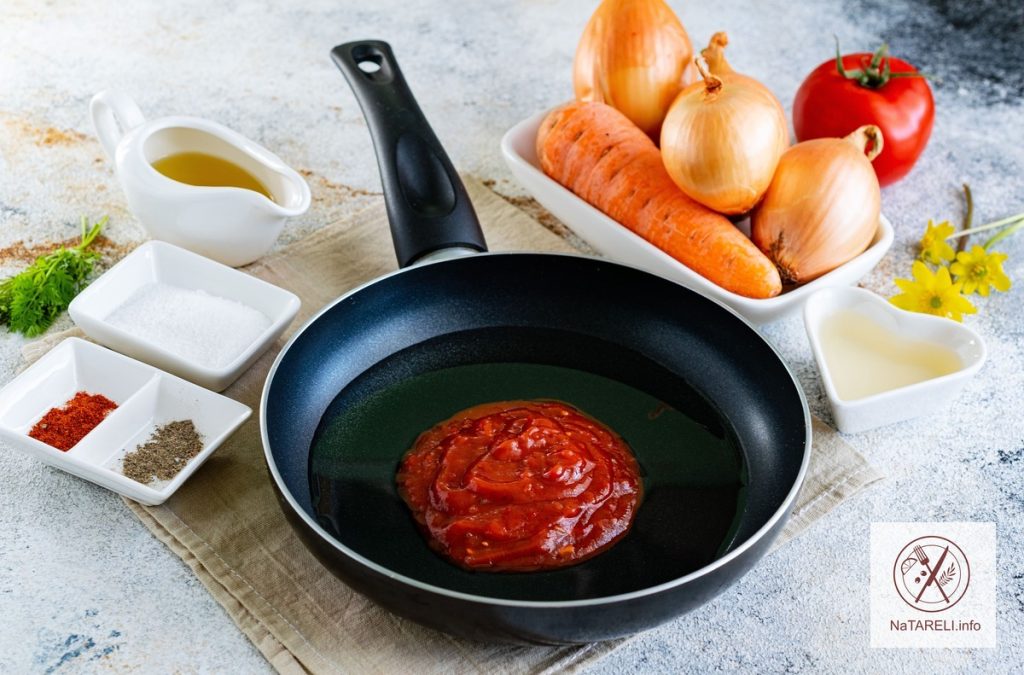
4. Pour 9% table vinegar into the vegetable mixture.
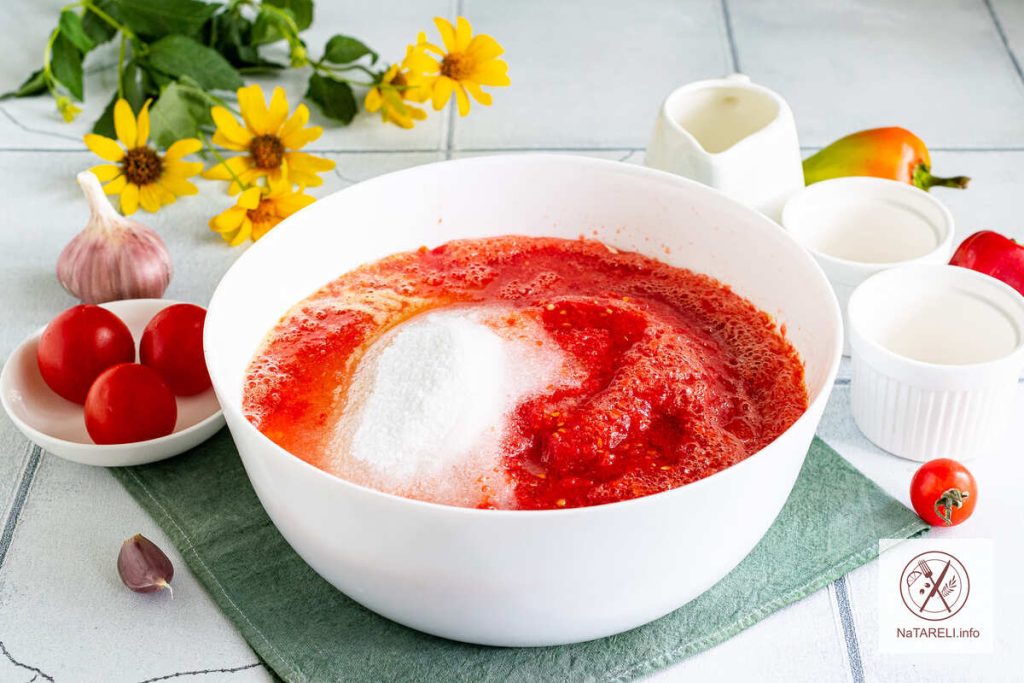
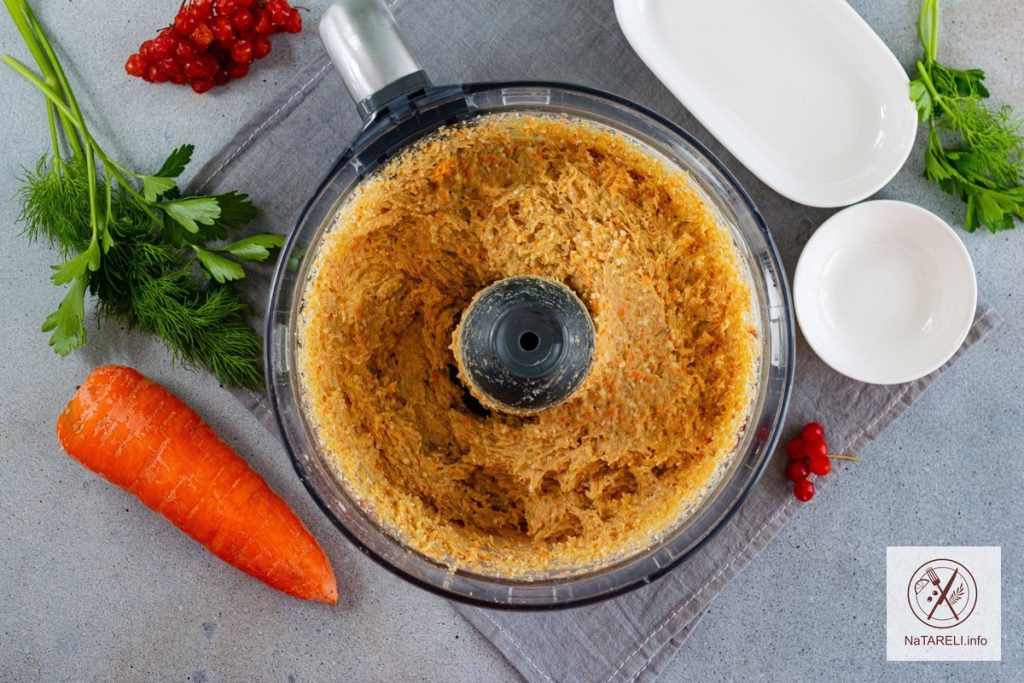
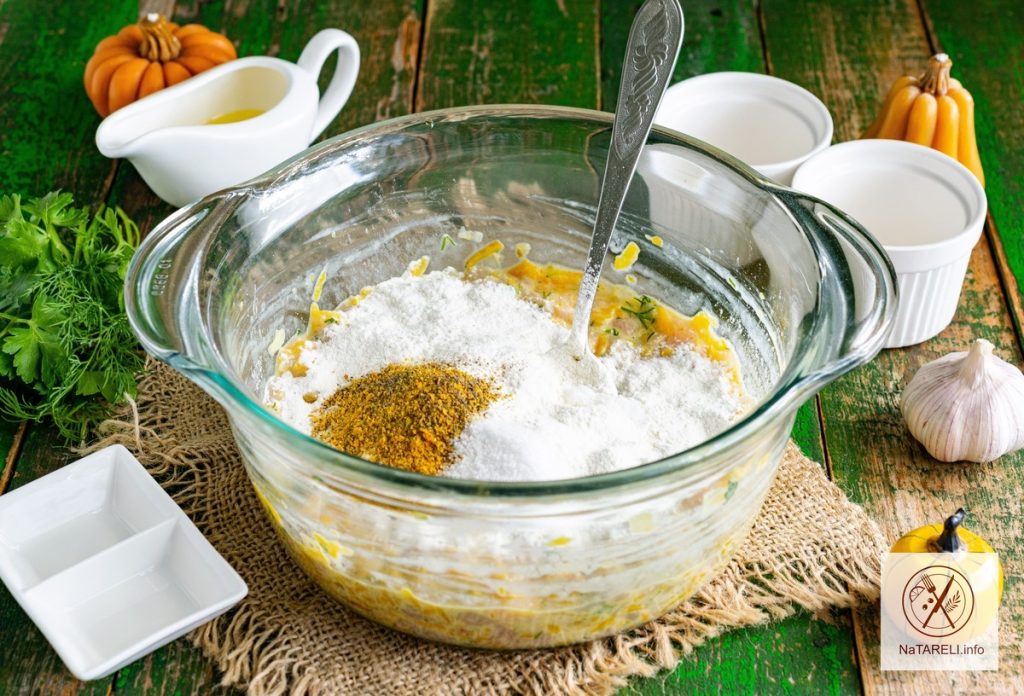
5. Mix the ingredients thoroughly until the salt and sugar are completely dissolved.
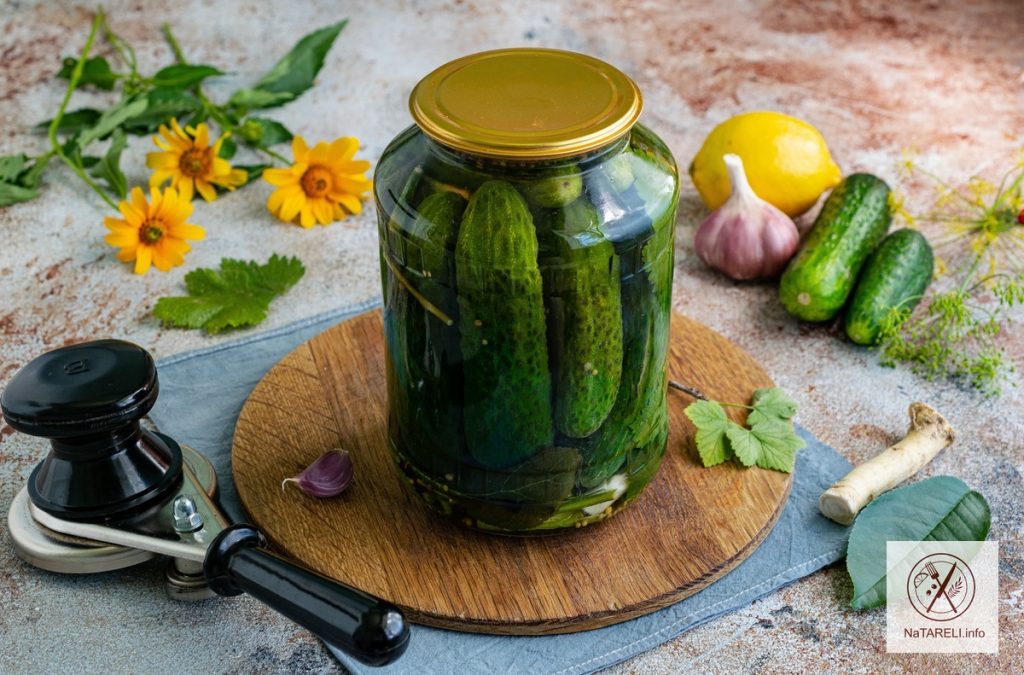
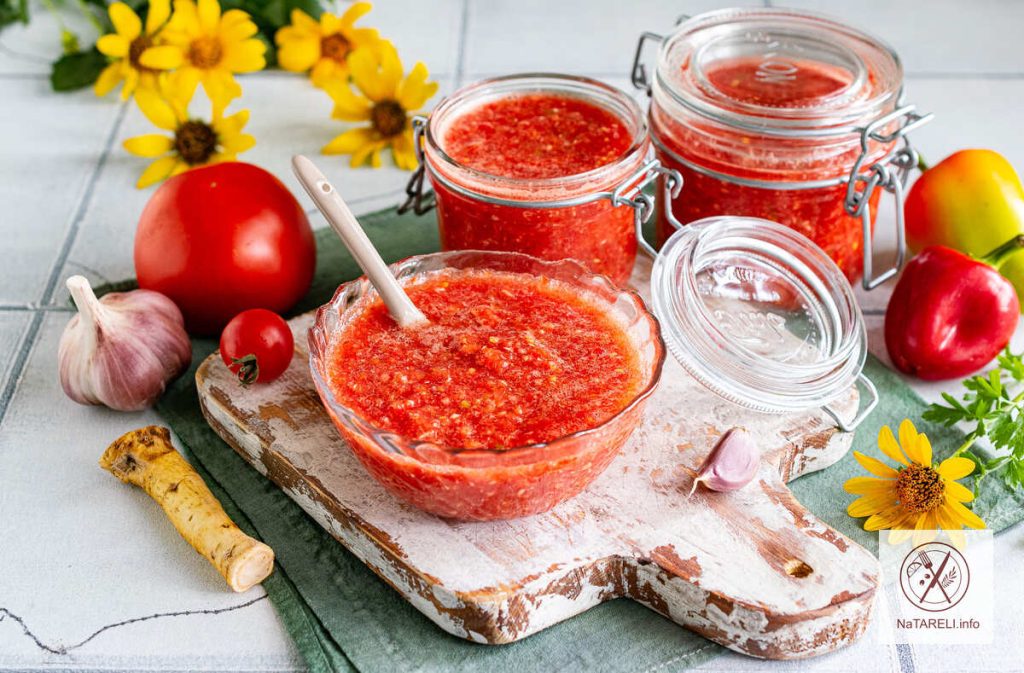
6. Transfer the finished adjika into clean glass jars. Close them tightly with lids. Put the raw tomato adjika in the refrigerator.
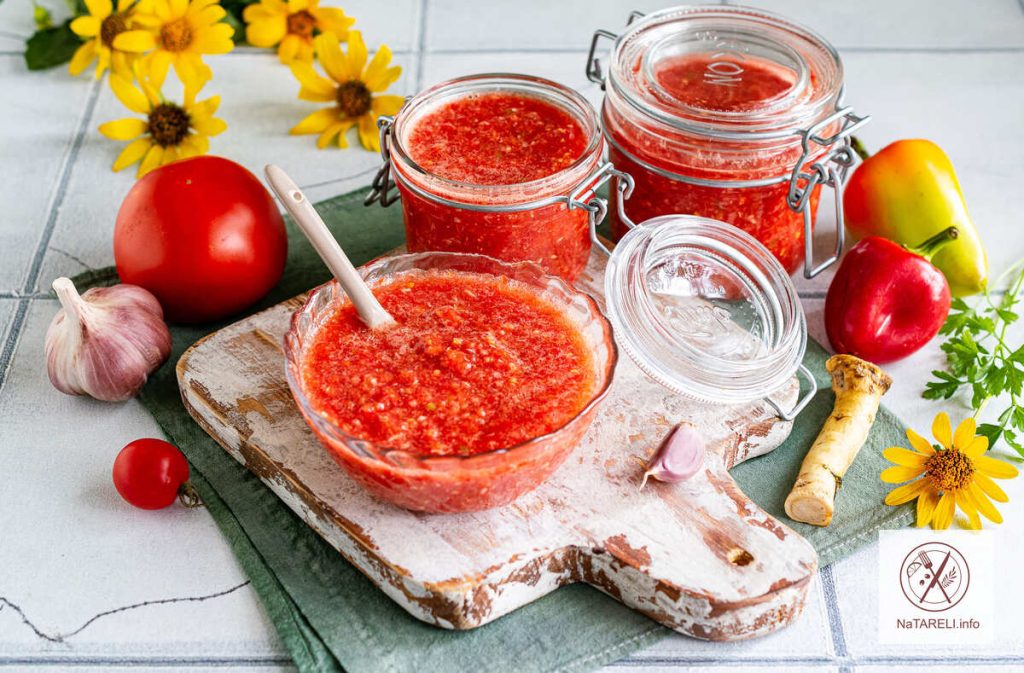
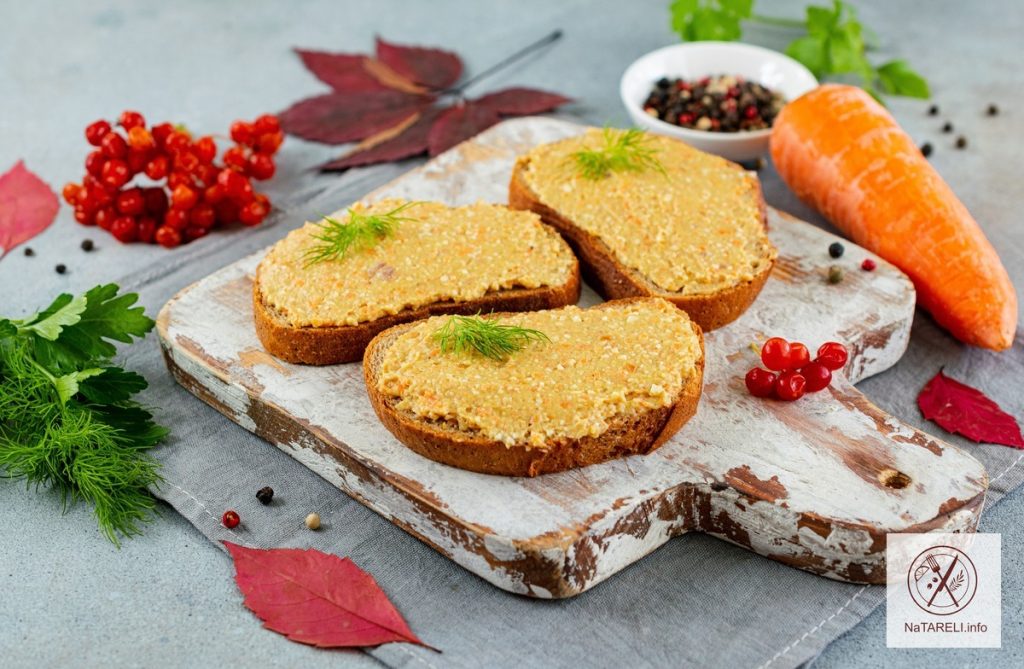
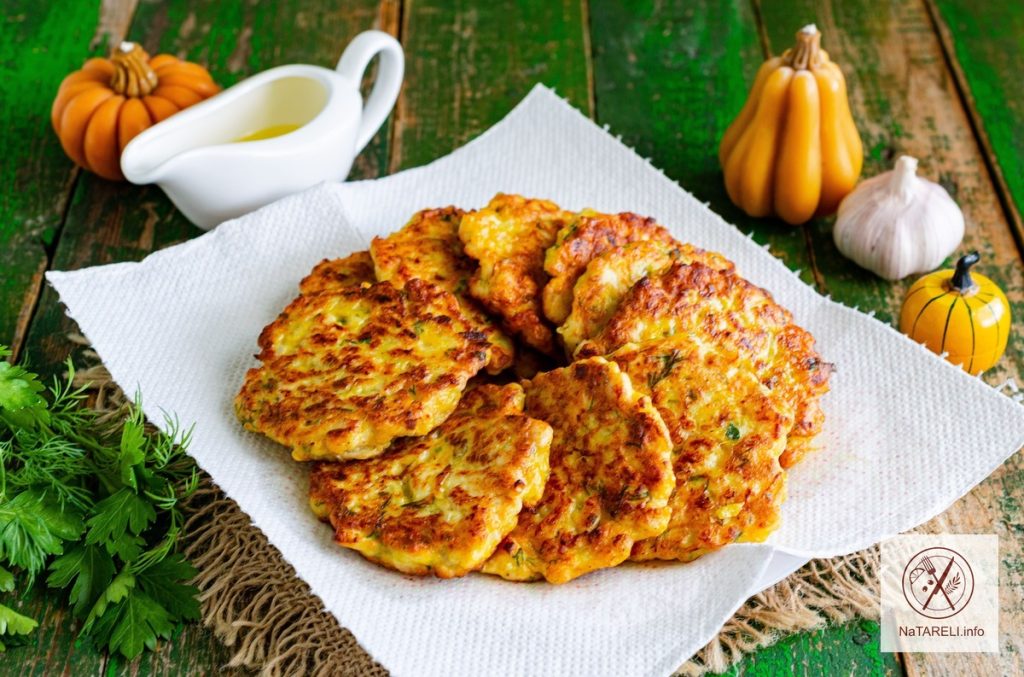
7. Serve the aromatic and moderately spicy adjika with borscht, meat, chicken or sausages.
Bon appetit!
You may also like: