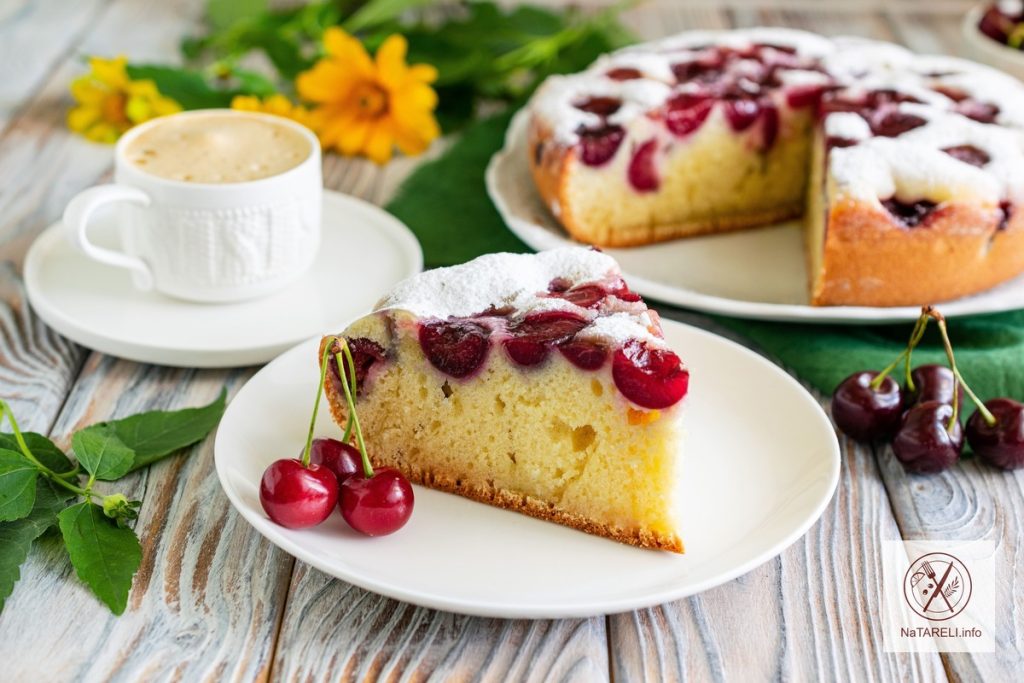
Kefir pie with cherries in a multicooker

In the cherry season, I suggest making a delicious, airy and tender pie for home tea drinking. The pastry turns out very soft, juicy and moderately sweet. Ripe cherries and vanilla give the pie a special aroma.

Preparing the dough will not take much time. All the products are budget-friendly and you will probably have them in your refrigerator. According to the same recipe, you can bake a pie with fresh or frozen pitted cherries. Frozen cherries should be taken out of the refrigerator in advance so that they thaw, and thrown into a sieve to remove excess juice.

I cooked the pie in a multicooker on the «Bake» mode for 60 minutes. It can also be baked in an oven preheated to 180 degrees for 40-45 minutes.

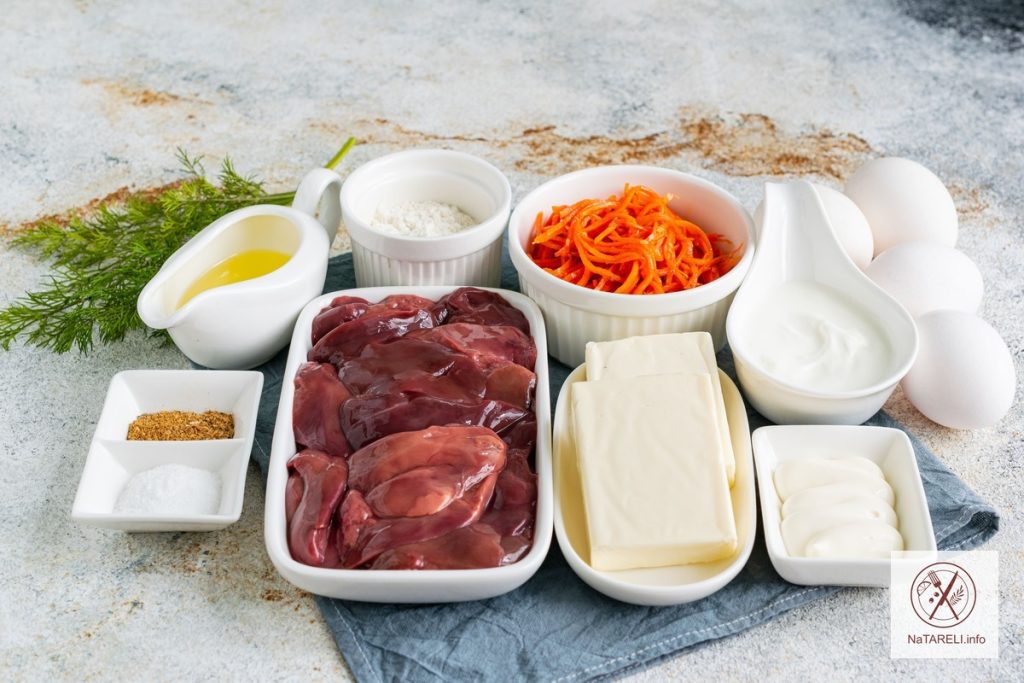
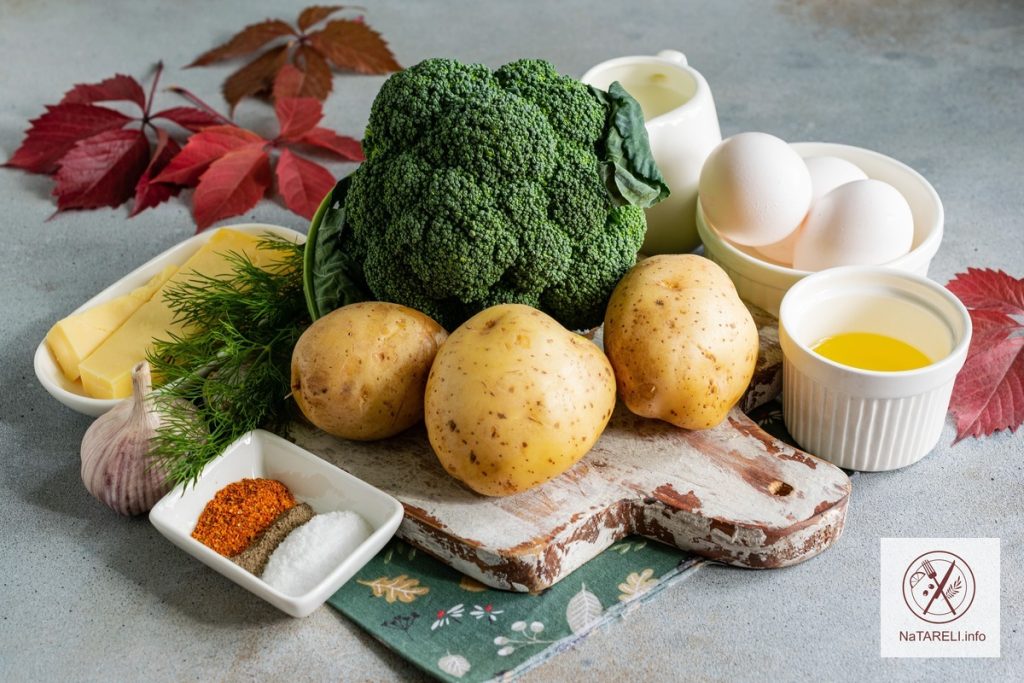
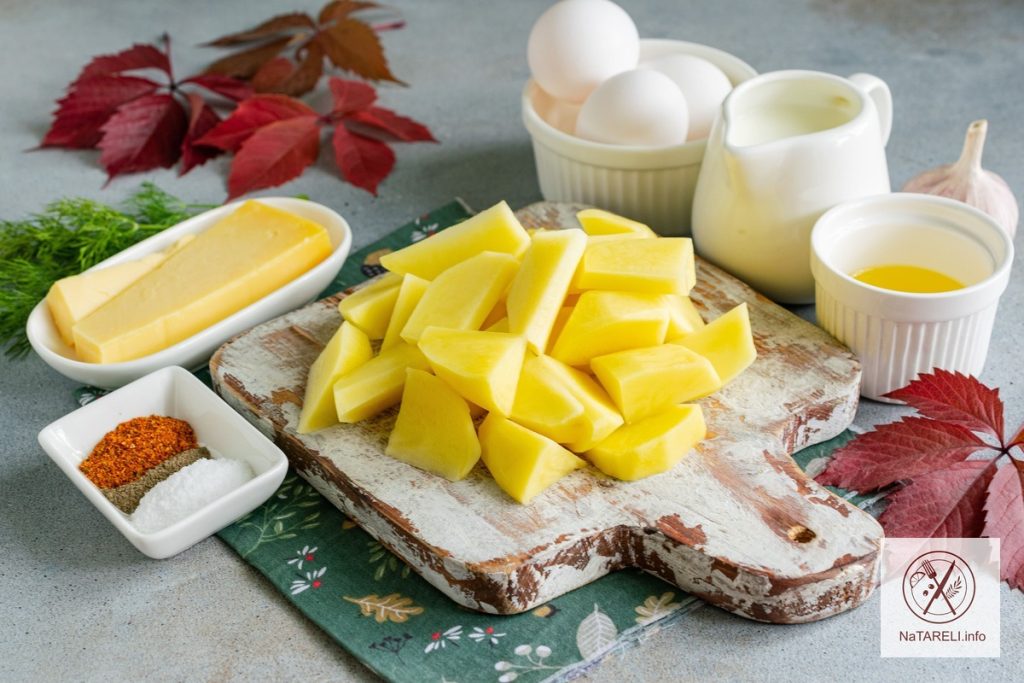
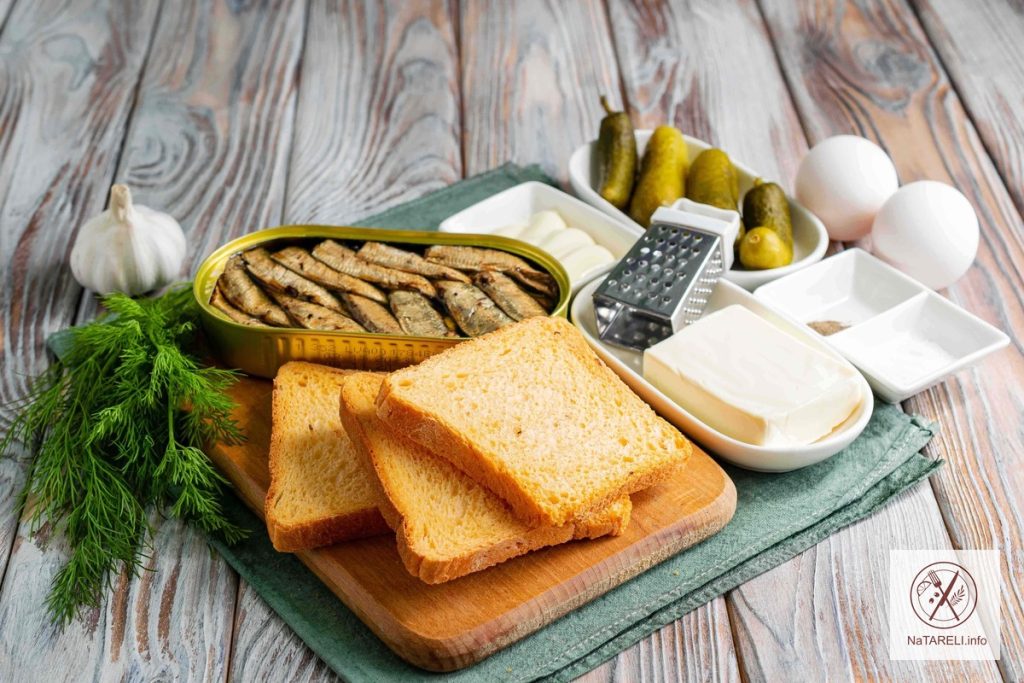
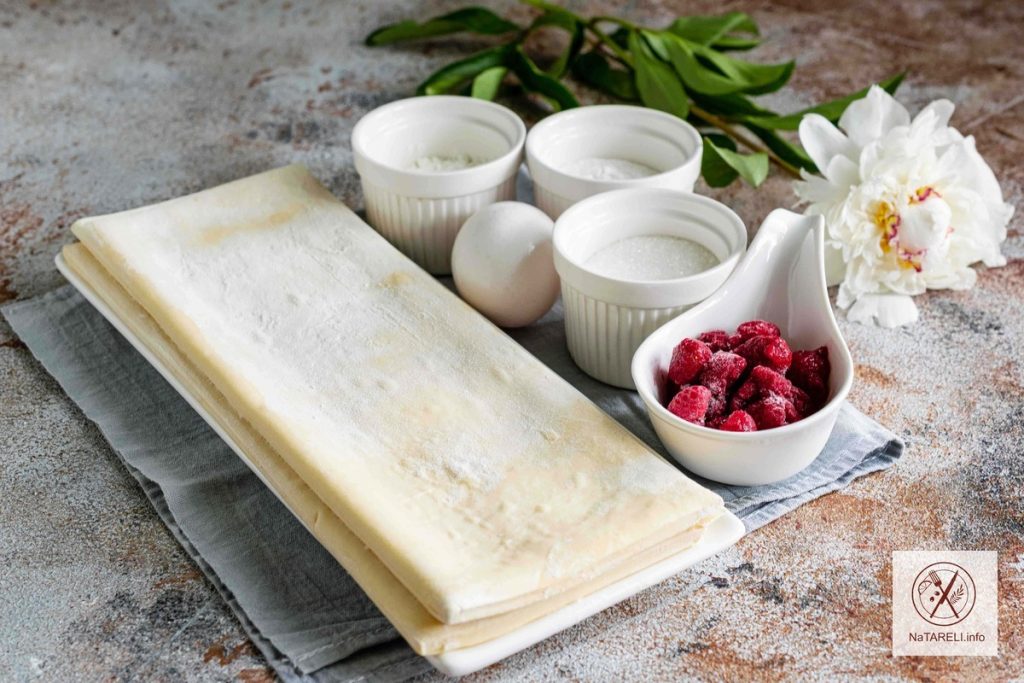
Ingredients for making a kefir pie with cherries in a slow cooker:

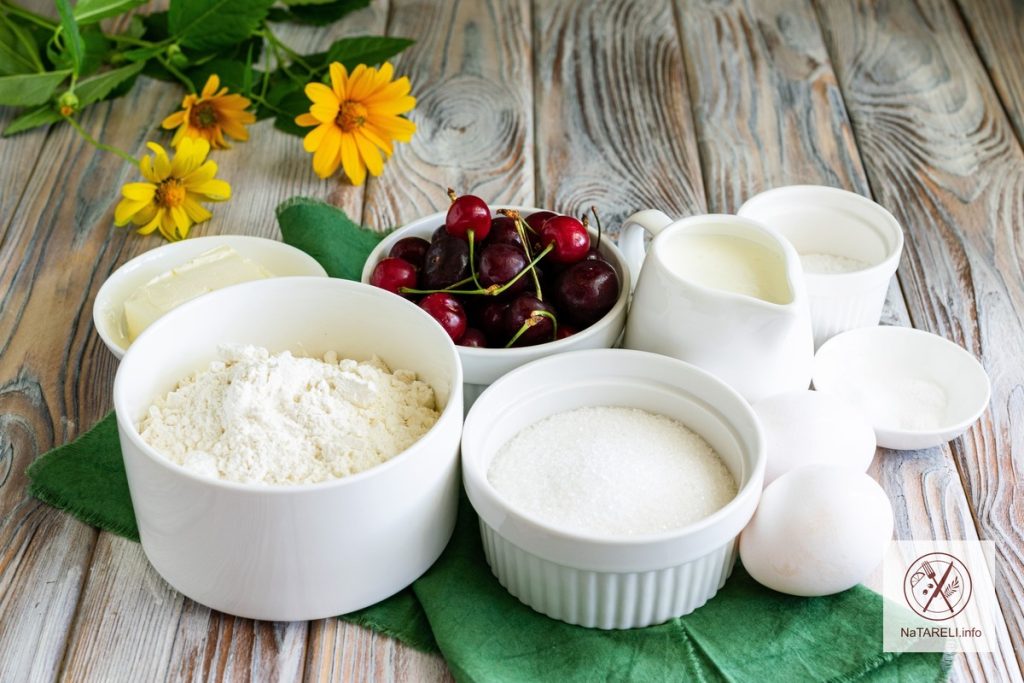
Recipe for making a kefir pie with cherries in a slow cooker

Step-by-step instructions:

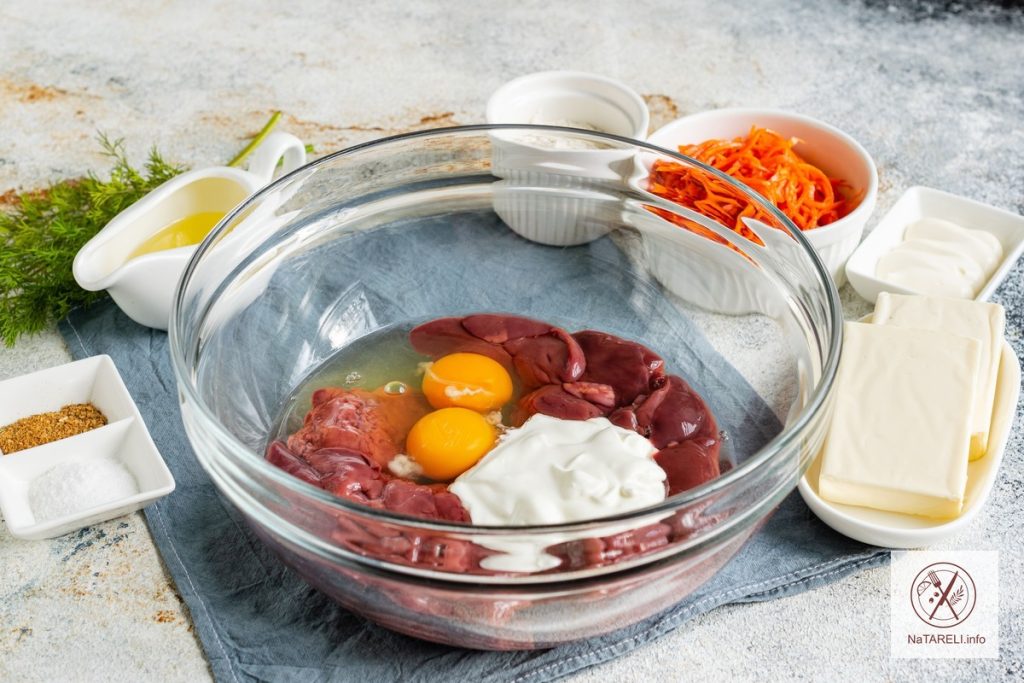
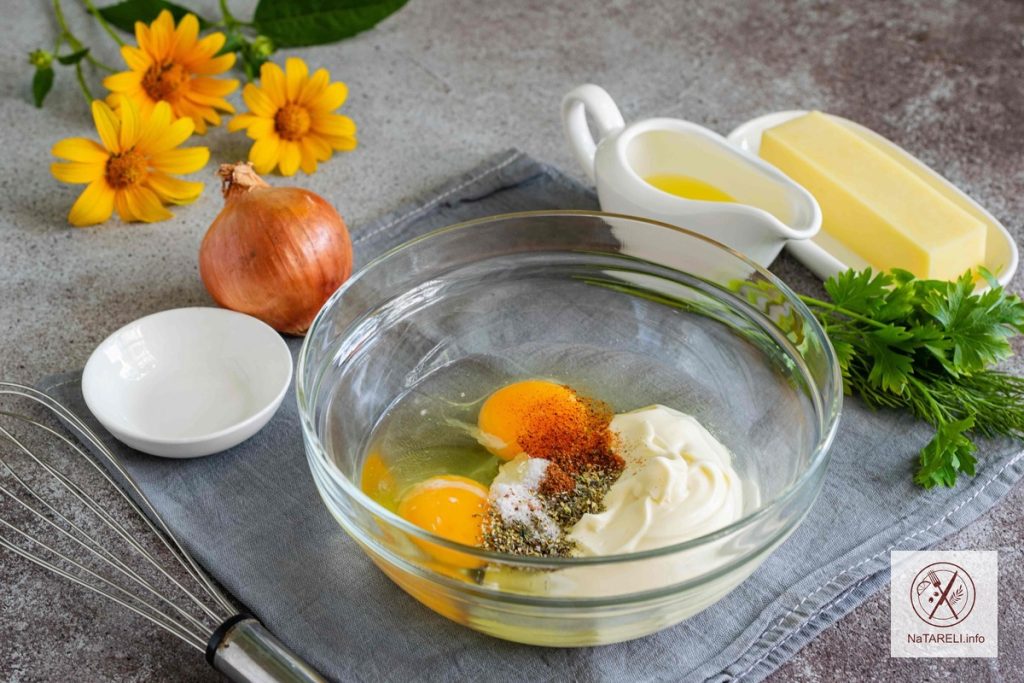
1. In a deep bowl, combine 2 chicken eggs and sugar.

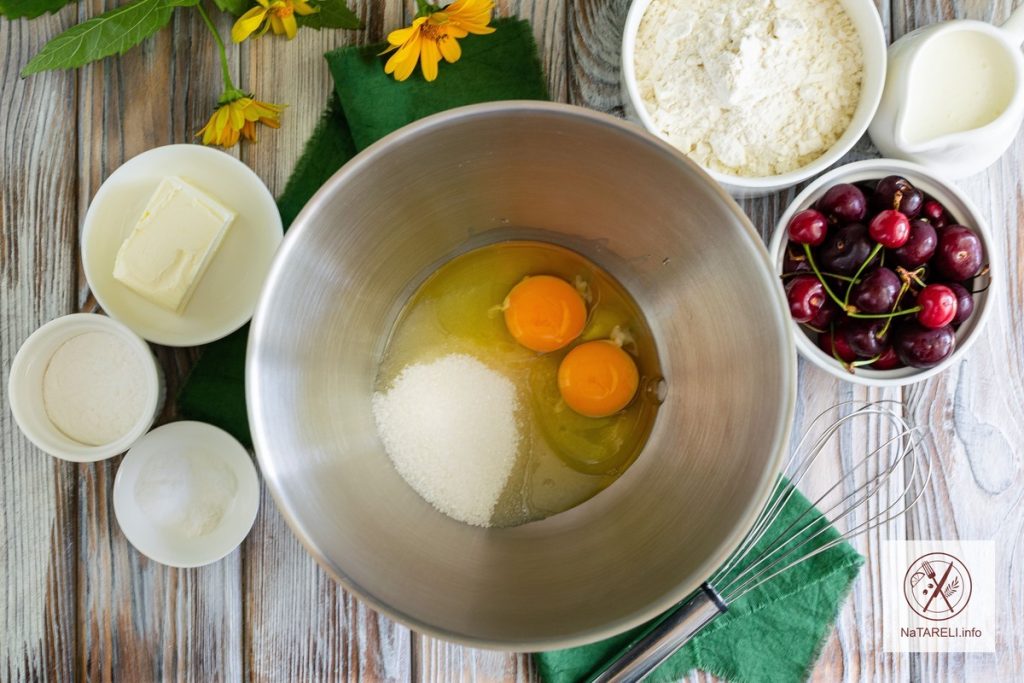
2. Beat the ingredients at maximum mixer speed for 10 minutes until a fluffy and light mass is obtained.

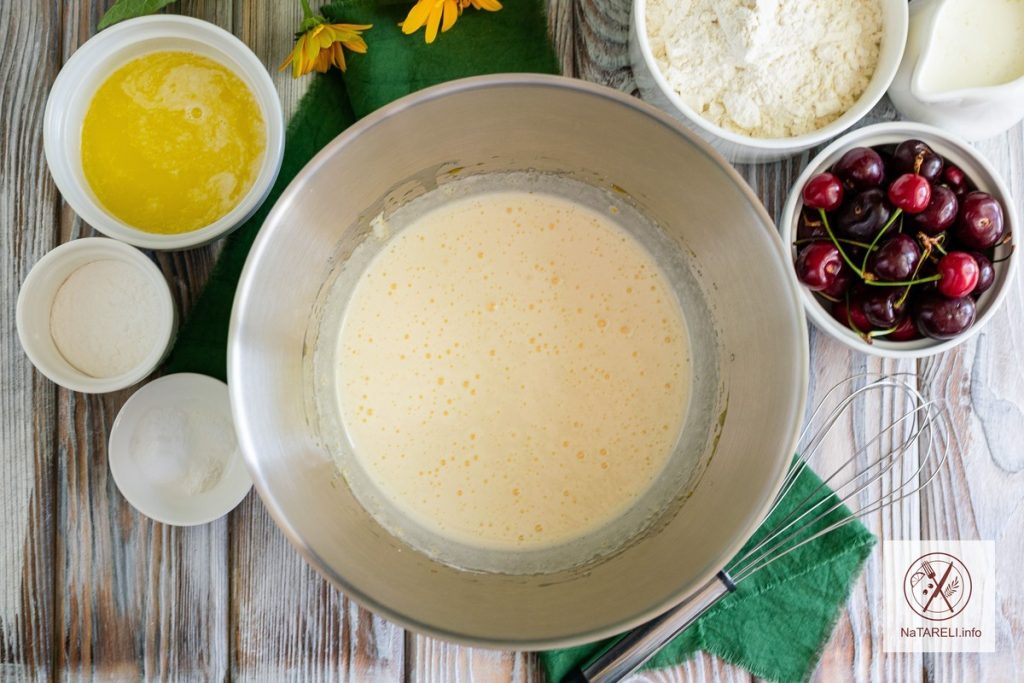
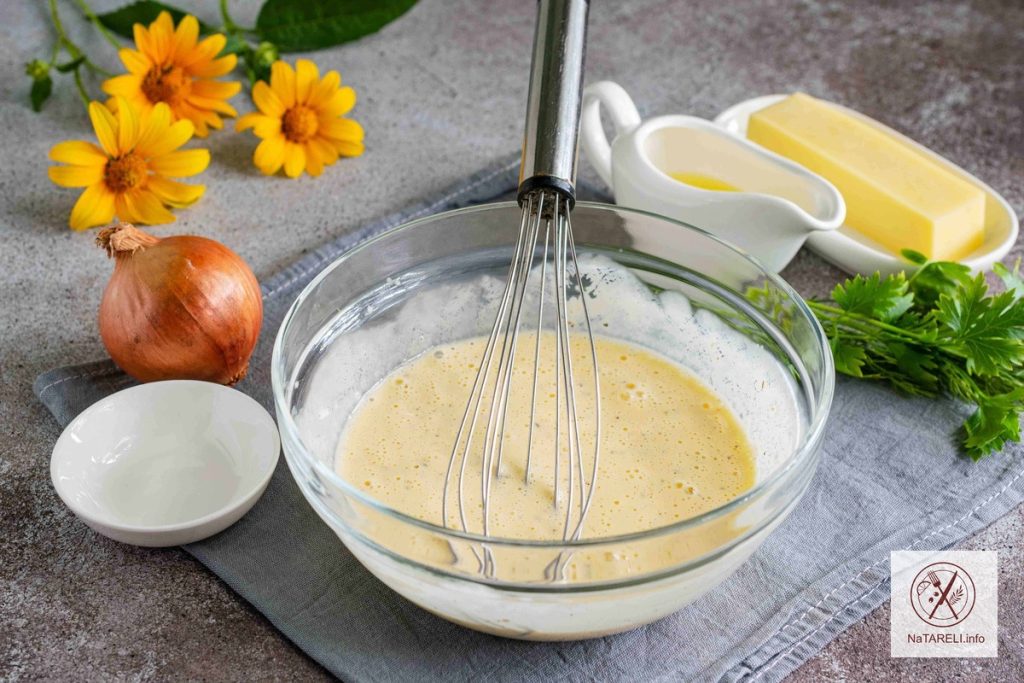
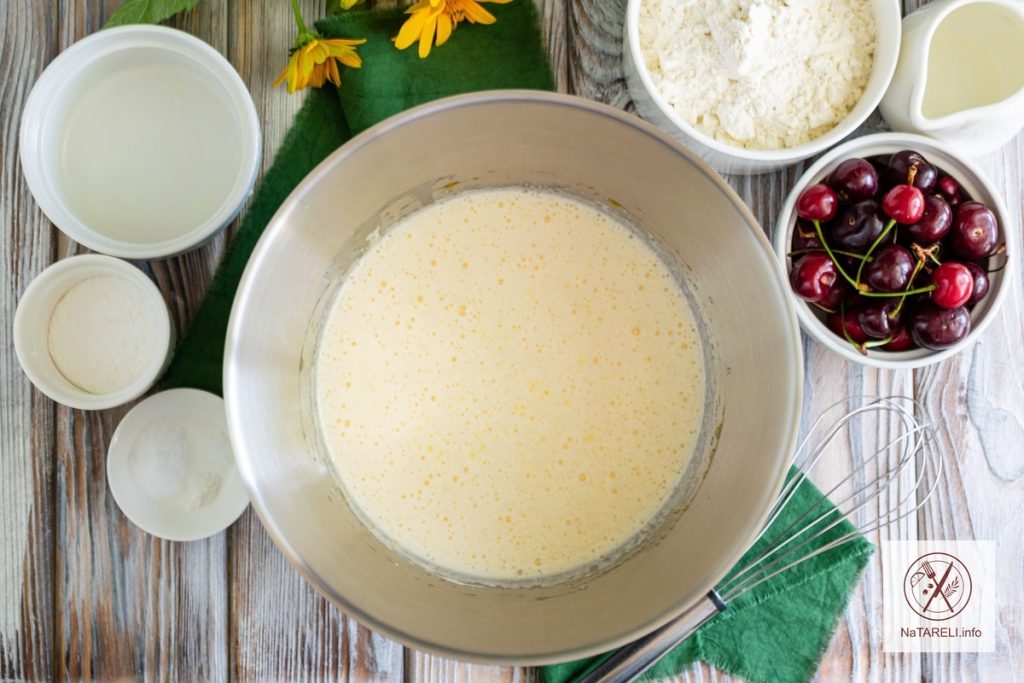
3. Melt the butter on the stove or in the microwave, cool to room temperature, add to the dough. Pour kefir at room temperature to the remaining ingredients. Mix the ingredients with a whisk until smooth.

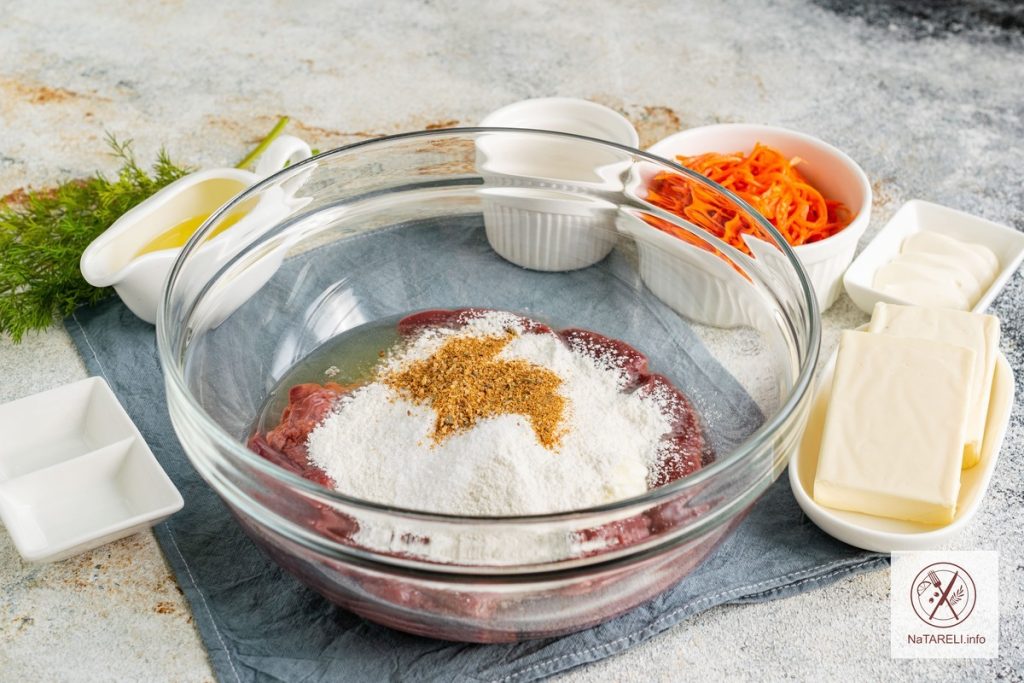
4. Add sifted wheat flour mixed with soda, salt and vanilla to the dough.

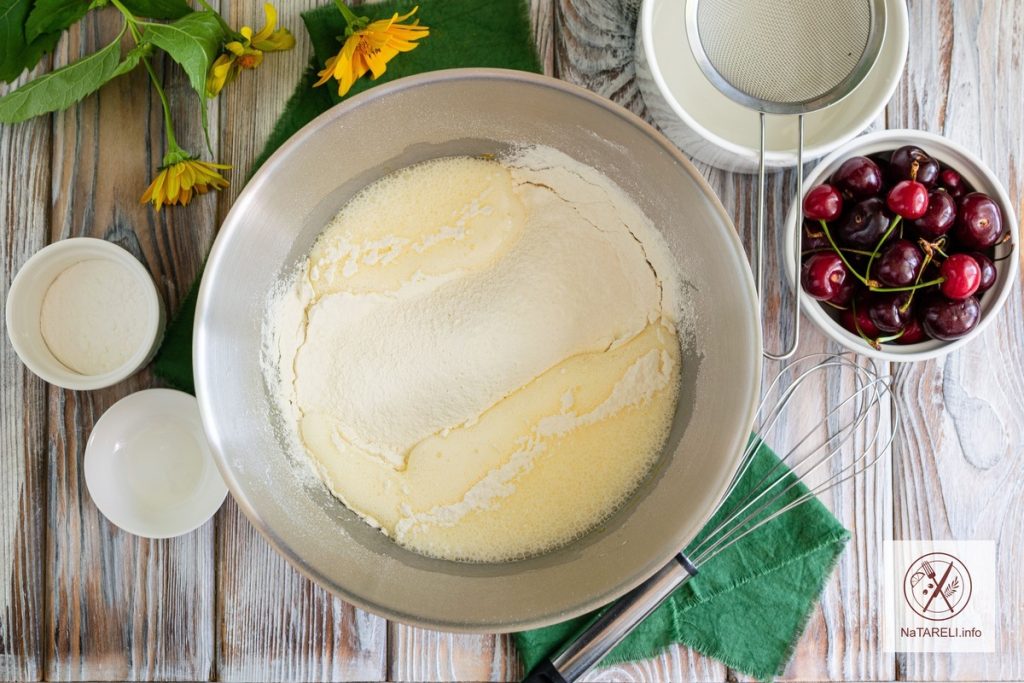
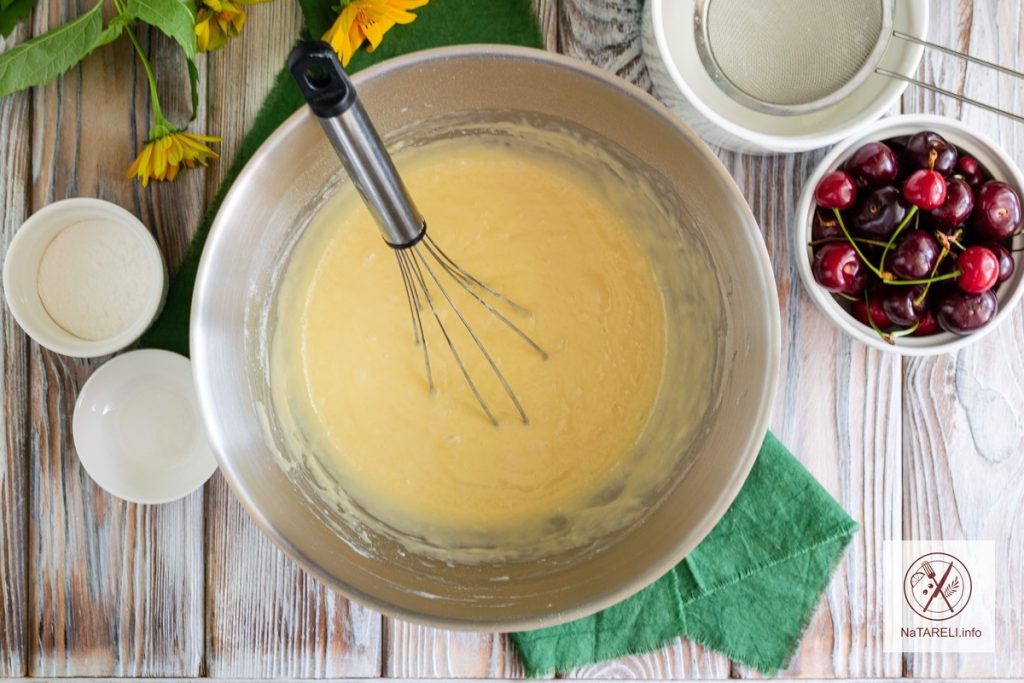
5. Mix the dough with a whisk, achieving a smooth consistency.

6. Wash the cherries, cut in half, remove the pits.

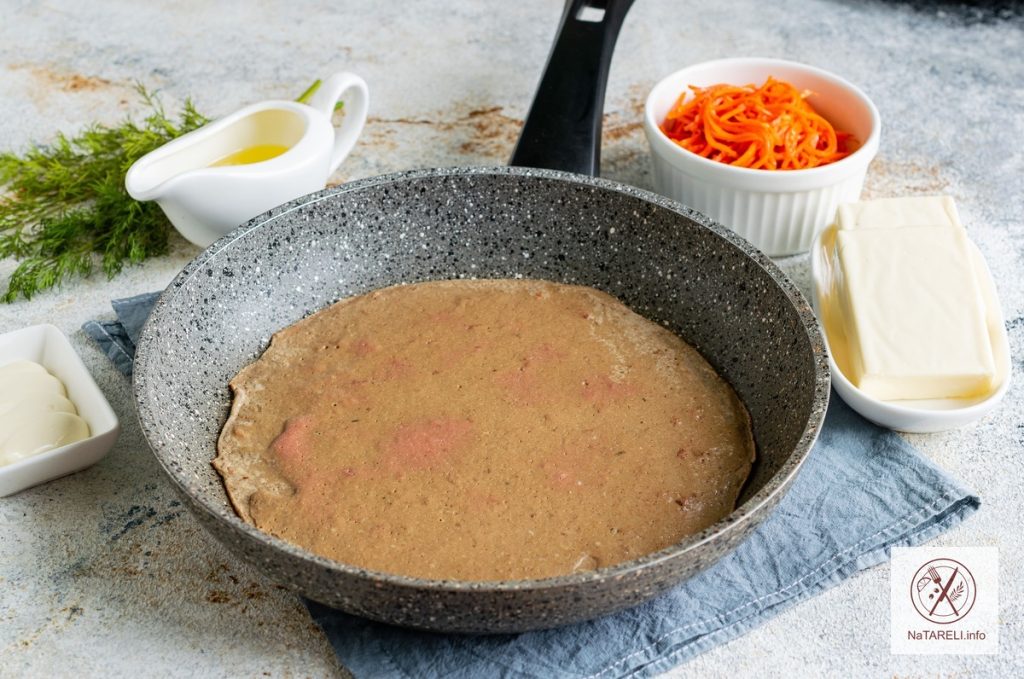
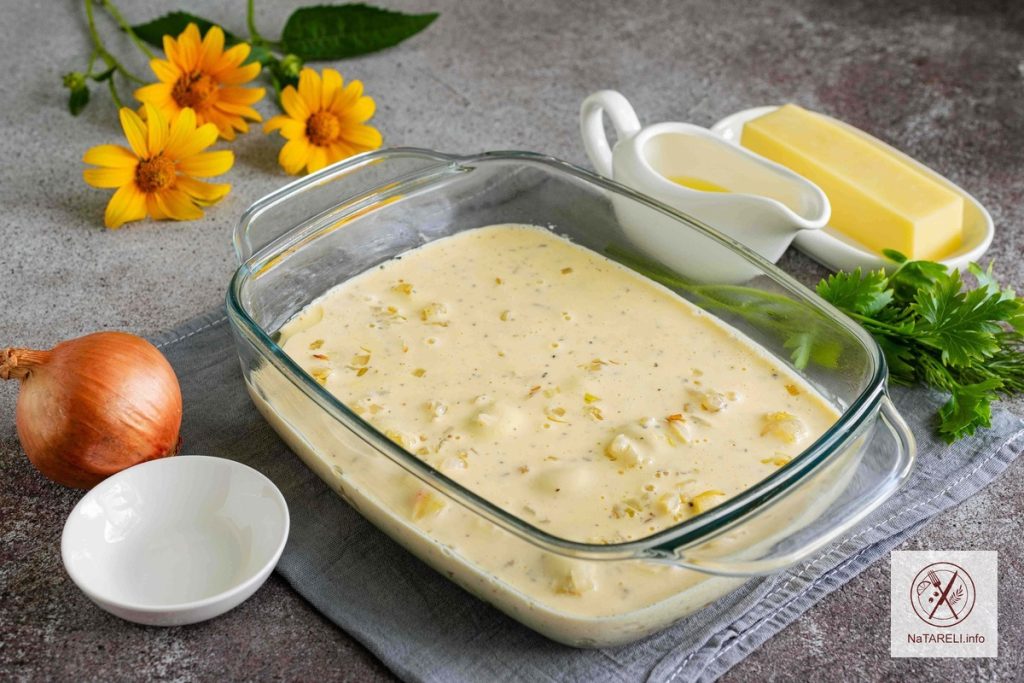
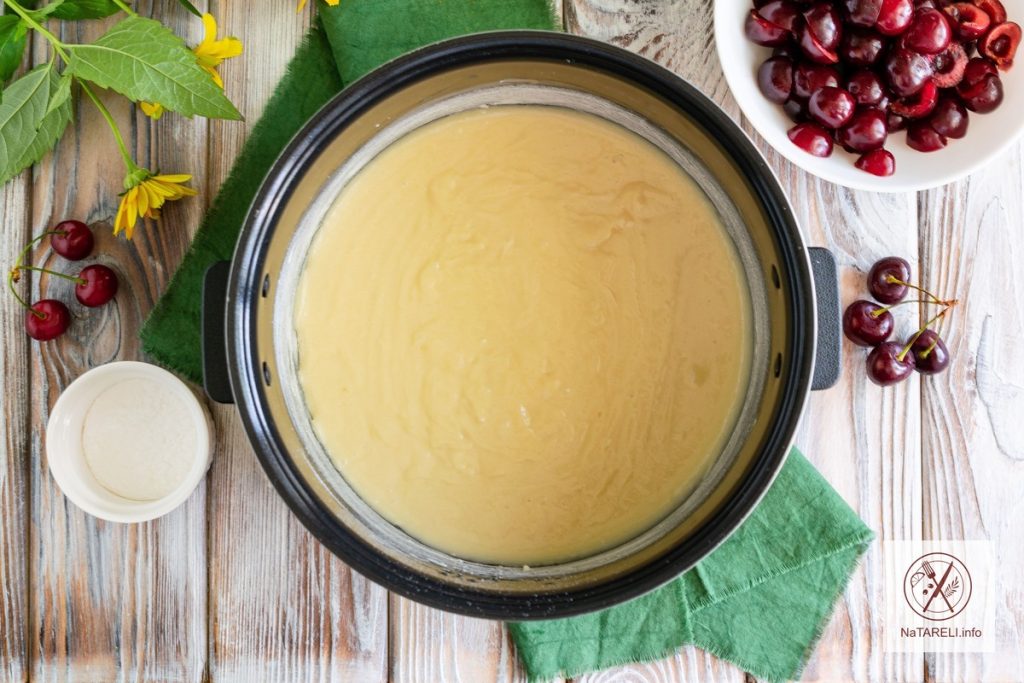
7. Grease the bottom and sides of the multicooker bowl with butter, sprinkle with wheat flour. Pour the pie dough into the prepared bowl, smooth it out with a silicone spatula.

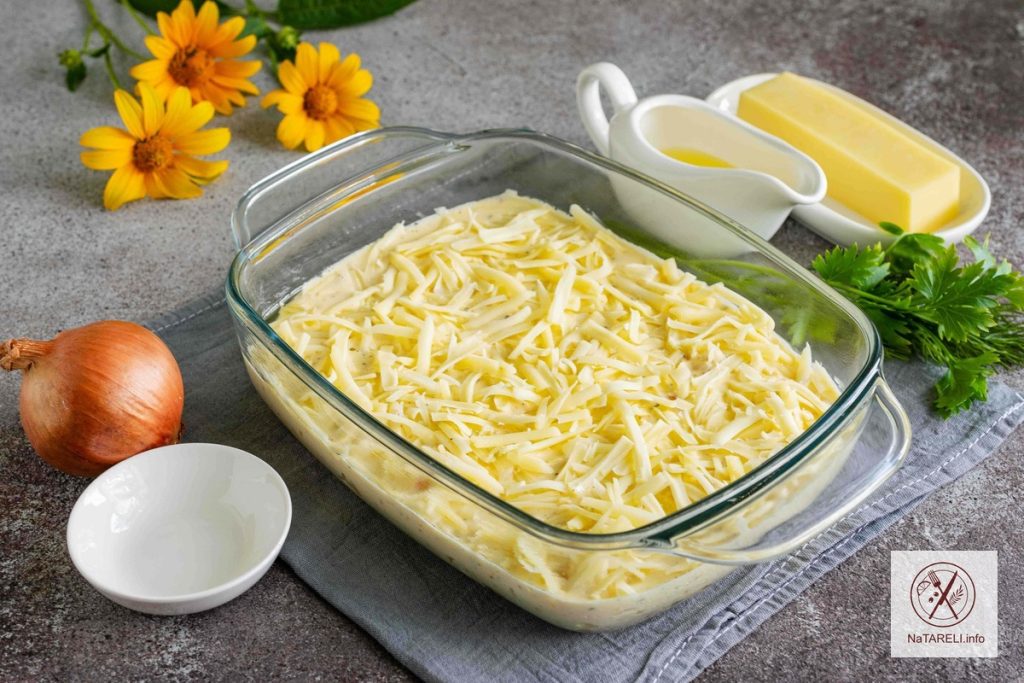
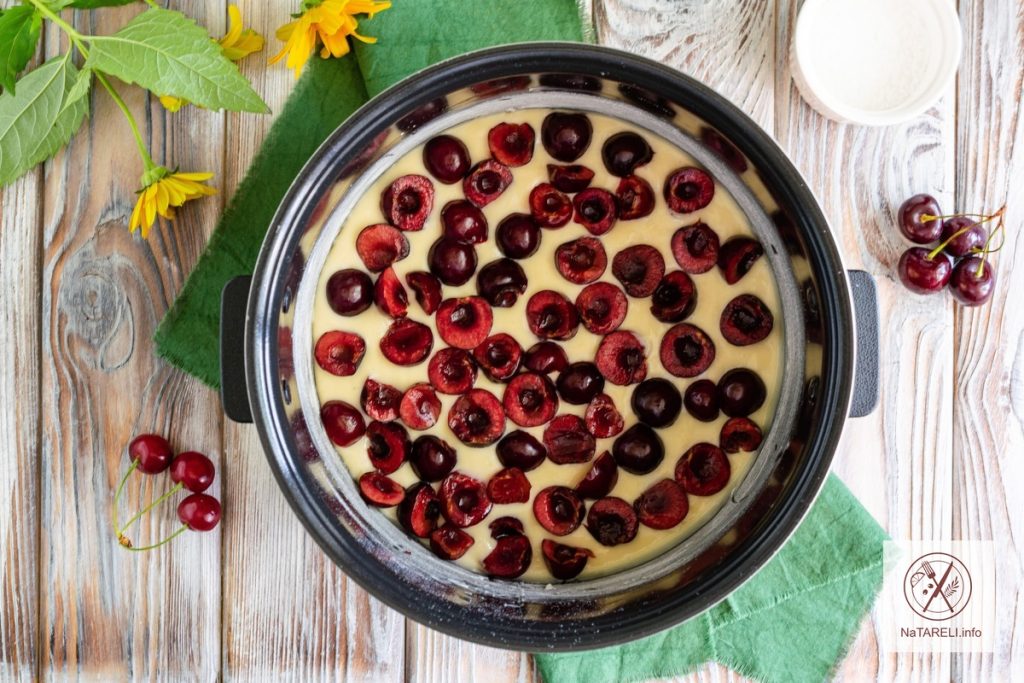
8. Evenly distribute the prepared cherries on top.

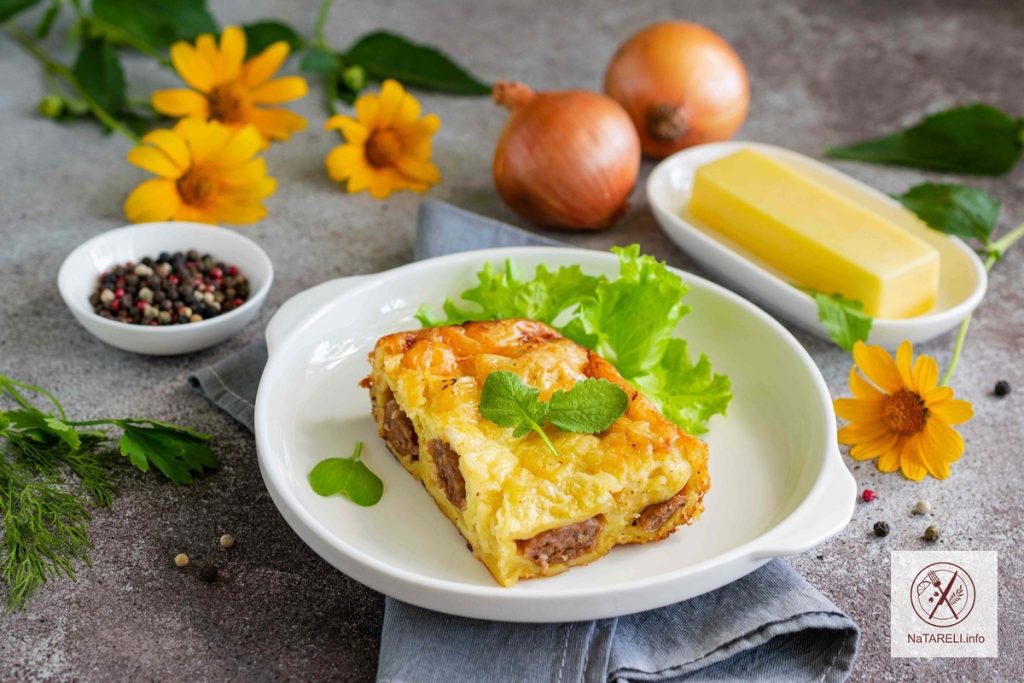
9. Cook the cherry pie in a multicooker on the «Bake» mode for 60 minutes. Using a steamer bowl, carefully remove the finished pie from the multicooker. Cool the baked goods on a wire rack to room temperature.

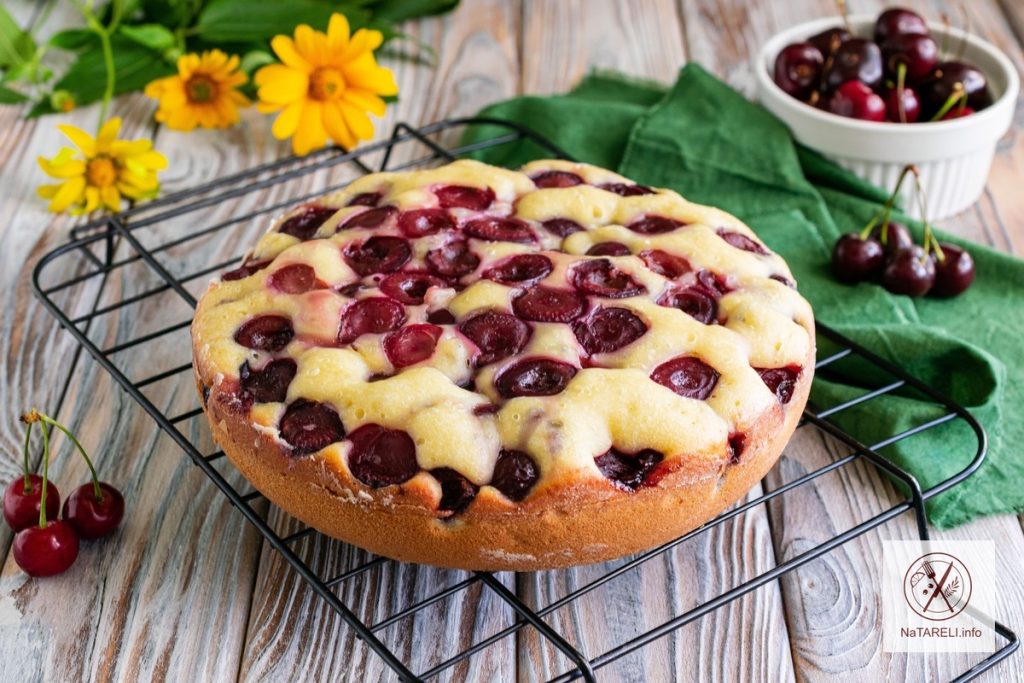
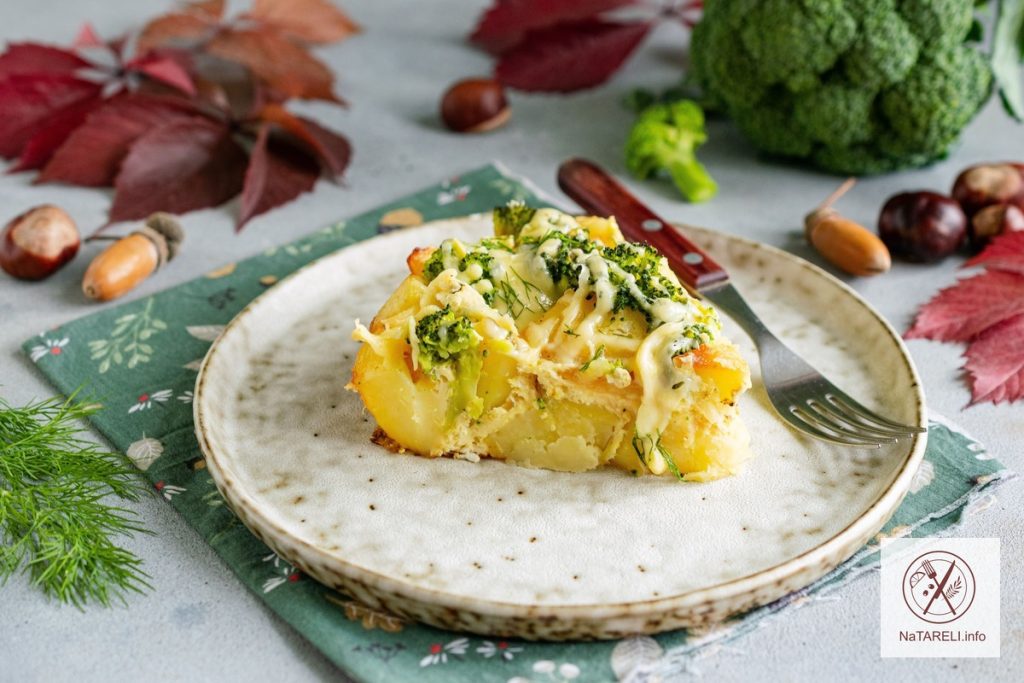
10. Decorate the juicy and aromatic cherry pie with powdered sugar and serve with tea, coffee or cocoa.

Be sure to try this recipe, it’s very simple and delicious! Bon appetit!

You may also like:

Pie with cottage cheese and pear


Liver pancake rolls with Korean carrots

Let’s prepare a very tasty and original snack for the holiday table. Thin liver pancakes are soft and tender, they go well with a juicy filling of Korean carrots, processed cheese and boiled eggs. Despite the simple combination of products, the snack turns out incredibly tasty, satisfying and moderately spicy.

In addition to Korean carrots and processed cheese with boiled eggs, you can use sautéed vegetables, mushrooms fried with onions, hard cheese or cottage cheese with fresh herbs for the filling. As you can see, there is a lot of room for culinary experiments here.

For the recipe, I used chicken liver, it is more tender. If desired, you can take turkey or rabbit liver. To make the snack even tastier and more aromatic, use homemade Korean carrots. On the website you can find a detailed step-by-step recipe on how to cook juicy Korean carrots at home.

Ingredients for making liver pancake rolls with Korean carrots:

Recipe for making liver pancake rolls with Korean carrots

Step-by-step instructions:

1. Wash the chicken liver, dry off excess moisture with paper towels. Clean the offal from veins and films, put in a deep bowl. Add 2 chicken eggs and 2 tablespoons of sour cream to the chicken liver.

2. Add sifted wheat flour, salt and ground coriander for flavor.

3. Using an immersion blender, beat the ingredients until smooth. If you do not have a blender, grind the chicken liver through a meat grinder with a fine grate, then add all the other ingredients to it and mix until smooth.

4. Pour a small amount of liver dough into a hot frying pan greased with vegetable oil. Rotate the pan in a circular motion to evenly distribute the dough around its entire perimeter.

5. Fry the liver pancakes over medium heat until lightly golden on both sides.

6. Cool the finished liver pancakes to room temperature.

7. Boil the remaining 2 chicken eggs hard, cool in cold water, peel, and grate on a coarse grater. Grind the processed cheese in the same way and add it to the boiled eggs. Season the filling with a small amount of mayonnaise and salt to taste. Mix the filling until smooth.

8. Place a small amount of the processed cheese and egg filling on each liver pancake. Spread it evenly around the entire perimeter of the pancake. Sprinkle the filling with finely chopped dill. Place Korean carrots on one edge of the pancake.

9. Roll the liver pancakes with filling into tight rolls. Cover the products with cling film and put them in the refrigerator for 1 hour so that the snack is soaked.

10. Cut the finished rolls of liver pancakes with Korean carrots into portions and serve as a cold appetizer on the festive table.

Bon appetit!

You may like:

Korean carrots


Potato casserole with broccoli and hard cheese in the oven

In the season of fresh and juicy vegetables, you want to cook them as often as possible, so you need to look for new interesting recipes every time. Today I will tell you how to cook a delicious potato casserole with broccoli in the oven. The vegetables turn out very tasty, tender and aromatic. The cream and egg pouring makes the vegetables very juicy and soft, they literally melt in your mouth. All this splendor is emphasized by melted grated cheese, making the dish tasty, satisfying and healthy.

Vegetable casserole will help diversify your everyday menu and delight you with new flavors. In the off-season, you can use frozen broccoli inflorescences for the recipe. In this case, the vegetables do not need to be blanched, since they are heat treated before freezing.

You can cook a casserole with cauliflower using the same principle. Use high-starch potatoes for baking to get a crispy crust on top and tender flesh inside.

Ingredients for cooking potato casserole with broccoli and hard cheese in the oven:

Recipe for cooking potato casserole with broccoli and hard cheese in the oven

Step-by-step instructions:

1. Separate the broccoli into small florets.

2. Put the broccoli in boiling water, bring to a boil and blanch for 2 minutes over low heat. Then discard the cabbage in a sieve and put it in ice water to preserve the beautiful green color of the vegetables and stop the heat treatment process.

3. Wash the potatoes, peel them, cut into thin slices.

4. Place the potatoes in a deep frying pan with heated vegetable oil. Stirring occasionally, fry the vegetables over medium heat until golden brown on all sides. You don’t need to cook the potatoes until done, we just need to get an appetizing golden crust on top.

5. Then transfer the fried potatoes to a baking dish greased with vegetable oil. I used a frying pan with a removable handle that can be baked in the oven, so I skipped this step. Add blanched broccoli to the potatoes.

6. Mix the chicken eggs and cream in a deep bowl.

7. Add cloves of garlic passed through a press, salt, ground black pepper and spices for potatoes to taste. Mix the ingredients with a whisk until smooth.

8. Pour the creamy egg mixture over the vegetables.

9. Cover the baking dish with a heat-resistant lid or foil, send it to the oven preheated to 180 degrees for 25 minutes.

10. After the specified time, carefully remove the casserole from the oven. Remove the lid or foil, sprinkle the vegetables with grated hard cheese. Return the casserole to the oven for another 5 minutes, so that the cheese on top melts and browns.

11. Sprinkle the finished dish with finely chopped dill and serve hot immediately after cooking.

The casserole can be a full-fledged independent dish or a hearty side dish for meat or fish.

Bon appetit!

Try cooking:

Potato pancakes with zucchini


Lightly salted cucumbers in a jar using the hot method

Young potatoes with dill and butter, fresh bread with lard and lightly salted cucumbers – this is what the most delicious summer lunch looks like. Let’s make crispy, aromatic and very tasty lightly salted cucumbers in a jar! It is impossible to tear yourself away from them, the vegetables will serve as an excellent snack for any table. There is simply no one who is indifferent! The advantage of this recipe is that the vegetables can be stored in brine in a jar for quite a long time, while they retain their taste and do not become more salty. Lightly salted cucumbers using the hot method are very quick and easy to prepare, even an inexperienced cook can handle it.

Spicy spices, fresh herbs and young garlic give cucumbers an amazing taste and aroma. Fragrant cucumbers according to this simple recipe will be ready the next day. Stock up on young fresh cucumbers to fully enjoy the crispy texture and impeccable taste.

Advice! If the cucumbers have been lying in the sun for a while, soak them in cold water for an hour, this will make them more elastic and crispy.

Ingredients for making lightly salted cucumbers in a jar using the hot method:

Recipe for making lightly salted cucumbers in a jar using the hot method

Step-by-step instructions:

1. Wash the cucumbers, cut off the ends. Peel the garlic cloves.

2. Wash the horseradish leaf and dill sprigs, chop coarsely, and place on the bottom of a two-liter jar. You can also add cherry or blackcurrant leaves. Add garlic cloves and spices.

3. Tightly pack fresh cucumbers into the jar.

4. Mix salt and sugar in a ladle or small saucepan. Pour in 1 liter of purified water. Stirring until the salt and sugar are completely dissolved, bring the brine to a boil.

5. Pour the boiling brine over the cucumbers in the jar. The liquid should completely cover the vegetables. Lightly cover the jar with a lid, leave the cucumbers to cool to room temperature. Then tightly close the jar with lightly salted cucumbers with a nylon lid and put in the refrigerator for 24 hours.

6. After the specified time, the lightly salted cucumbers will be ready.

7. We take them out of the jar, cut them into portions and serve with fried potatoes, baked chicken or shashlik.

Bon appetit!

You may also like:

Pickled daikon – a delicious oriental snack

Korean carrots


Chicken cutlets with vegetables and rice, baked in the oven

I suggest diversifying your everyday menu with delicious, juicy and healthy cutlets made from minced chicken with vegetables and rice. The products can be fried in vegetable oil in a frying pan or cooked on an electric grill. I decided to make a dietary option, so I baked chicken cutlets in the oven. Thanks to the vegetables, the cutlets turn out very tender, juicy and aromatic. I am sure you will love this recipe for its simplicity and versatility.

These cutlets can be served with any side dish: vegetable puree, various cereals or pasta. And just with a slice of fresh bread – it’s very tasty! Chicken cutlets with vegetables and rice are convenient to take with you on a picnic or on the road as a snack.

For cutlets, I recommend using homemade minced meat made from chicken breast or thigh fillet. If desired, you can replace the minced chicken with turkey. Juicy and flavorful chicken cutlets with zucchini are perfect for baby or diet food. Be sure to try repeating this recipe!

Ingredients for cooking chicken cutlets with vegetables and rice, baked in the oven:

Recipe for cooking chicken cutlets with vegetables and rice, baked in the oven

Step-by-step instructions:

1. Wash the chicken fillet, dry it from excess moisture with paper towels. Clean the meat from fat and films, cut into large pieces. Grind the chicken fillet into mince using a blender or a meat grinder with a fine grate. Thoroughly wash the long-grain rice, fill it with cold water, boil until tender, throw it into a sieve. In a deep bowl, combine the chicken mince and rice cooled to room temperature.

2. Peel the onion, cut into small cubes. Wash the carrots, peel them, chop them on a grater with a fine cloth. Put the prepared vegetables in a frying pan with heated vegetable oil. Stirring occasionally, sauté the onions and carrots over medium heat until soft. Cool the vegetables to room temperature.

3. Wash the zucchini, cut off the ends, and grate on a fine grater. Squeeze out excess juice from the vegetables and add to the minced meat for the cutlets. Add the sautéed onions and carrots.

4. Beat the chicken egg into the resulting mixture. Add salt and ground spices to taste.

5. Mix the minced meat for the cutlets thoroughly until smooth.

6. Wet your hands in cold water and form round or oval cutlets of the same size from the minced meat. I got 8 cutlets from the specified amount of ingredients. Place the cutlets on a baking sheet covered with parchment paper.

7. Place the chicken cutlets with vegetables and rice in the oven preheated to 180 degrees for 25-30 minutes. When the products are browned, carefully remove them from the oven and place them on a plate.

8. Serve the finished chicken cutlets with zucchini hot with your favorite side dish or sauce. Bon appetit!

Try cooking:

Vermicelli with chicken and vegetables in a frying pan

Snack triangles of lavash with minced meat and hard cheese


Spicy salted herring at home

No feast is complete without fish dishes. If you have a few days before the holiday, prepare spicy salted herring at home. The preparation will take a minimum of free time, but the result will pleasantly surprise you. I am sure you will no longer want to buy ready-made fish in the supermarket.

Lightly salted herring according to this recipe turns out very tasty and aromatic, moderately salty, with a tender and elastic fillet. Spicy marinade with onions perfectly emphasizes the magnificent taste of the fish.

Ready spicy salted herring can be served as an independent snack with onions or used to prepare various sandwiches and salads. Using a step-by-step recipe with photos, you will learn how to cook very tasty spicy salted herring at home.

Ingredients for making spicy salted herring at home:

Recipe for making spicy salted herring at home

Step-by-step instructions:

1. Defrost the herring in advance on the bottom shelf of the refrigerator. To prevent other products in the refrigerator from being saturated with the smell of fish, wrap the herring in a thick food bag. Thoroughly rinse the defrosted fish under running cold water. Remove the gills so they don’t give off bitterness. Add 1 tablespoon of salt from the total amount there so that all the insides are well salted.

2. Transfer the fish to a deep glass container.

3. Prepare a spicy marinade. Peel the onion, cut into thin half rings, put in a ladle or small saucepan. Pour in the remaining salt and sugar. Add spices.

4. Pour 1 liter of cold water over the ingredients. Stirring until the sugar and salt are completely dissolved, bring the marinade to a boil. During the cooking process, the spices will reveal their aroma, giving the fish a piquant spicy note. Cool the finished marinade to room temperature.

5. Pour the cooled spicy marinade over the fish. Place a small saucer on top, it will act as a weight so that the herring is completely immersed in the marinade. Cover the dish with the fish with an airtight lid or cling film. Put the herring in the refrigerator to marinate for 3 days. After the specified time, fish will be lightly salted, on the 4th day – salted. Do not keep the herring in the brine for more than 4 days.

6. Remove the finished herring from the brine, cut off the head, tail and fins, remove the entrails. Clean the fish from skin and bones, cut into portions. Serve the spicy salted herring with dill and red onion. If desired, you can sprinkle the fish with vegetable oil.

Bon appetit!

Try to cook:

Kefir pancakes with salmon and cream cheese

Baked mackerel roll with rice and hard cheese


Kapusniak from fresh cabbage

We are preparing for lunch a delicious, satisfying and bright dish in all respects – kapusniak made from fresh cabbage with millet. Traditionally, kapusniak is cooked in a rich meat broth using fresh or smoked pork ribs. If you prefer a lighter and more dietary version of kapusniak, use chicken broth.

Kapusniak has many cooking options, it all depends on the region of residence and traditions. Often kapusniak is prepared with sauerkraut or a combination of sauerkraut and fresh cabbage is used. Some housewives season the kapusniak with crushed garlic and lard, and add smoked meats and tomato paste to the soup.

Today I propose to prepare another delicious version of kapusniak from fresh cabbage with millet. It turns out to be a very tasty and aromatic dish for the whole family. A bowl of soup seasoned with sour cream and fresh herbs will give you a feeling of fullness for a long time.

Ingredients for making kapusniak from fresh cabbage:

Recipe for making kapusniak from fresh cabbage

Step-by-step instruction:

1. Shred white cabbage into thin strips and transfer to a saucepan.

2. Pour 2 liters of chicken broth over the vegetables. Cover the pan with a lid and bring the broth to a boil. Cook the cabbage over low heat until soft.

3. Wash the potatoes, peel them, put them in a ladle, and fill them with cold water. Boil the potatoes until tender.

4. Using a potato press, grind the boiled vegetables into a puree.

5. Peel the onions and cut them into small cubes. Wash the carrots, peel them, and chop them on a coarse grater. Place the vegetables in a frying pan with heated vegetable oil.

6. Stirring occasionally, saute the onions and carrots until golden brown. Add tomato paste to vegetables. Mix the ingredients and continue to simmer them together for 1-2 minutes.

7. When the cabbage is cooked and becomes soft, add mashed potatoes to the kapusniak.

8. Pour thoroughly washed millet into the soup.

9. Next, add sauteed vegetables with tomato paste to the kapusniak.

10. Cover the pan with a lid and bring the soup to a boil. Cook kapusniak with fresh cabbage over low heat for another 5 minutes. At the end of cooking, add salt, ground spices and finely chopped fresh dill.

11. Tasty and rich kapusniak is ready. Pour it into portioned plates and serve with a slice of rye bread and sour cream.

Bon appetit!

You may like:

Creamy zucchini soup with chicken broth

Creamy soup with radish tops


Dumpling casserole with hard cheese in the oven

Do you have some frozen dumplings left in the freezer? Try preparing a new original dish from them – a tasty and satisfying casserole. In combination with fried onions, egg filling and hard cheese, the dish turns out to be very juicy and aromatic.

This is an excellent alternative to boiled dumplings. Both adults and children will appreciate this dumpling casserole. I recommend using small-sized dumplings for the recipe so that they have time to fully cook during the baking process. If you are using large semi-finished products, add an additional 100 ml of water to the egg wash.

The casserole can be prepared in one large baking dish or in portions.

Ingredients for making dumpling casserole with hard cheese in the oven:

Recipe for making dumpling casserole with hard cheese in the oven

Step-by-step instruction:

1. Grease the bottom and sides of a heat-resistant baking dish with vegetable oil. I used a baking dish measuring 23 by 15 cm. Place the frozen dumplings in one layer in the prepared pan.

2. Peel the onions and cut them into small cubes. Place the vegetables in a frying pan with heated vegetable oil. Stirring occasionally, sauté the onions over low heat until golden brown.

3. Evenly distribute the sautéed onions over the dumplings.

4. In a deep bowl, mix mayonnaise, 2 chicken eggs, salt and spices to taste.

5. Stir the mixture with a whisk until smooth.

6. Pour the egg filling with mayonnaise into the mold.

7. Grind the hard cheese on a grater with a large blade. Distribute the grated cheese evenly over the casserole.

8. Place the dumpling casserole in an oven preheated to 180 degrees for 30-40 minutes. During this time, the dumplings will be completely cooked, and the grated cheese on top will melt and brown.

9. Serve the aromatic dumpling casserole hot, garnished with fresh herbs. The dish can be supplemented with your favorite sauce or vegetable salad.

Bon appetit!

Try cooking:

Snack triangles of lavash with minced meat and hard cheese


Envelopes made of toast bread with sprats and pickled cucumbers

If you are planning a get-together with friends or a festive dinner, I recommend preparing a tasty and satisfying appetizer that will delight guests with its original taste, texture and appearance. Toast bread envelopes with sprats and pickled cucumbers turn out very appetizing, crispy on the outside and juicy on the inside.

We will use white toast bread as the basis for the envelopes. It is important that the bread is as fresh as possible, then it will be easy to roll it into envelopes. Then bake the bread slices in the oven until golden brown to give the snack a crispy texture. Next, all that remains is to fill the bread envelopes with the cheese and egg mixture and decorate the appetizer with sprats and pickled cucumbers.

Advice! Small sprats are ideal for this appetizer. Small fish will look neat in envelopes. Be sure to try this recipe, it will become a real decoration for your table.

Ingredients for preparing envelopes of toast bread with sprats and pickled cucumbers:

Recipe for making envelopes of toast bread with sprats and pickled cucumbers

Step-by-step instruction:

1. Roll out the slices of bread thinly with a rolling pin. Please note that the toast must be fresh, otherwise the bread will crumble.

2. Cut each slice of bread in half diagonally to form triangles.

3. Fold opposite corners of the bread to form “envelopes”. Secure the pieces with wooden toothpicks. Place the bread envelopes on a baking sheet or in a baking dish. Place the pieces in an oven preheated to 180 degrees for 10 minutes so that the products brown and become crispy.

4. Boil chicken eggs hard-boiled, cool in cold water, peel, and grate on a coarse grater. Grind the processed cheese in the same way and add it to the boiled eggs. For the recipe, processed cheese can be replaced with hard or creamy cheese, in any case it will turn out delicious.

5. Add a clove of garlic passed through a press, salt and ground black pepper to taste to the resulting mixture. Season the mixture with a small amount of mayonnaise. If desired, mayonnaise can be replaced with sour cream or homemade sauce.

6. Mix the ingredients until smooth.

7. Carefully remove toothpicks from the oven-dried bread envelopes. Fill the dough with the cheese and egg mixture.

8. In each envelope we insert one canned fish.

9. Add slices of pickled cucumber to the snack envelopes.

10. Decorate the appetizer with fresh dill.

11. Ready-made envelopes of toast bread with sprats and pickled cucumbers can be served immediately after cooking. Before guests arrive, the prepared snack can be kept in the refrigerator for 1-2 hours. The bread is well dried so it will remain crispy.

Bon appetit!

Try cooking:

Toasts with sprats


Raspberry puff pastries

Quick and delicious baked goods for homemade tea party! Ready-made puff pastry always helps, as do frozen berries. Having these foods in your freezer is a good habit! Thanks to these preparations, you can quickly prepare excellent aromatic pastries for every taste with a variety of fillings. No hassle or lengthy kneading – we defrost the semi-finished dough and immediately form the products.

Puff pastries can be made with fresh or frozen raspberries. It is better to remove frozen berries from the refrigerator in advance and place them on a sieve to remove excess liquid. In addition to raspberries, you can use pitted cherries, black or red currants, bilberries or blueberries.

The characteristic berry sourness will especially please those who prefer moderately sweet desserts. Puff pastries are crispy, airy and very fragrant. This is a simple but very tasty delicacy!

Ingredients for making raspberry puff pastries:

Recipe for raspberry puff pastries

Step-by-step instruction:

1. Remove the puff pastry without yeast from the freezer in advance. Thaw the finished dough at room temperature according to the instructions on the package. Cut the dough into 8 equal parts. On a floured work surface, roll out the pieces into squares with a side of 10-12 cm and a thickness of 3 mm.

2. Fold the workpiece into a triangle. Stepping back 1 cm from the edge, make cuts with a sharp knife, not reaching the upper corner 1 cm.

3. Unroll the dough piece. Separate the chicken white from the yolk. Using a pastry brush, coat the center of the piece with chicken protein.

4. Fold the opposite edges of the dough, forming a puff bun.

5. Place half a teaspoon of cornstarch in the center of each bun. It will help retain the juice released from the berries inside the buns.

6. Place defrosted raspberries on top.

7. Sprinkle half a tablespoon of sugar on top of the raspberries.

8. Transfer the raspberry puff pastries onto a baking sheet lined with parchment paper. Lubricate the products with chicken yolk.

9. Place the puff pastries in an oven preheated to 180 degrees for 20-25 minutes. When the baked goods are golden brown, carefully remove them from the oven and cool on a wire rack.

10. Decorate the finished puff pastries with powdered sugar and serve with tea, coffee or cocoa.

Bon appetit!

Pay attention:

Cheesecakes made from puff pastry with cottage cheese and currants