Baked eggplant boats with satsebeli sauce and cheese
This method of cooking eggplant is the most popular. This is because any filling will do for eggplants and it is the baked version that makes a simply impeccable dish.
Today I offer you Georgian-style eggplant boats with satsebeli sauce and cheese. This dish will be a great option for lunch or a light dinner. In season, this dish can be cooked very often – it is tasty, quick and healthy.
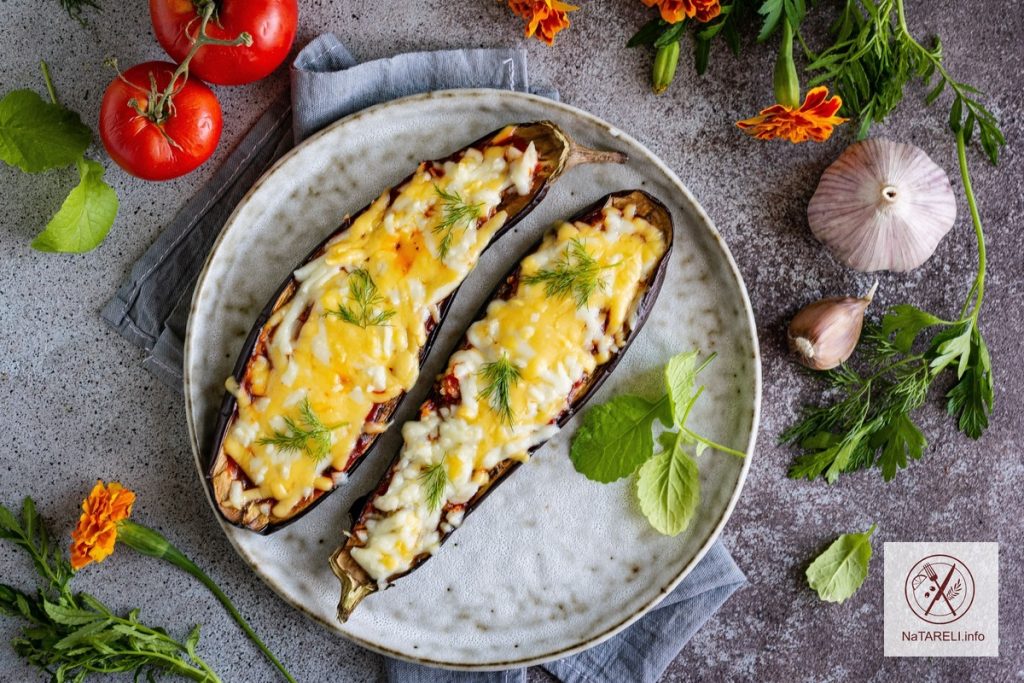
For the recipe, choose young cheese with a high percentage of fat, which melts well when heated. I used two types of cheese: Dutch and mozzarella. During the baking process, they create an appetizing stretchy crust on the vegetables, which gives the dish a creamy taste and aroma.
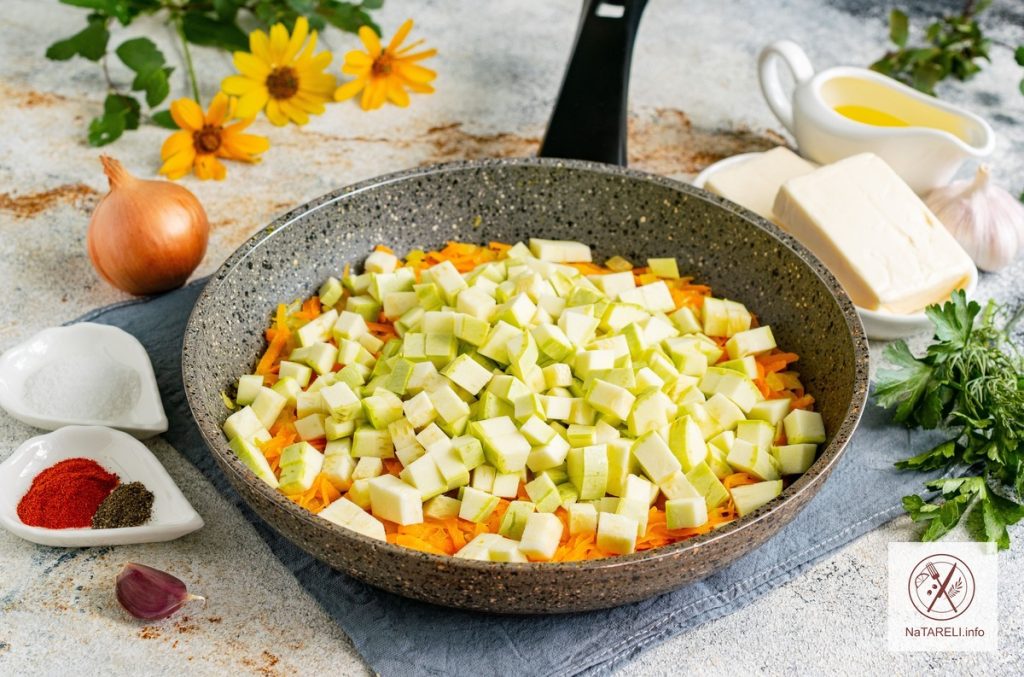
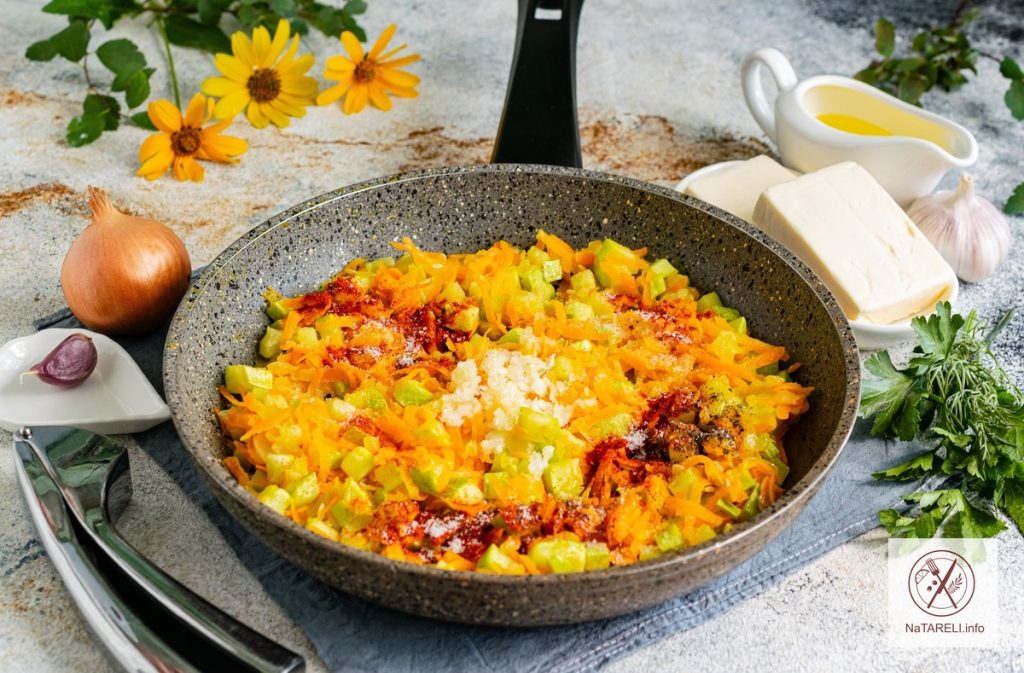
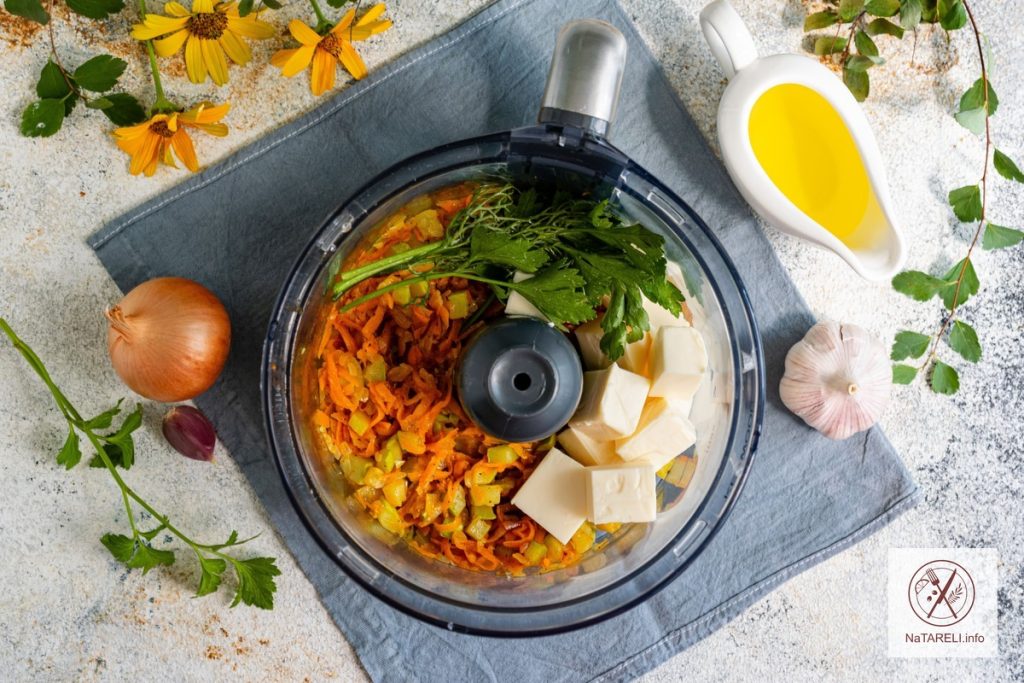
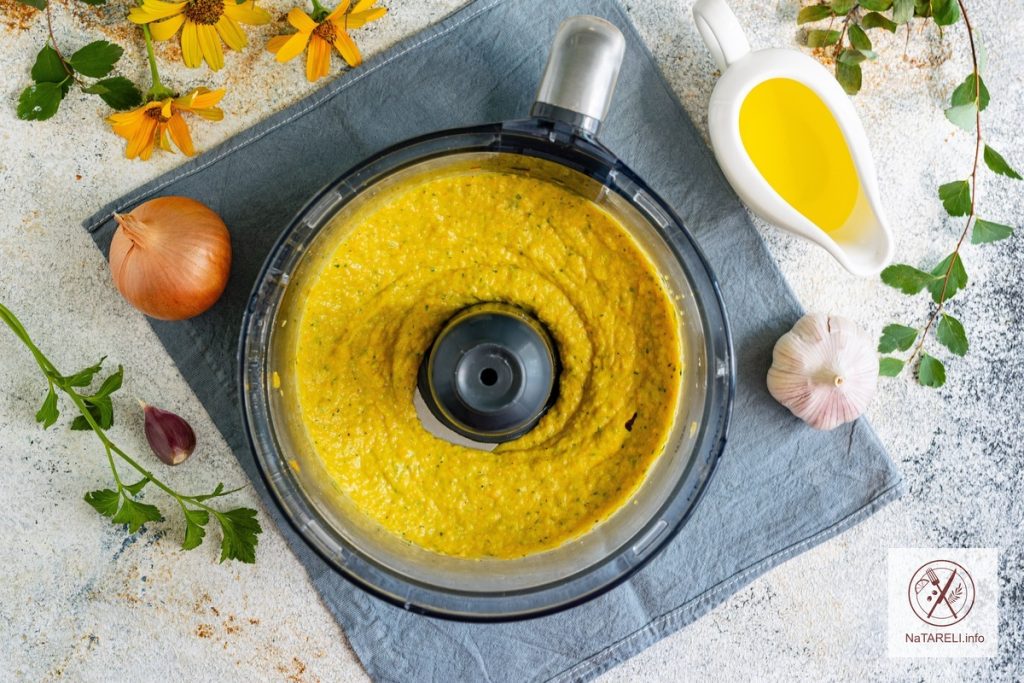
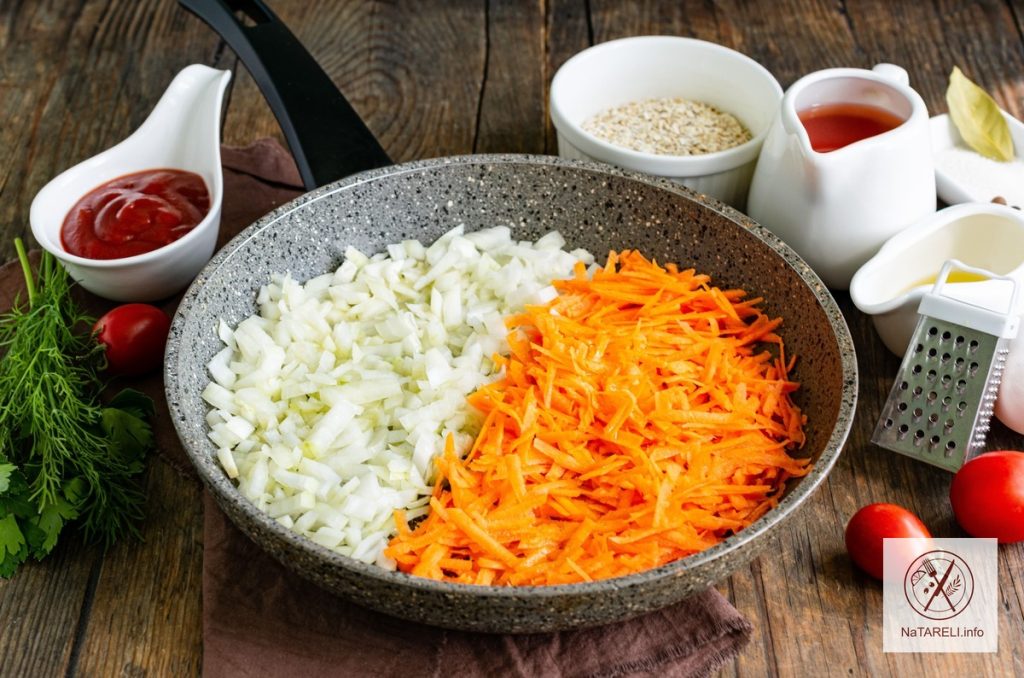
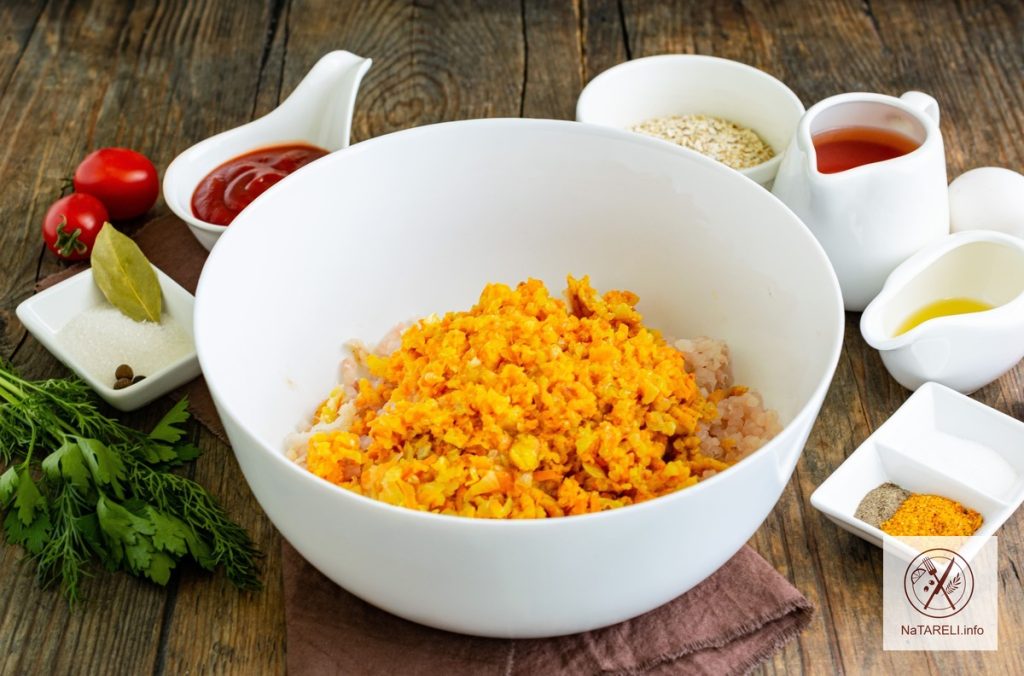
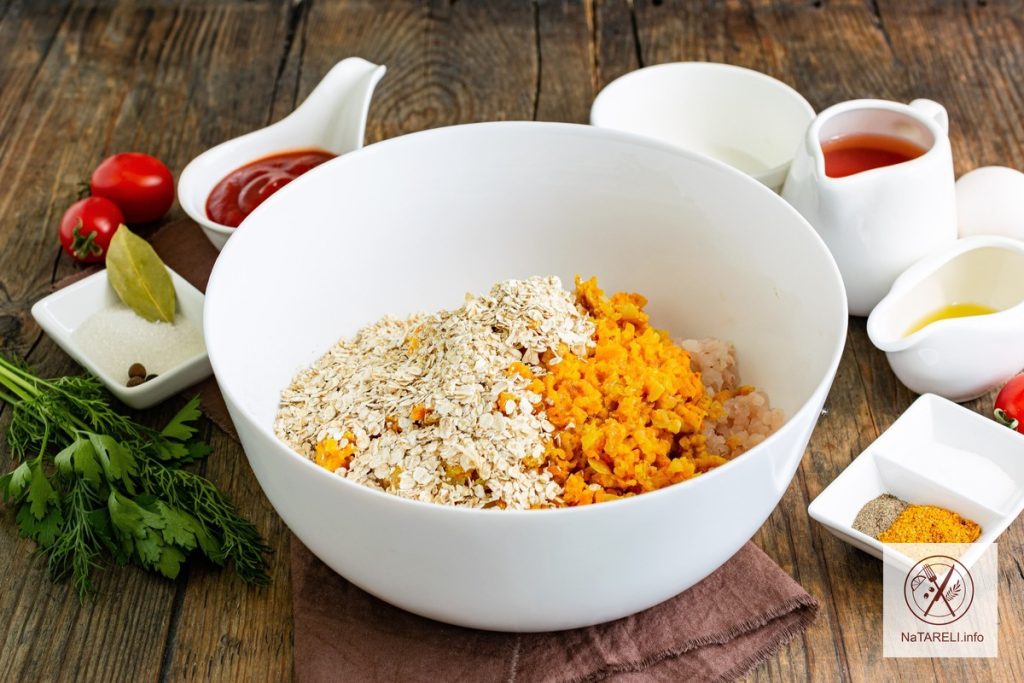
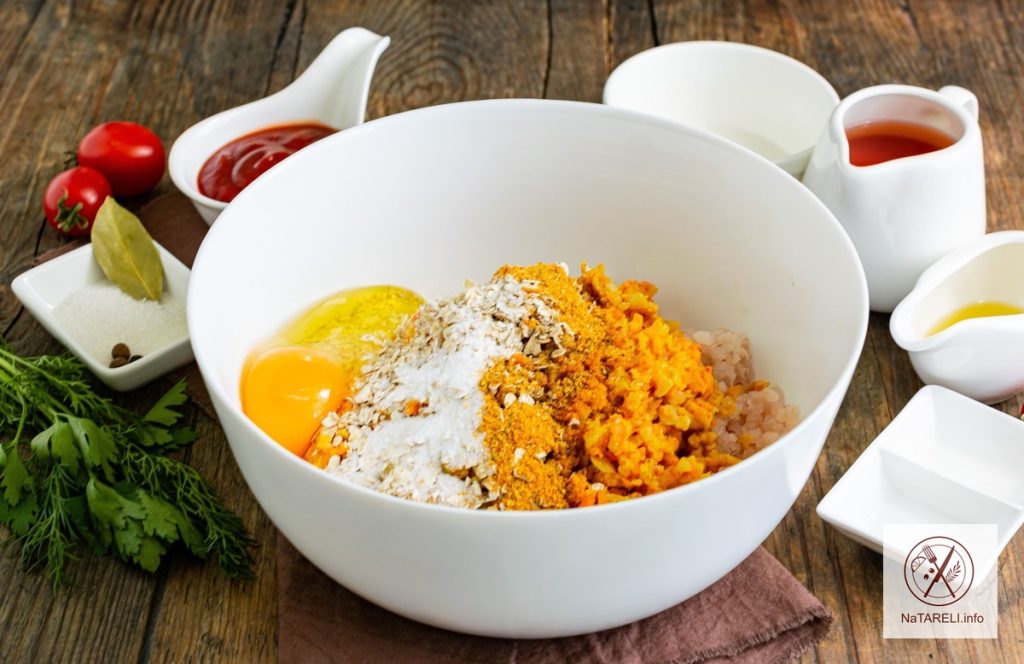
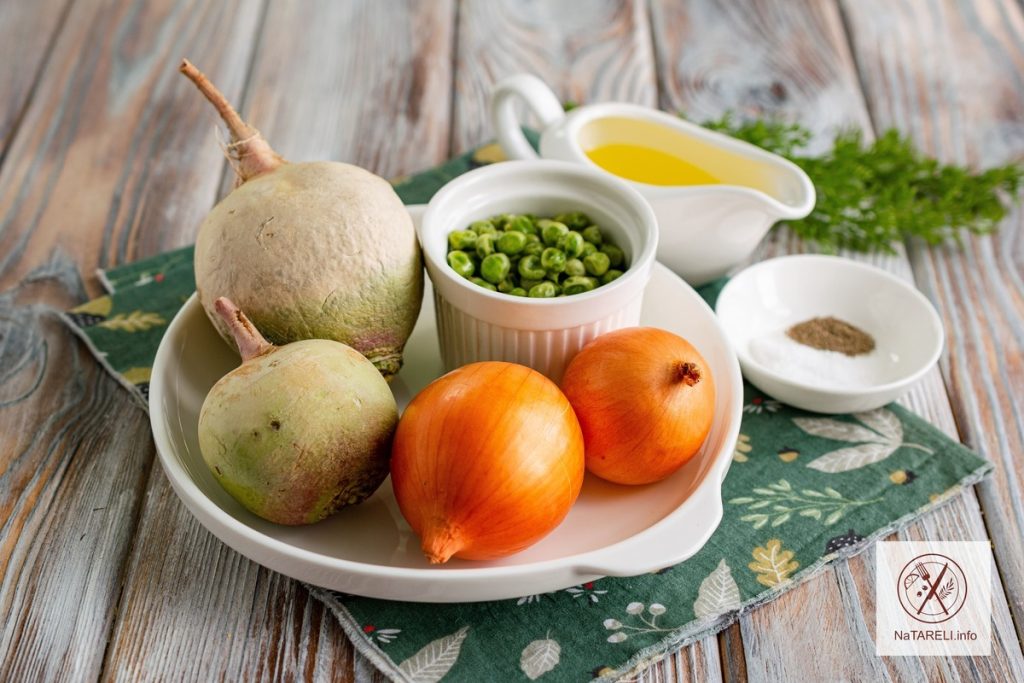
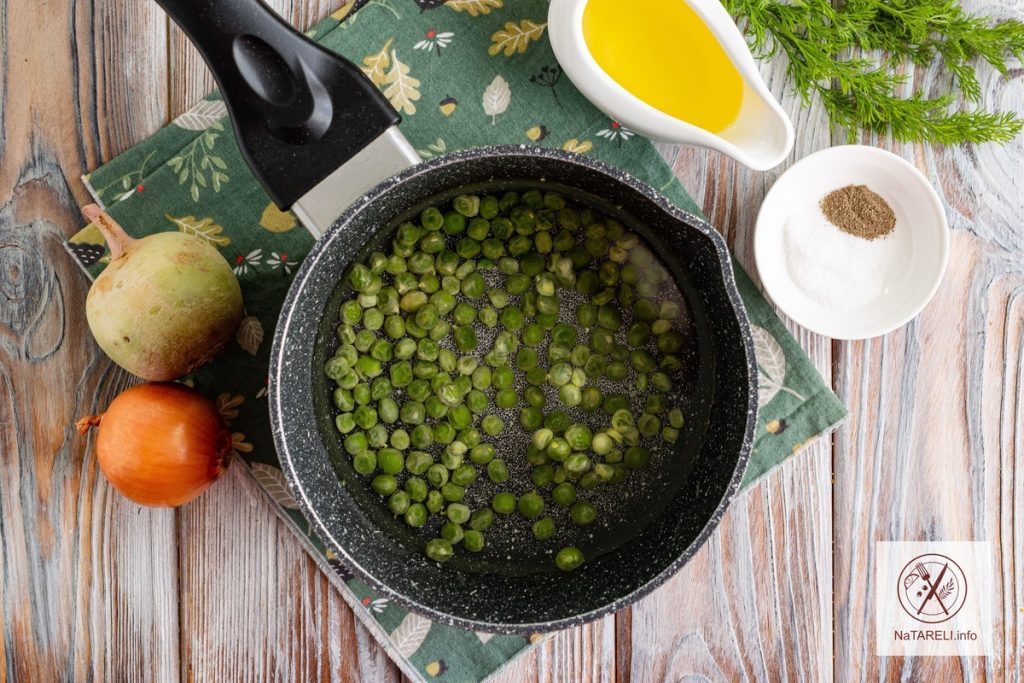
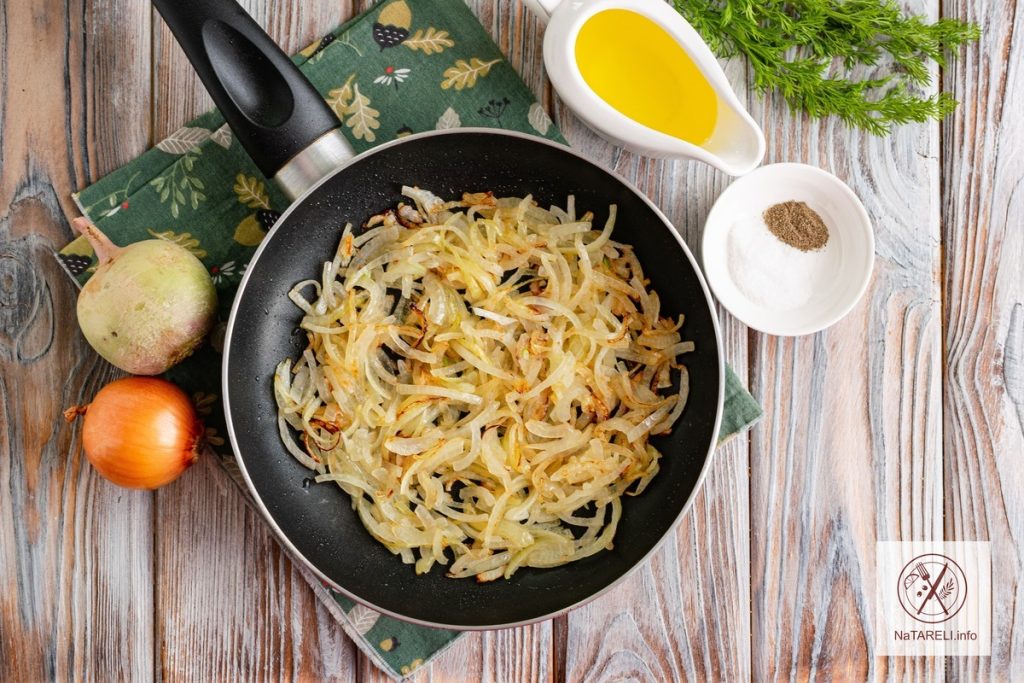
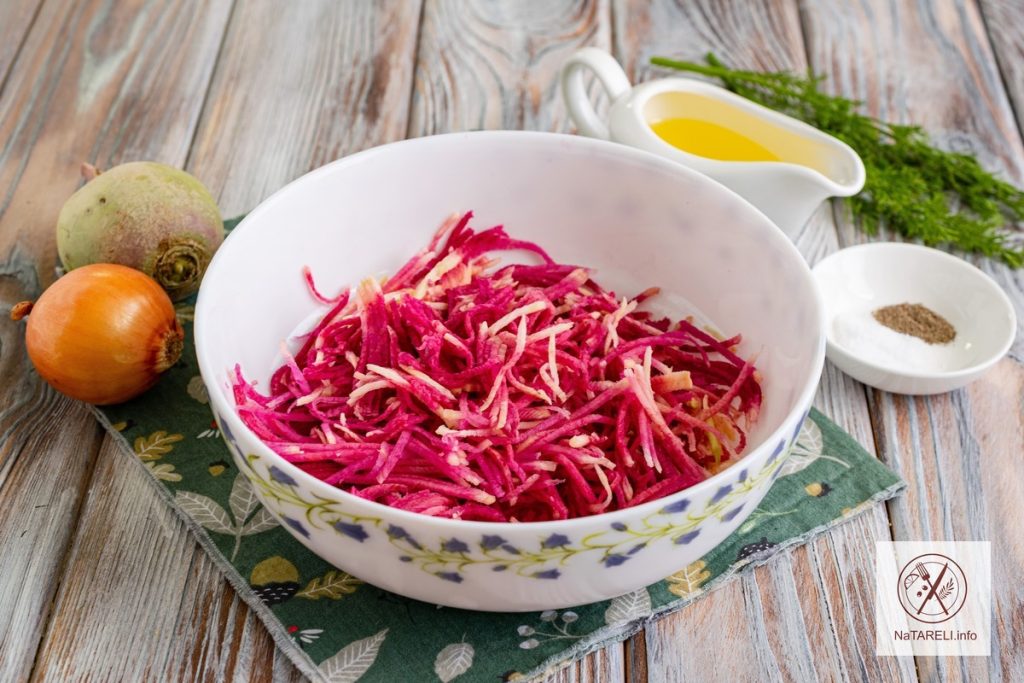
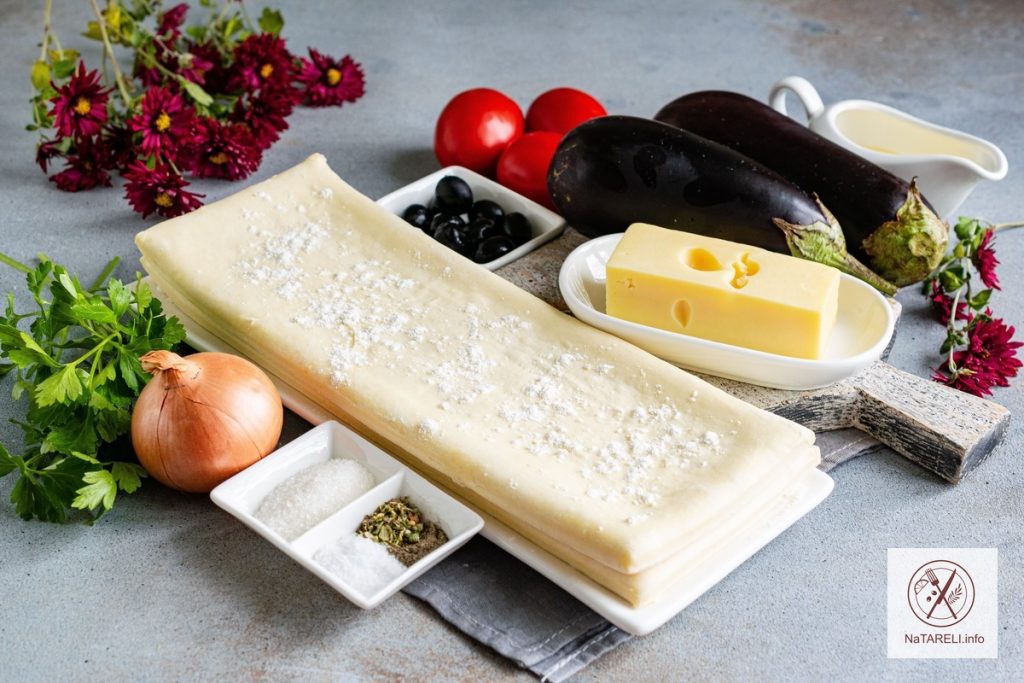
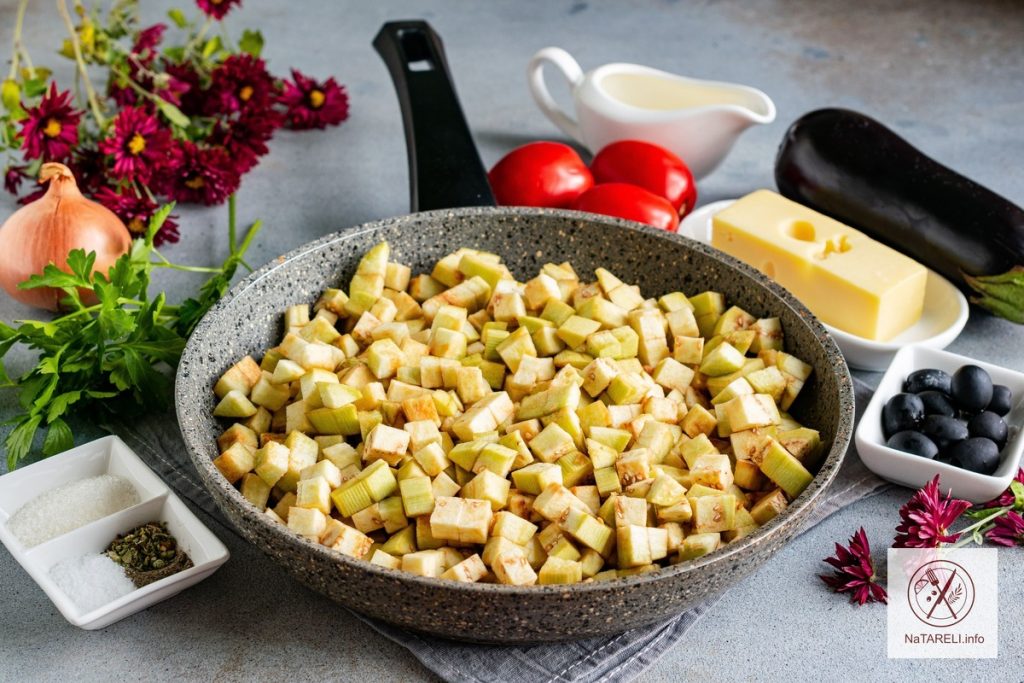
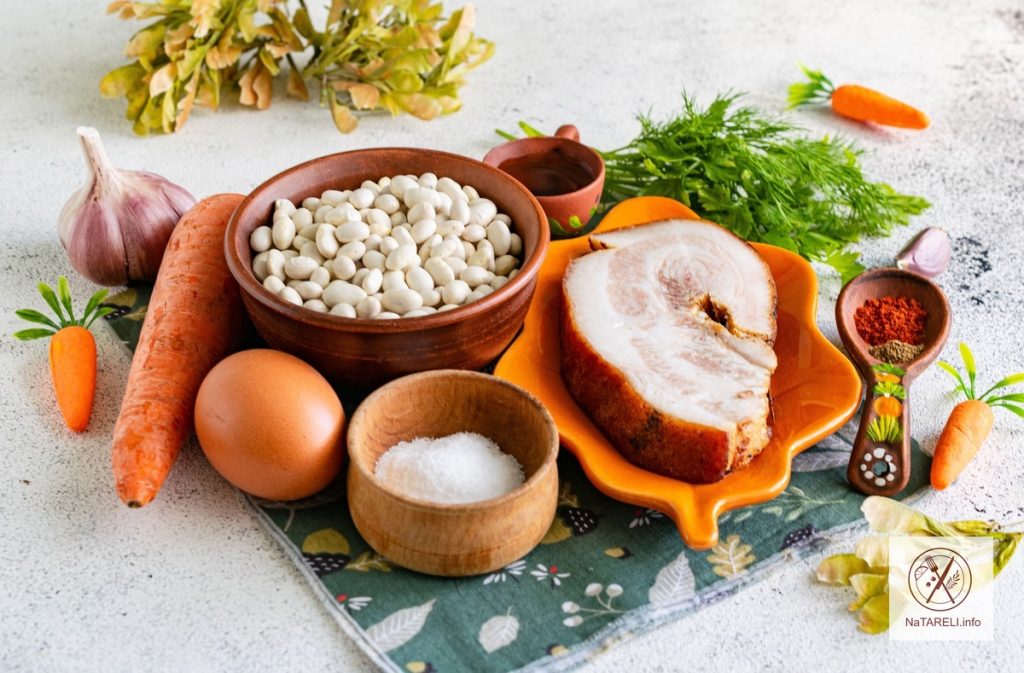
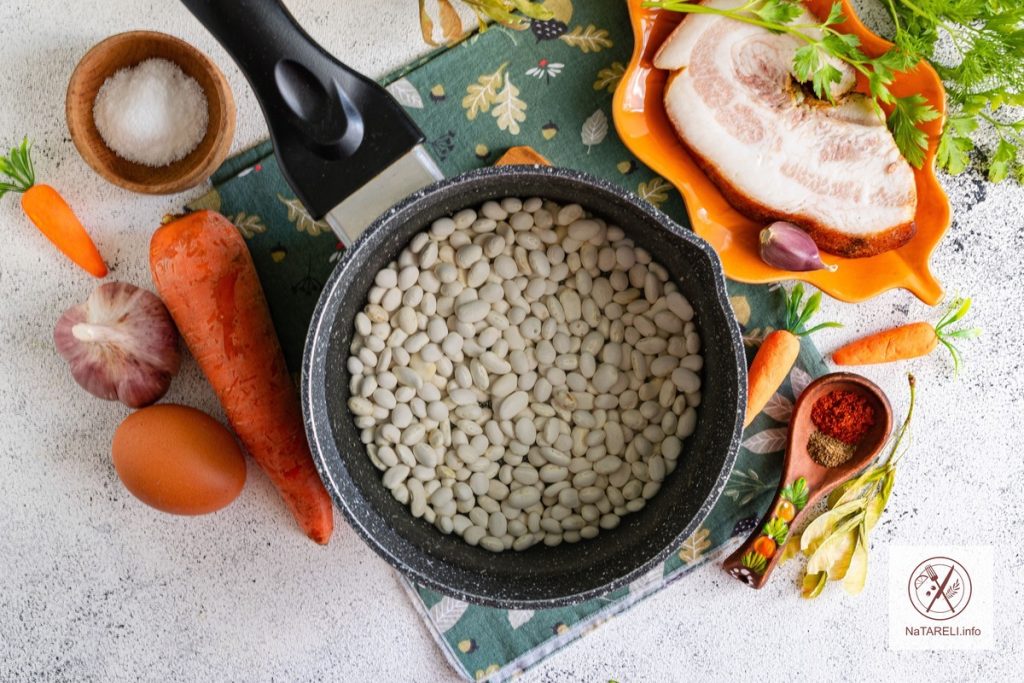
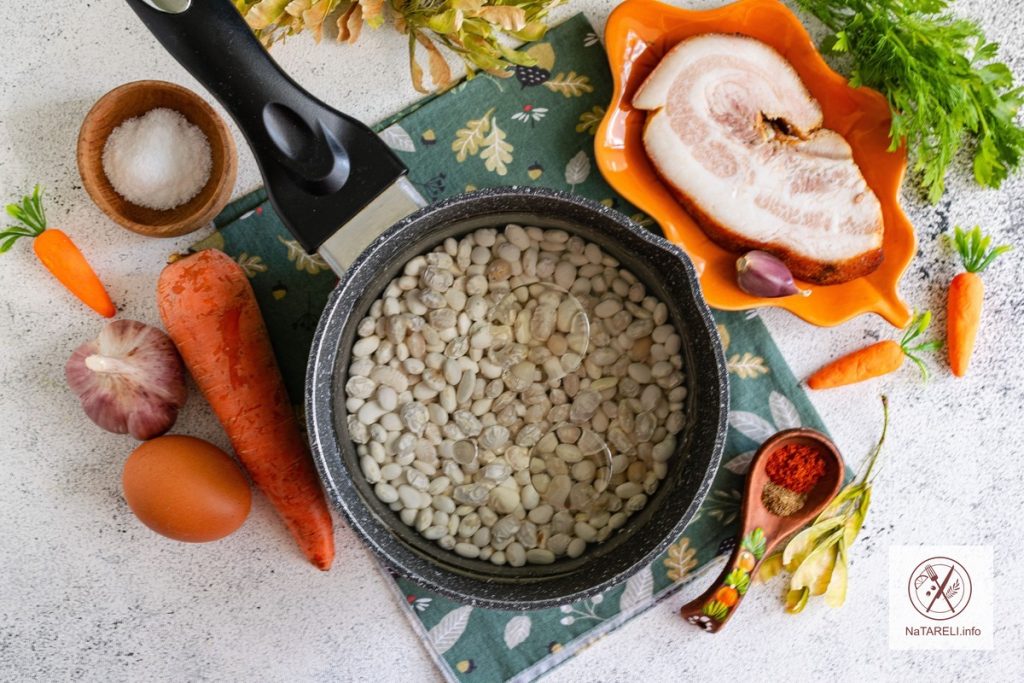
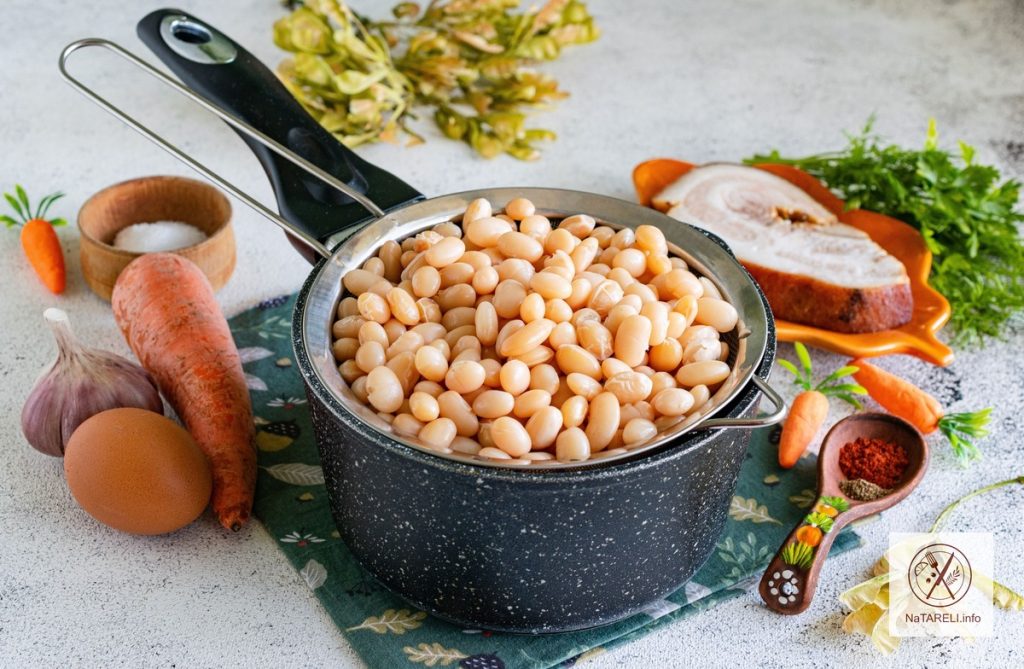
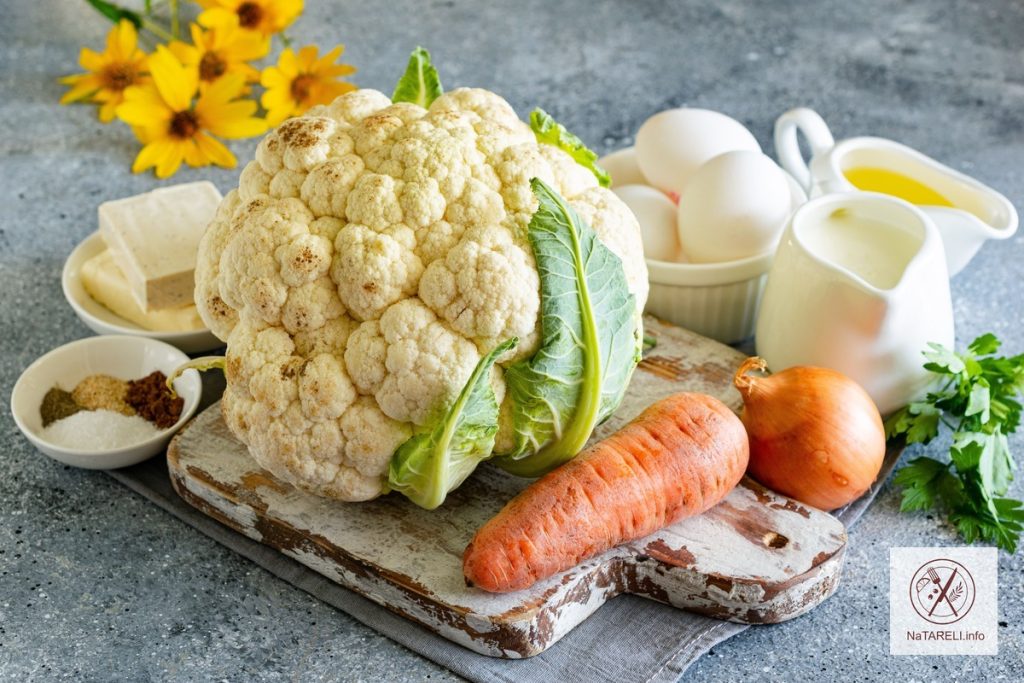
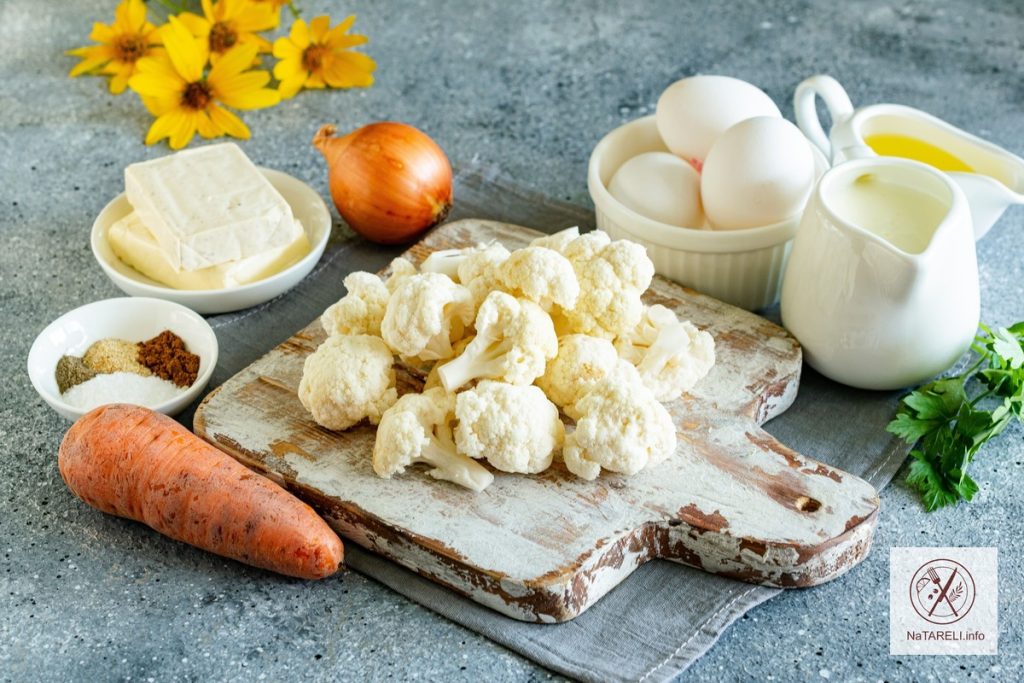
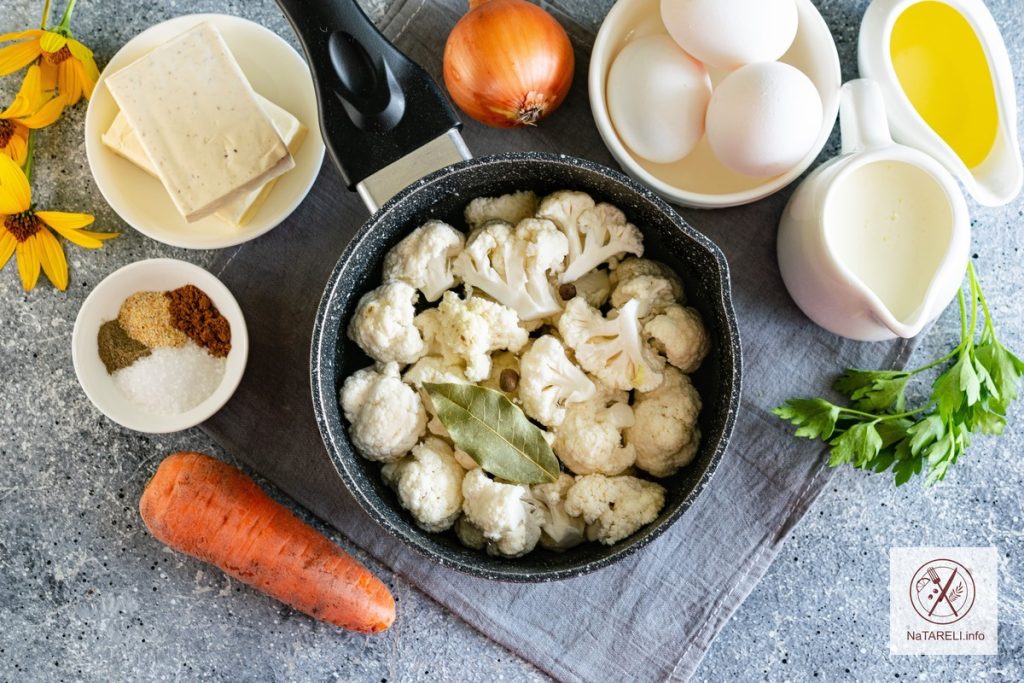
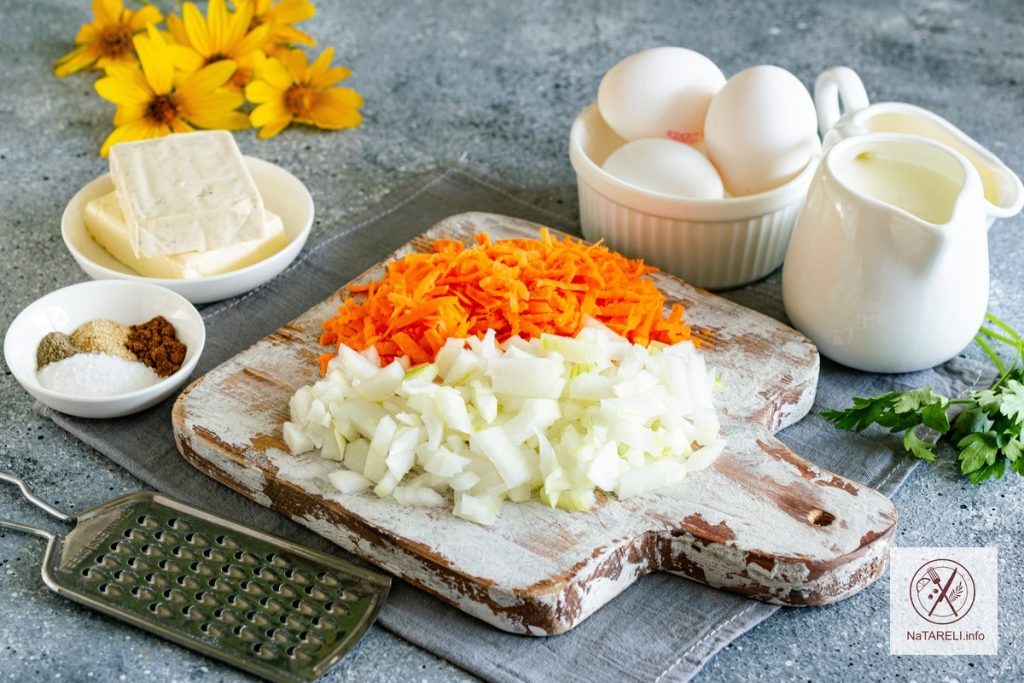
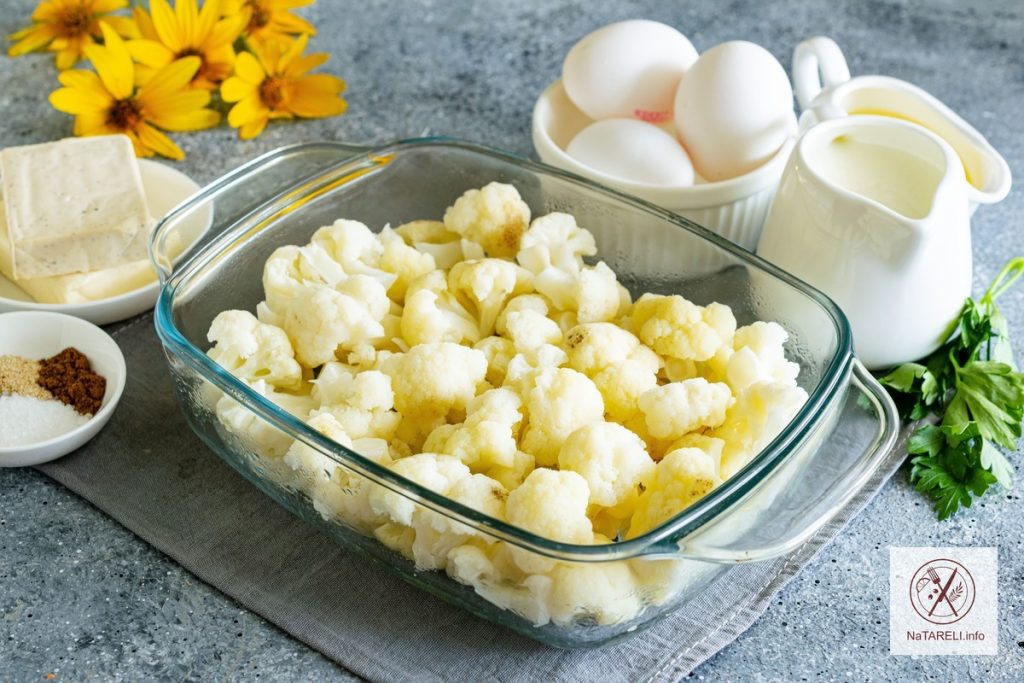
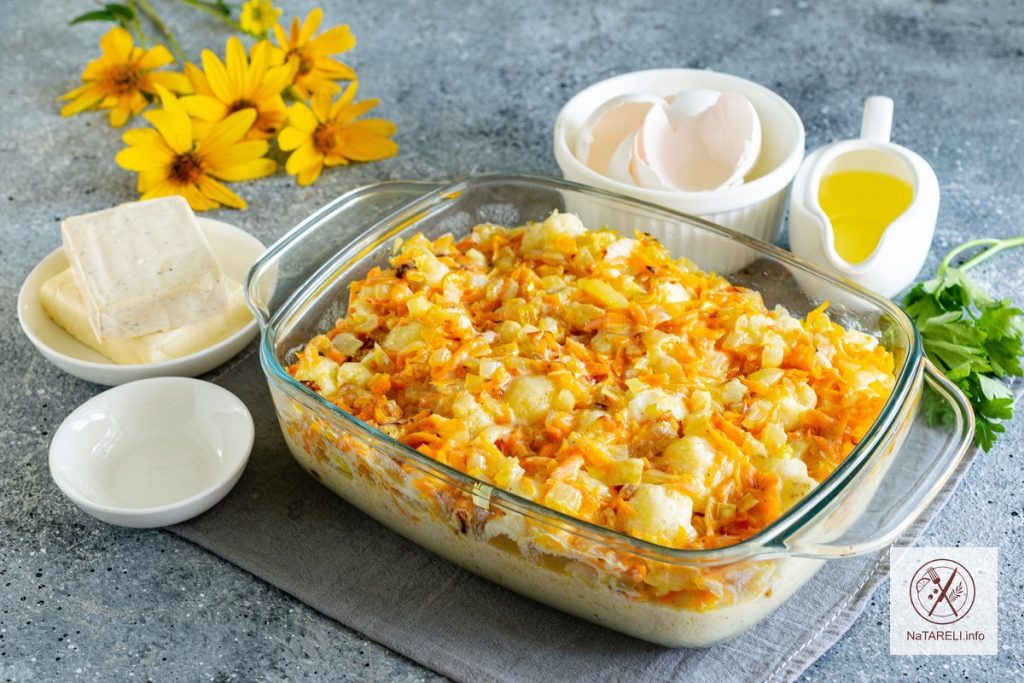
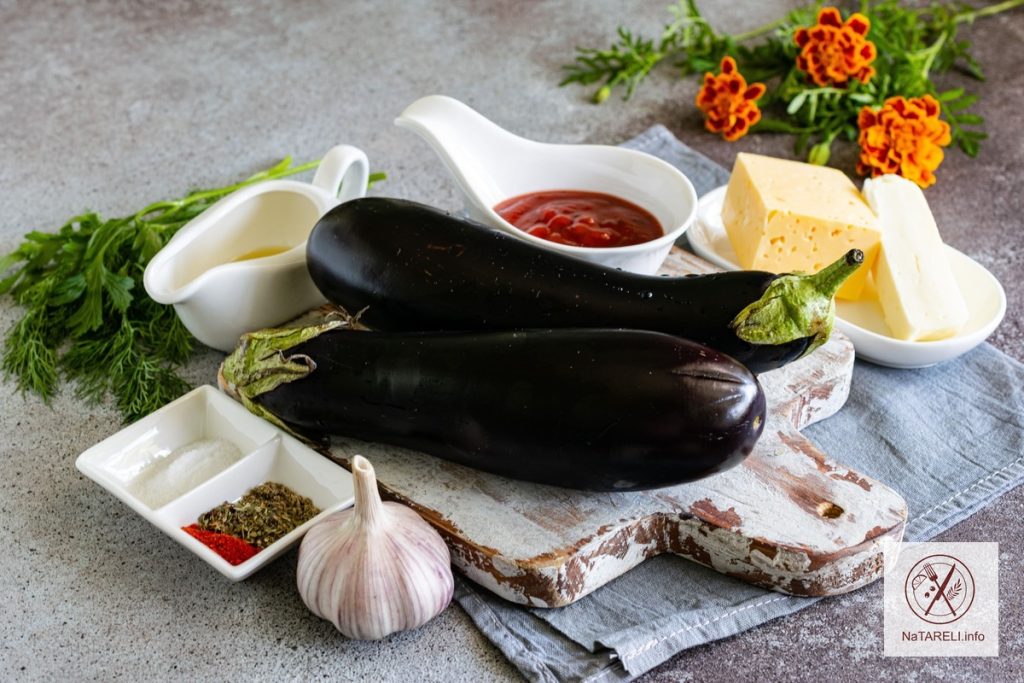
Ingredients for cooking eggplant boats baked in the oven with satsebeli sauce and cheese:
Recipe for cooking eggplant boats baked in the oven with satsebeli sauce and cheese
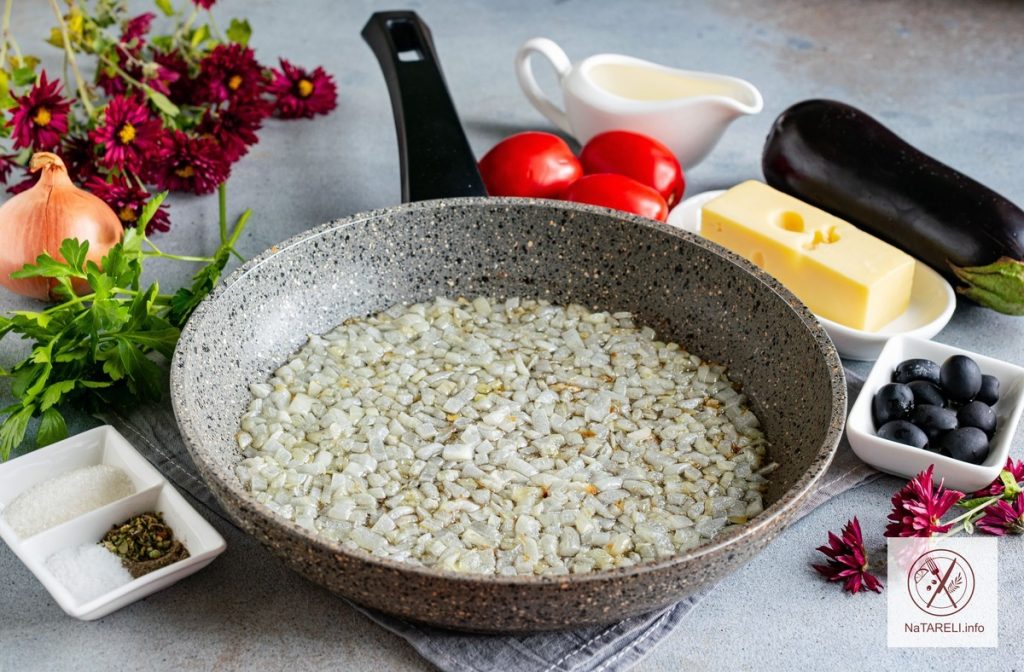
Step-by-step instructions:
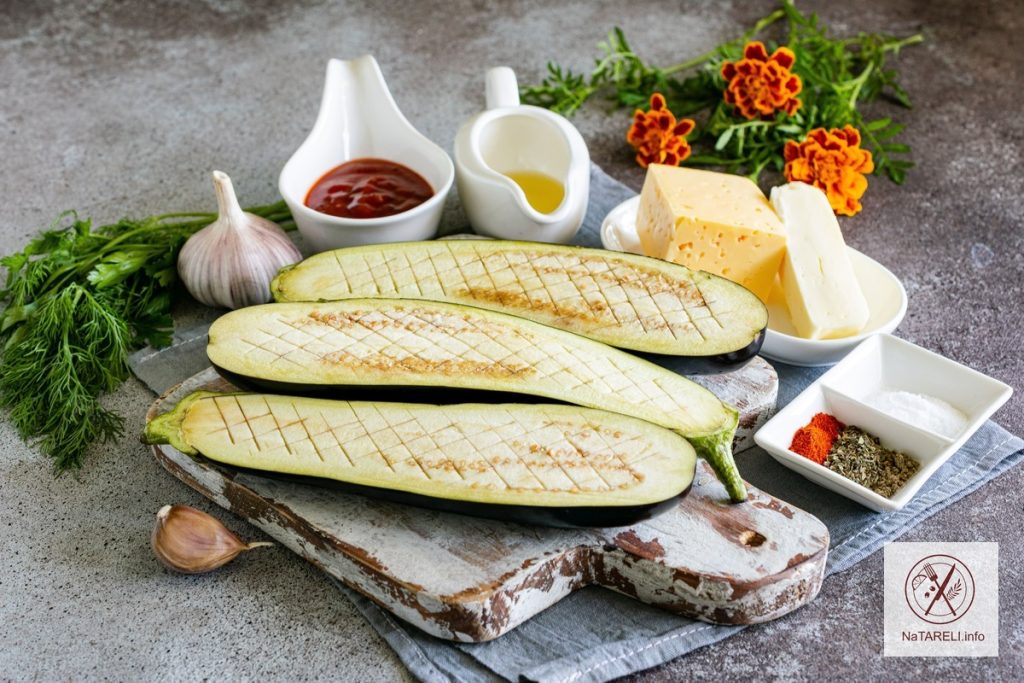
1. Wash the eggplants, cut in half. Make cross-shaped cuts on the vegetables with a knife, as in the photo.
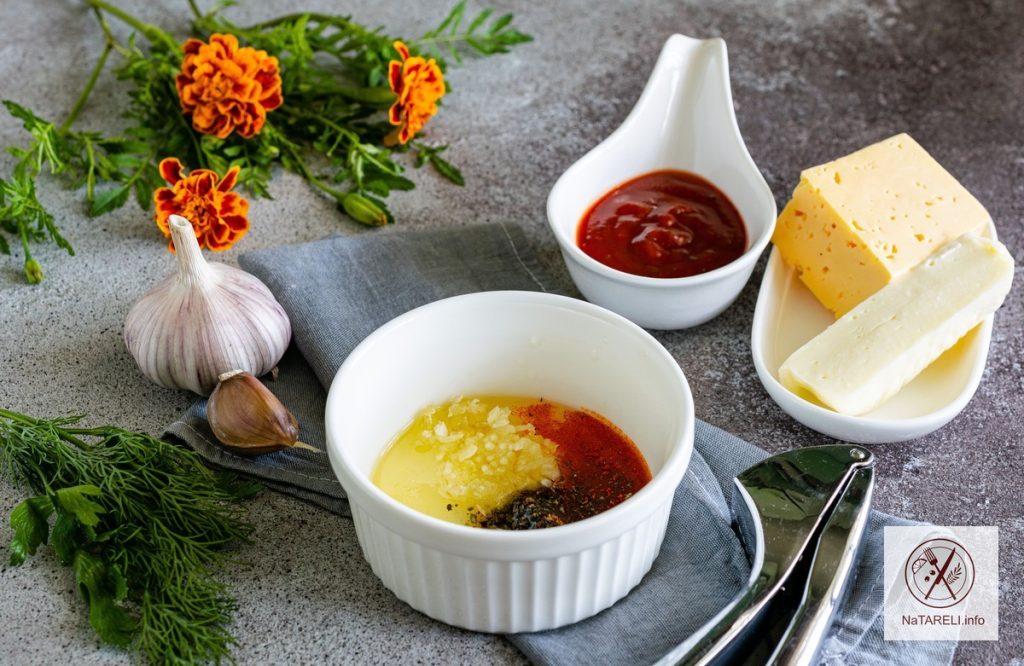
2. In a separate bowl, mix olive oil, pressed garlic, salt and spices to taste. Mix the ingredients until smooth.
3. Using a culinary brush, grease the eggplant halves with the resulting aromatic mixture. Place the eggplant boats in a heat-resistant baking dish or on a baking sheet covered with parchment.
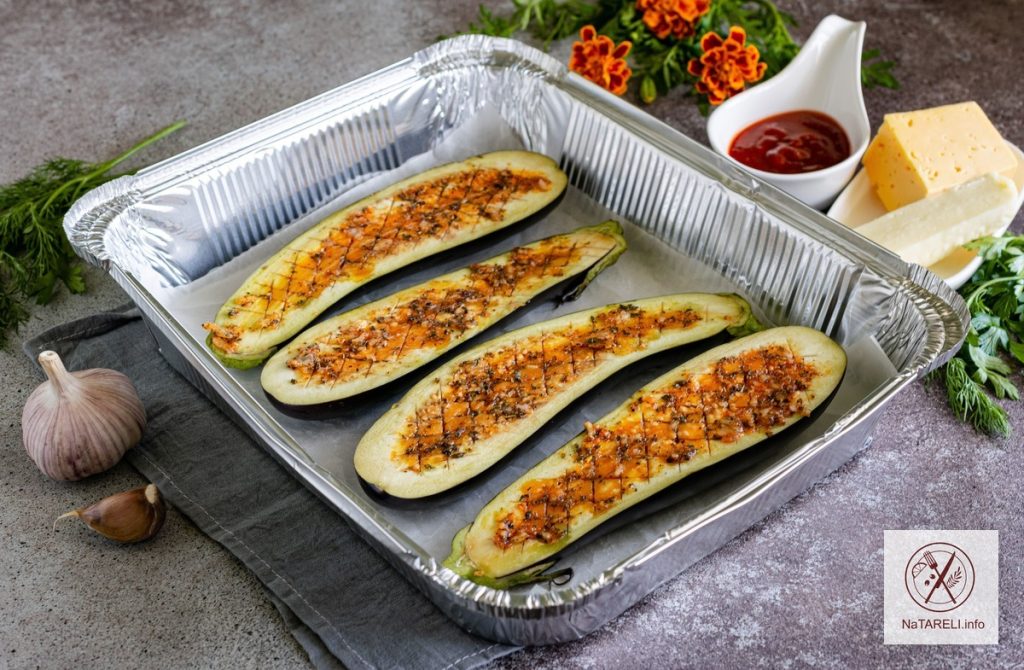
4. Send the vegetables to the oven preheated to 200 degrees for 15 minutes. After the specified time, the eggplants will be baked and soft.
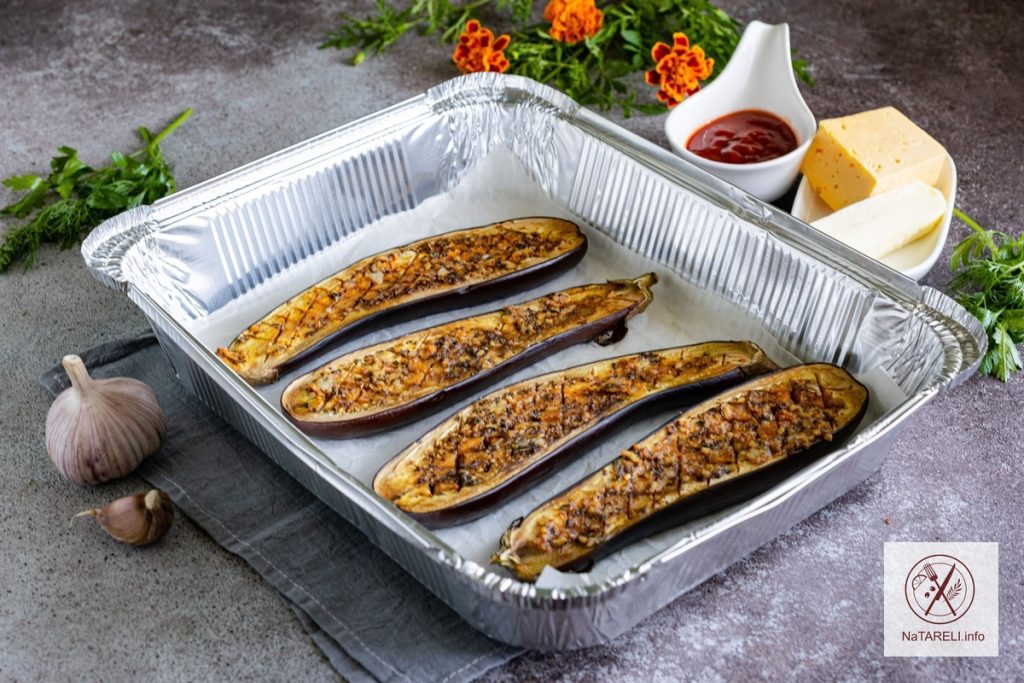
5. Using a fork, mash the eggplant pulp until smooth.
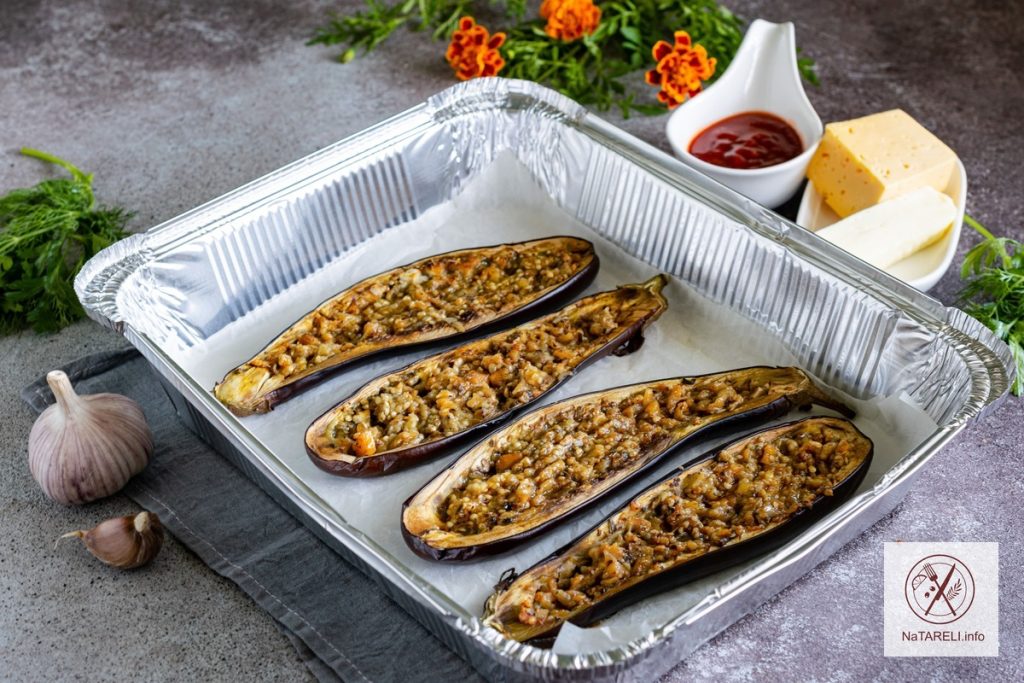
6. Grease the vegetables with satsebeli sauce.
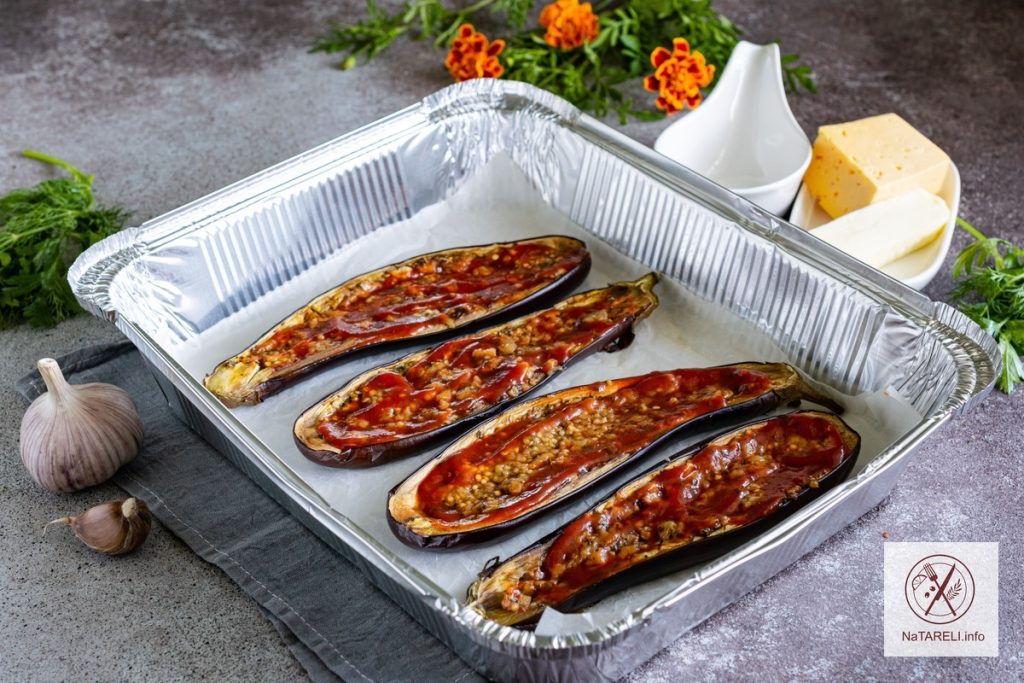
7. Sprinkle the eggplant boats with grated cheese. You can use several types of cheese, it will only taste better.
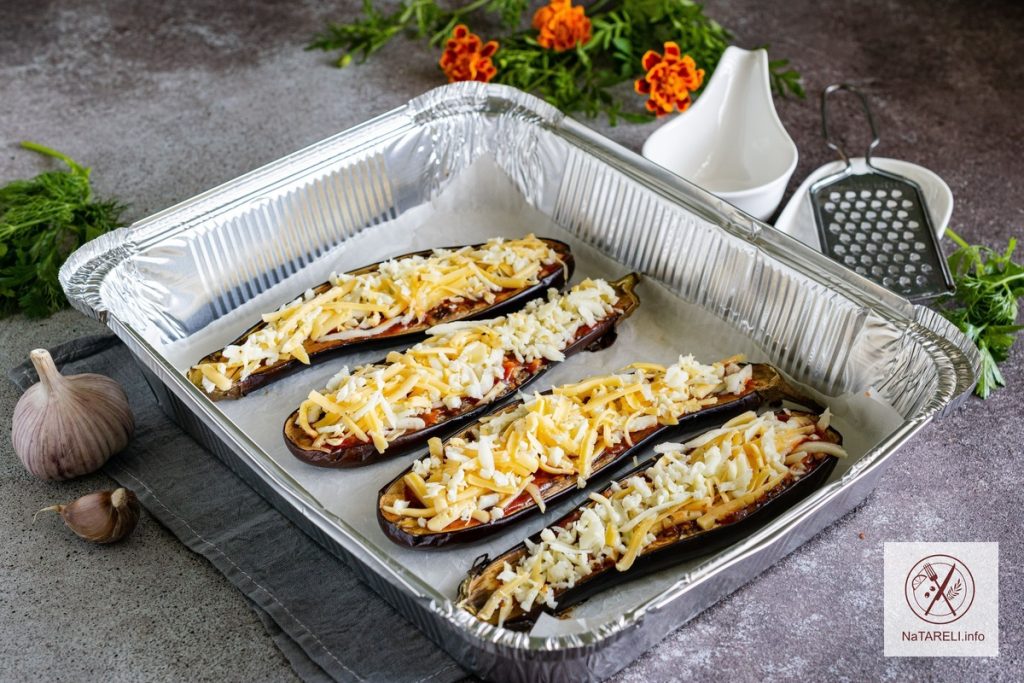
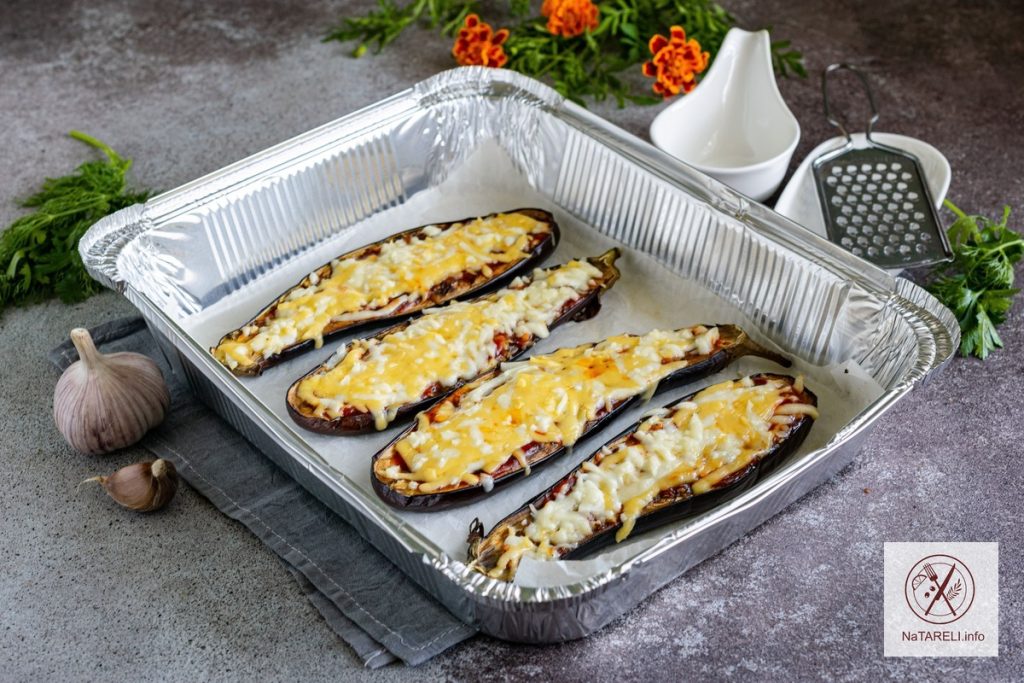
8. Return the eggplant boats to the oven for another 5 minutes, so that the cheese on top melts and browns.
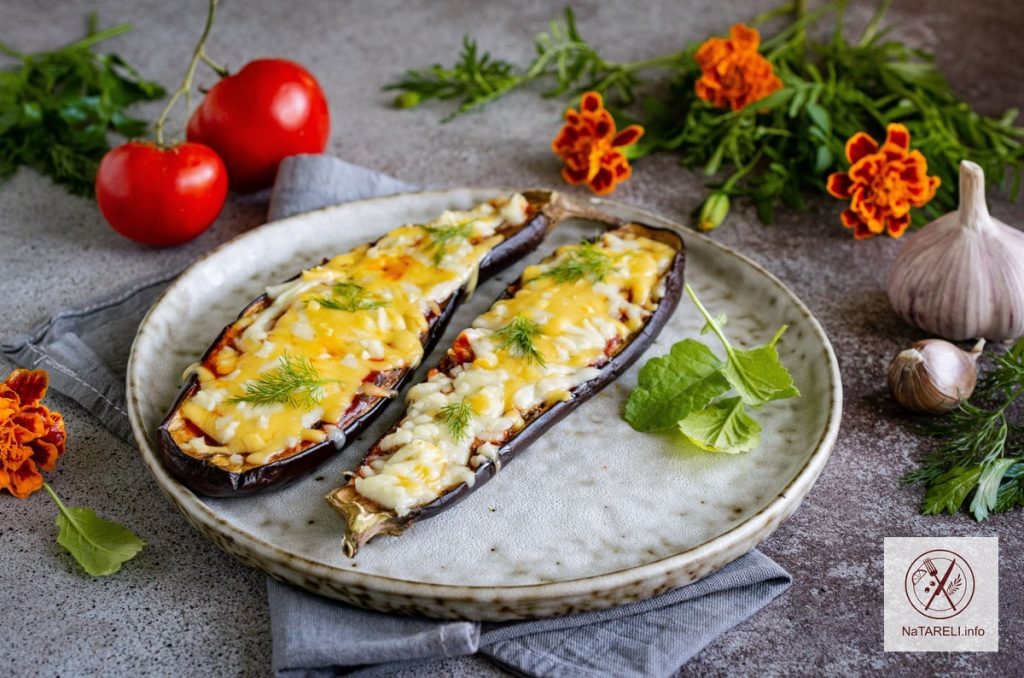
9. Sprinkle the finished dish with fresh herbs. Cilantro, dill or parsley are ideal.
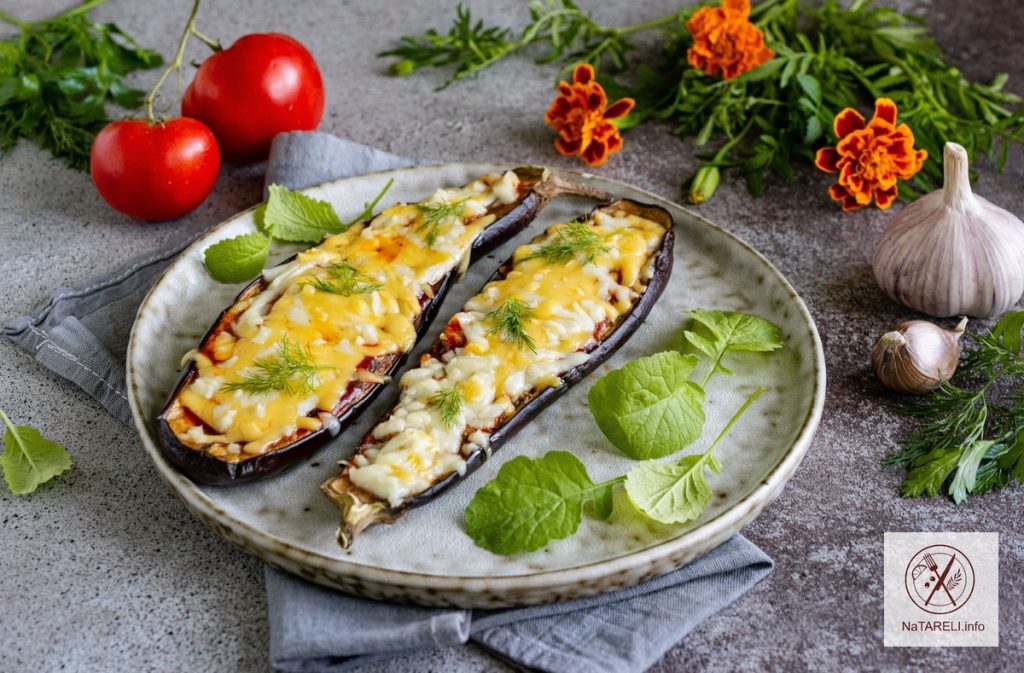
10. Serve the juicy and aromatic eggplant boats hot. Bon appetit!
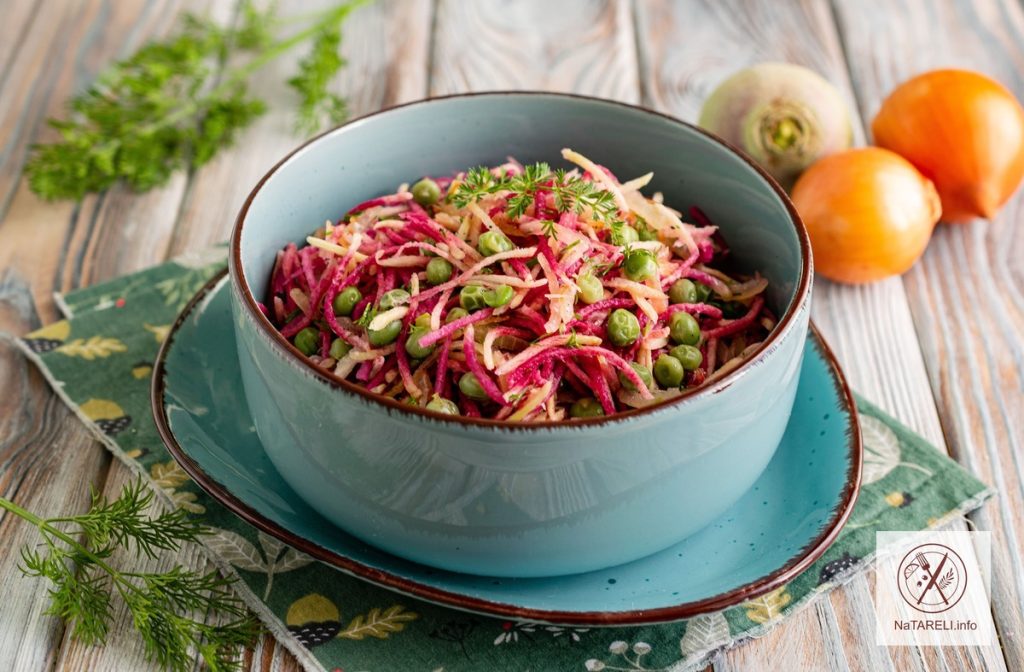
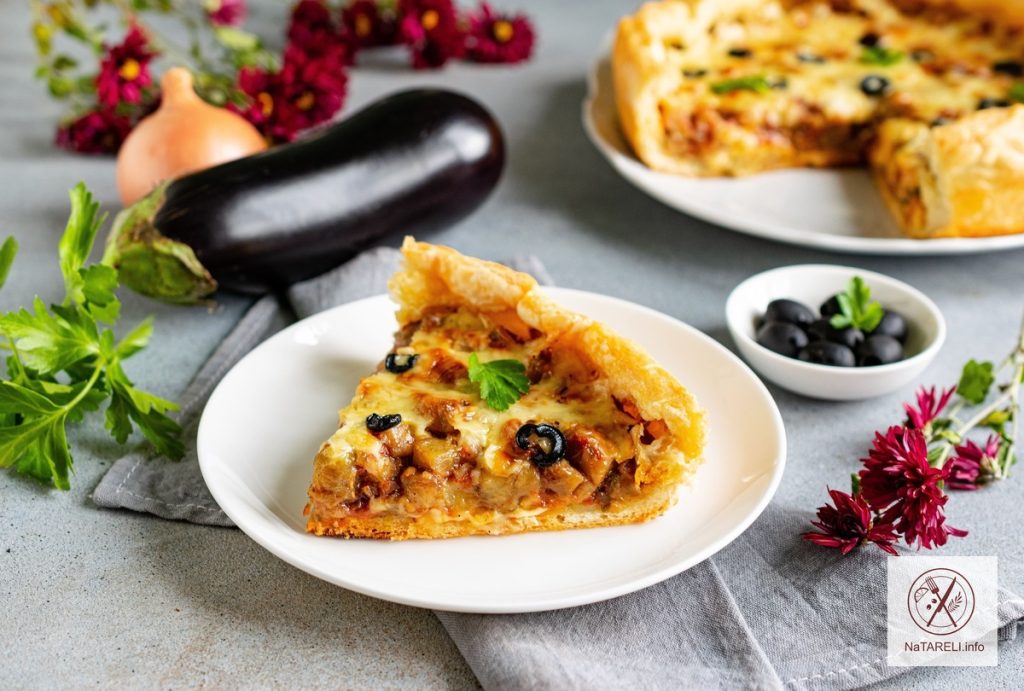
You may also like:
Eggplants baked with tomatoes, boiled sausage and hard cheese in the oven