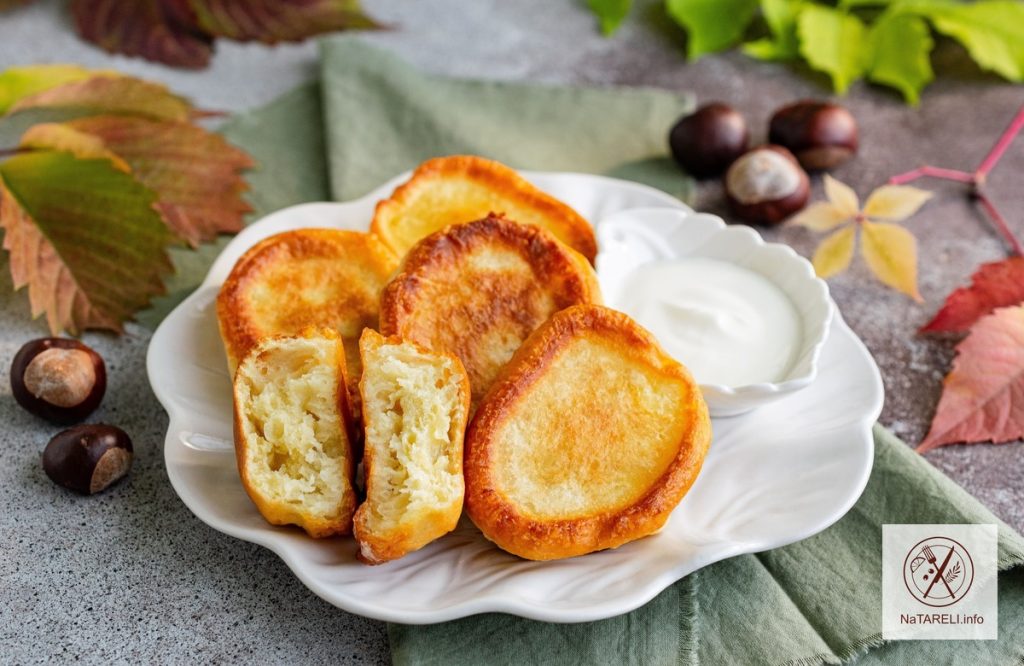
Fluffy whey pancakes

Якщо у вас залишилася сироватка після приготування кисломолочного сиру, приготуйте з неї повітряні та неймовірно смачні оладки. За цим рецептом вони виходять дуже пишними, ніжними та ароматними. Рецепт простий, швидкий та бюджетний. З мінімальної кількості інгредієнтів у вас вийде смачний та ситний сніданок для всієї родини.

У складі тіста невелика кількість цукру, тому оладки виходять в міру солодкими. Подавайте їх з медом, згущеним молоком, розтопленим шоколадом, карамеллю, кленовим сиропом, ягідним соусом або улюбленим варенням. За бажанням до тіста можна додати трохи ванільного цукру або меленої кориці. Щоб надати виробам цитрусову нотку, додайте цедру лимона або апельсина.

М’які та повітряні оладки стануть приємним доповненням до молока, чаю чи кави. Сподіваюся, цей рецепт припаде вам до душі!

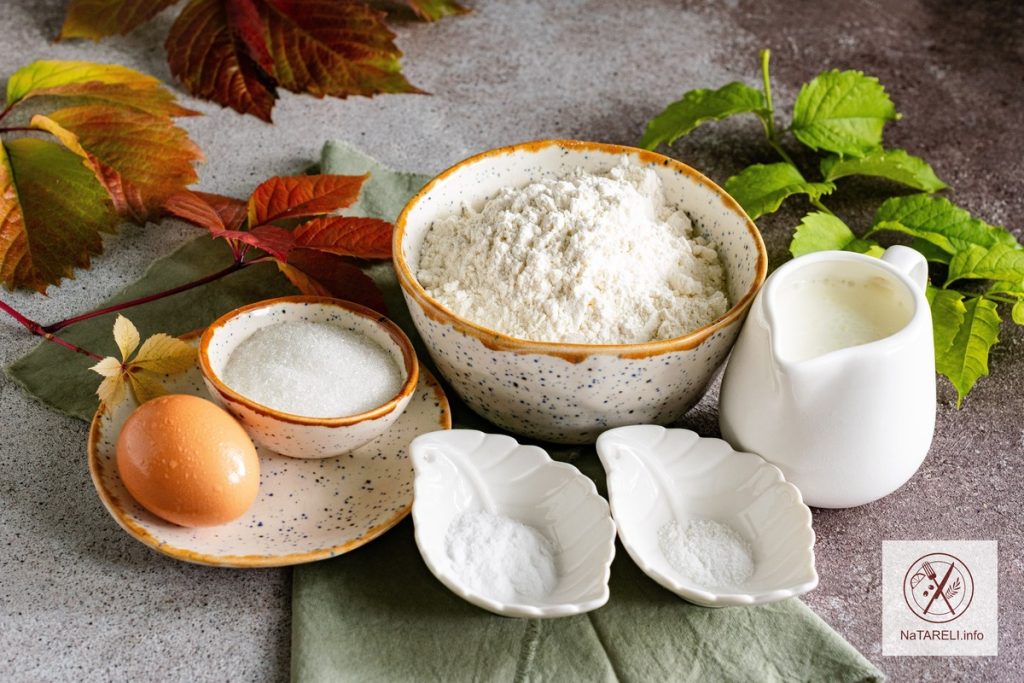
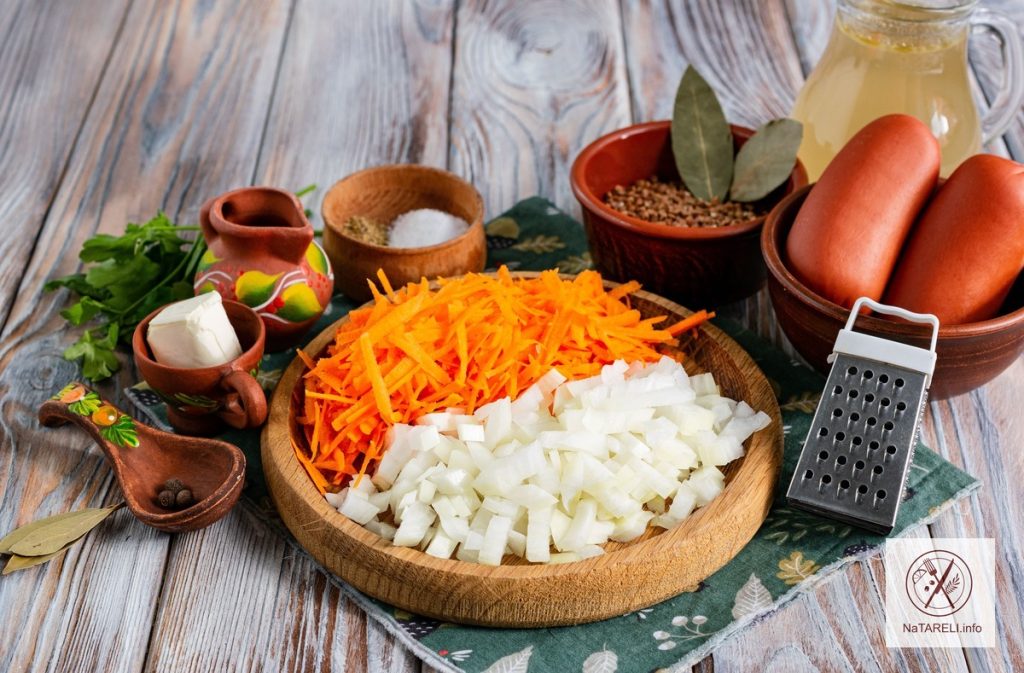
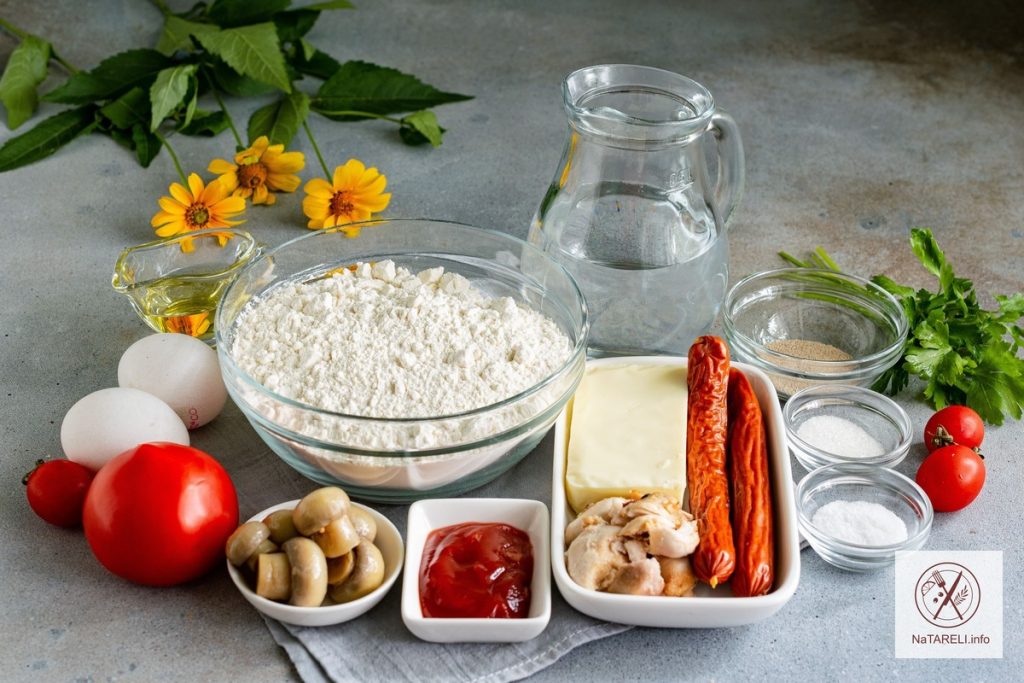
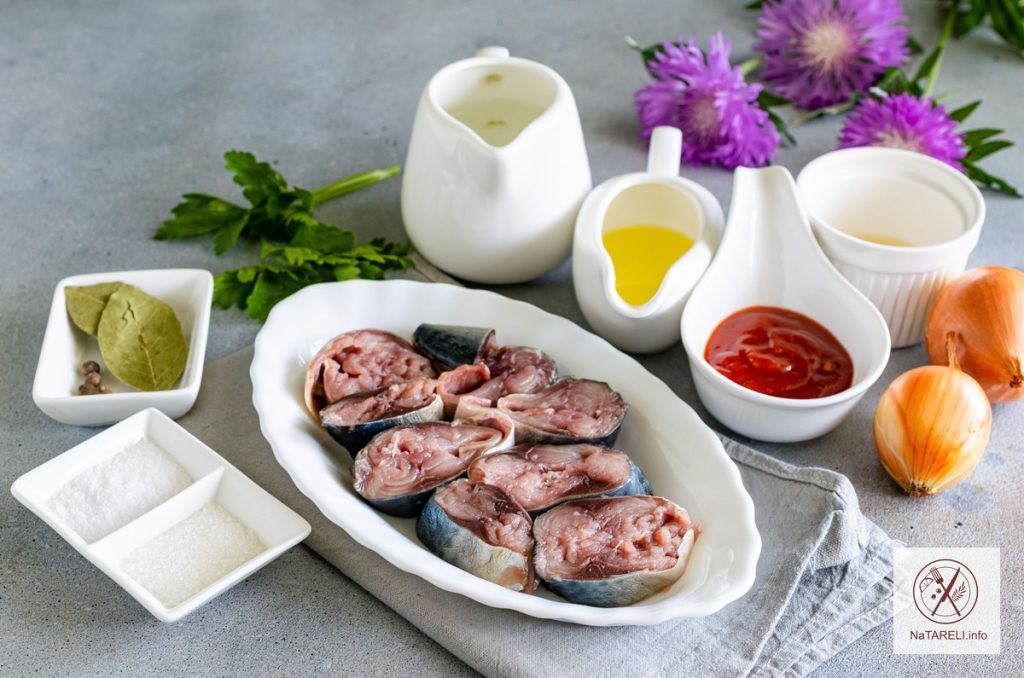
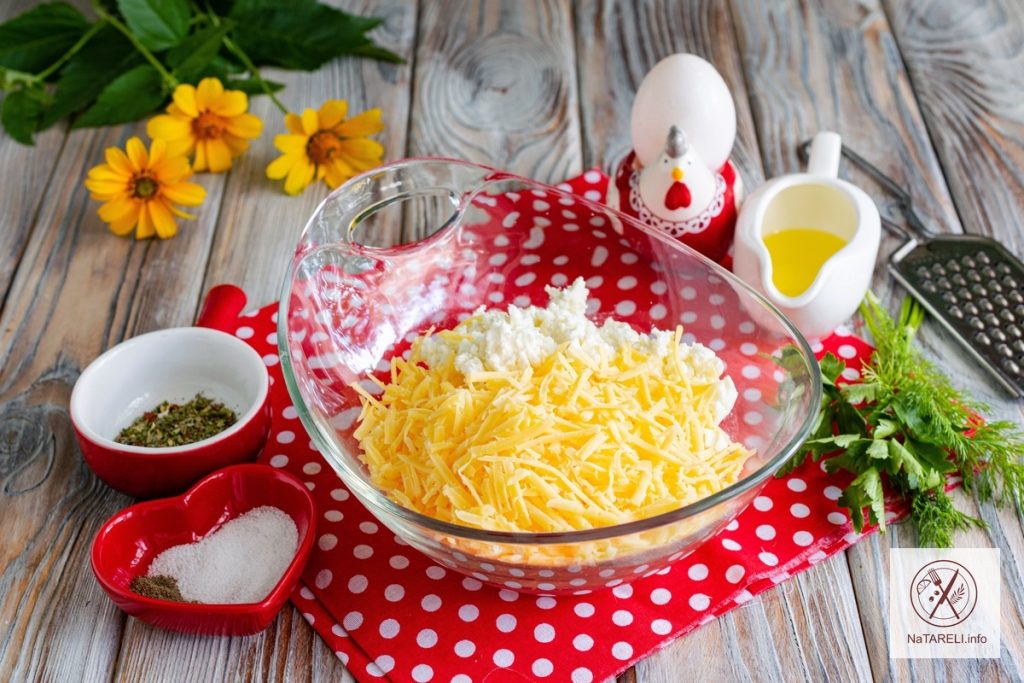
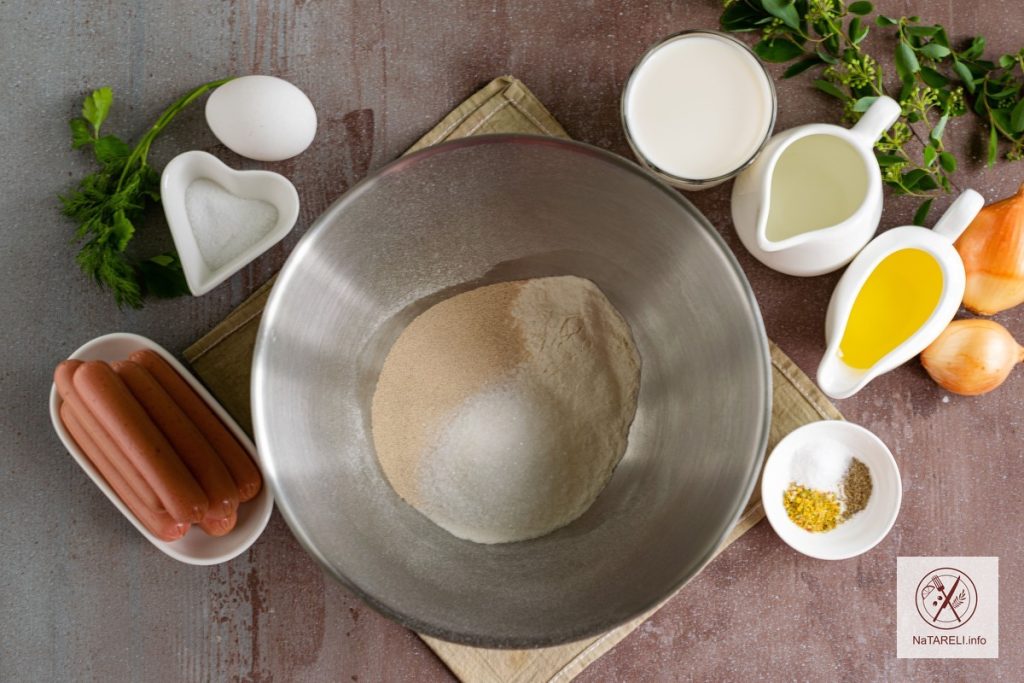
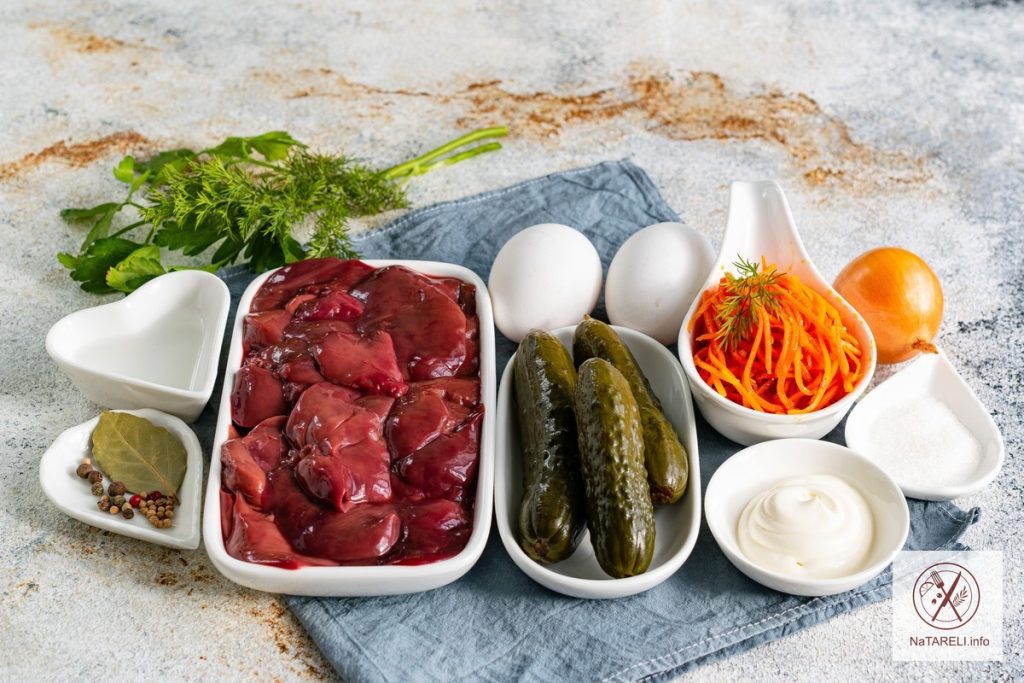
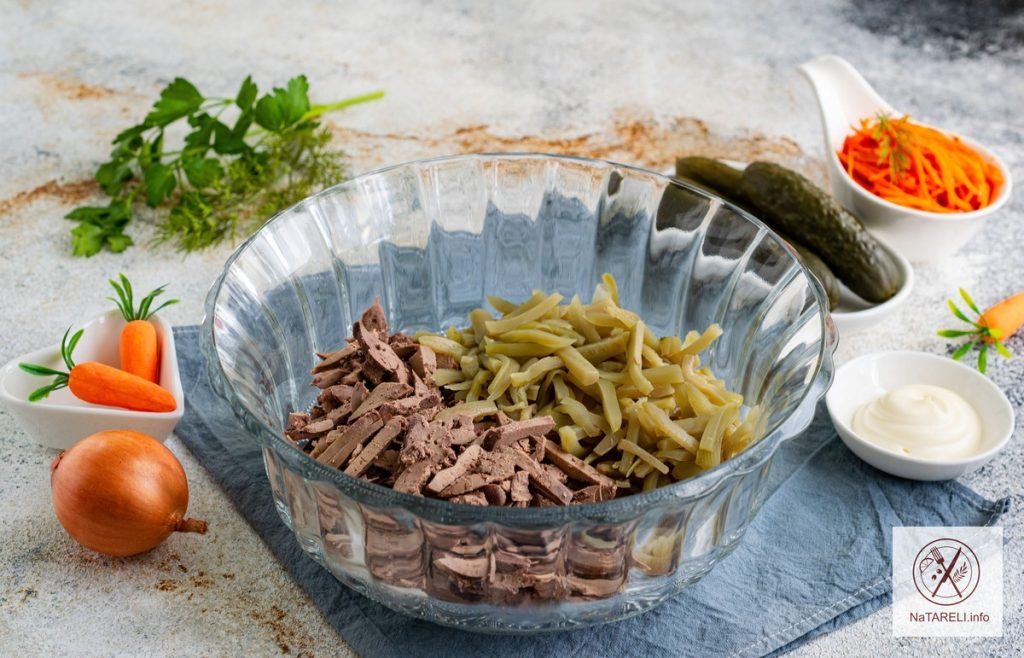
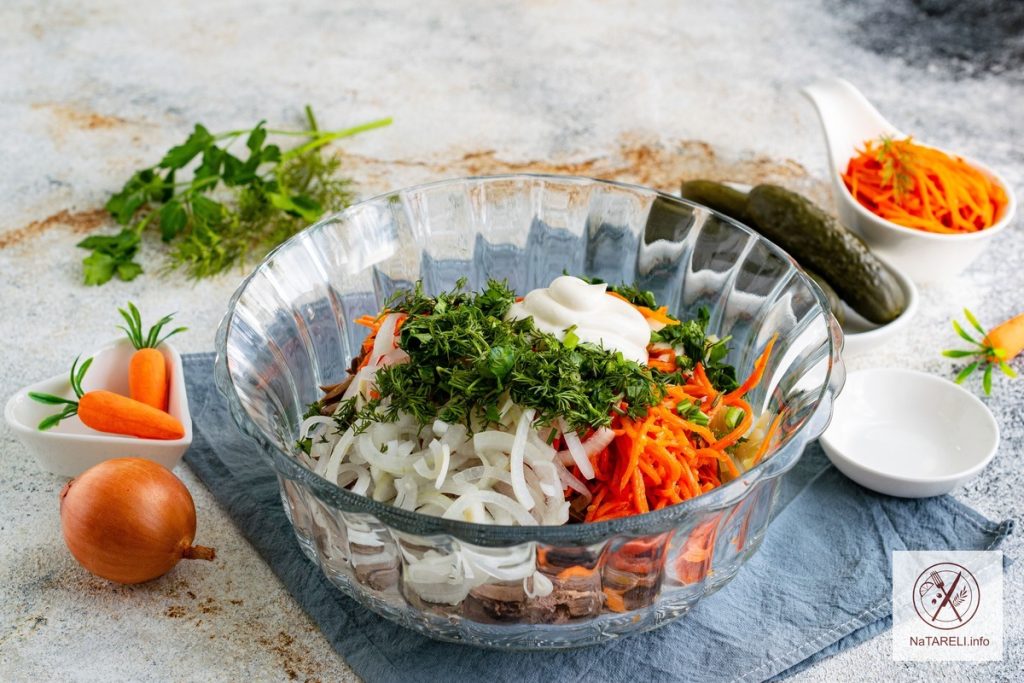
Інгредієнти для приготування пишних оладок на сироватці:

Рецепт приготування пишних оладок на сироватці

Покрокова інструкція:

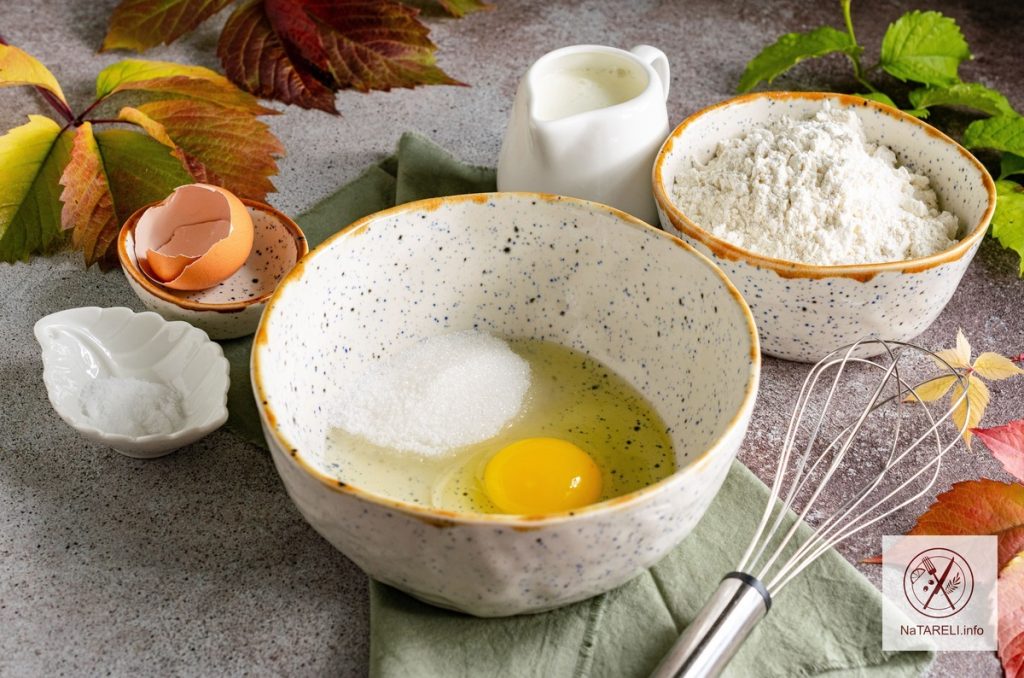
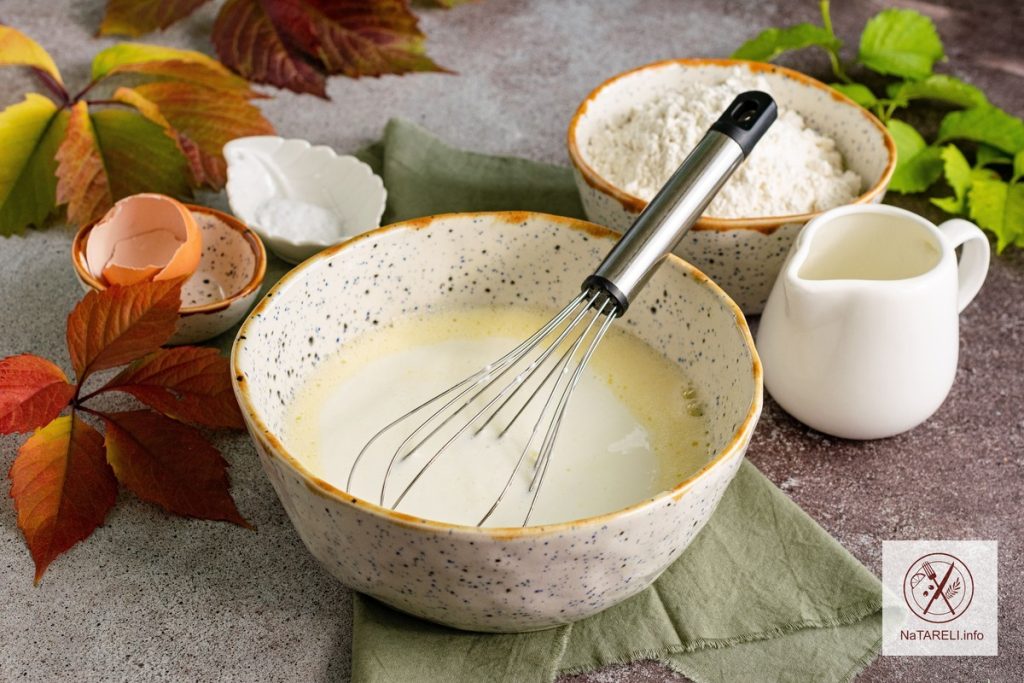
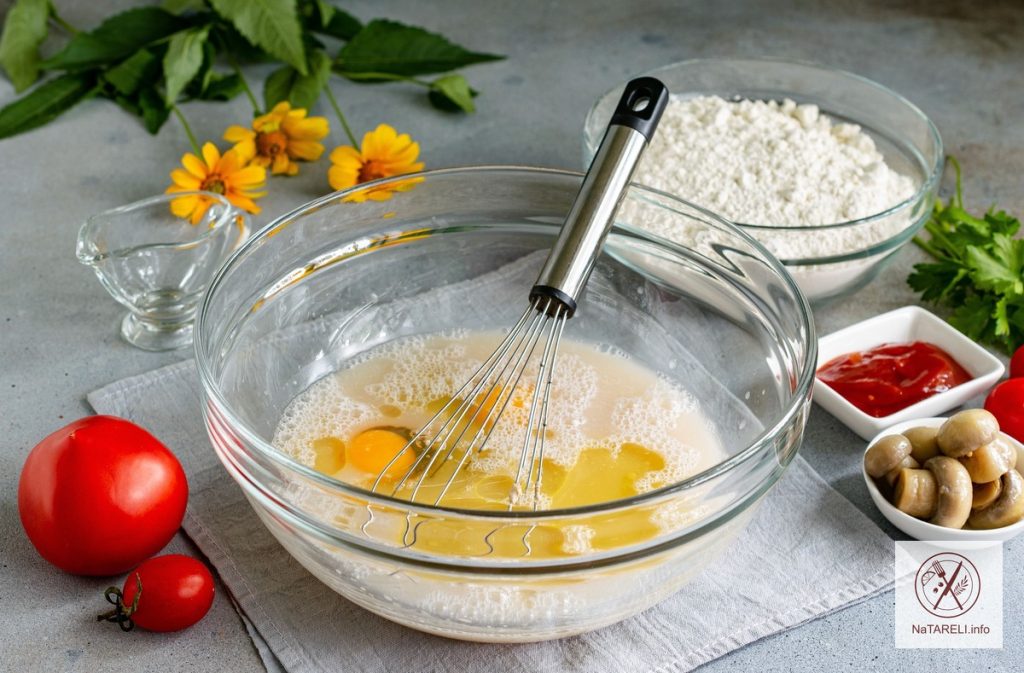
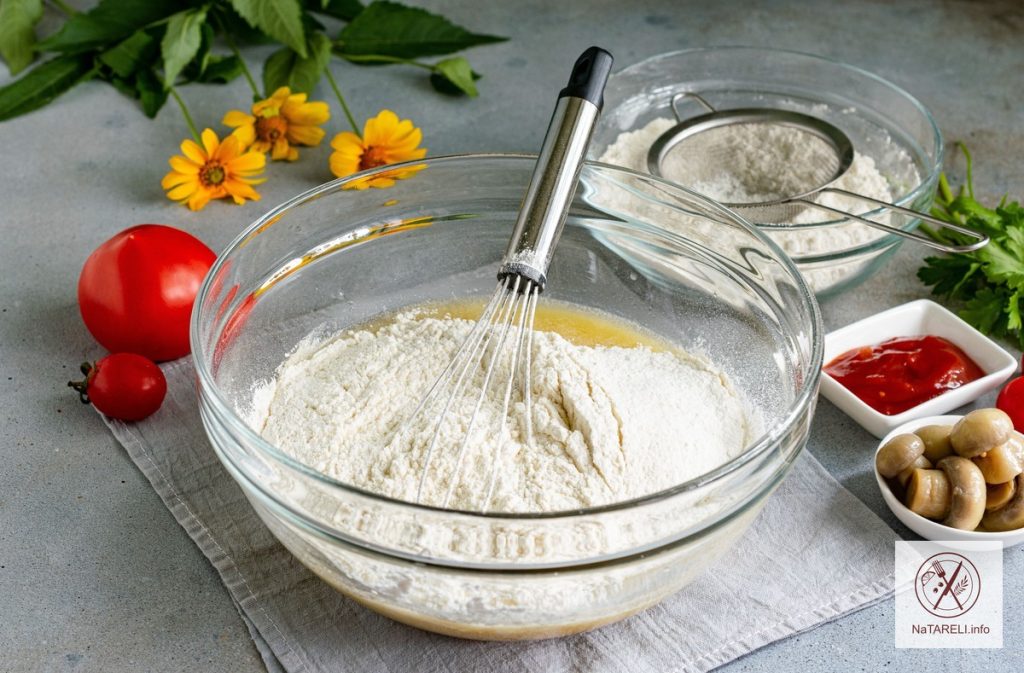
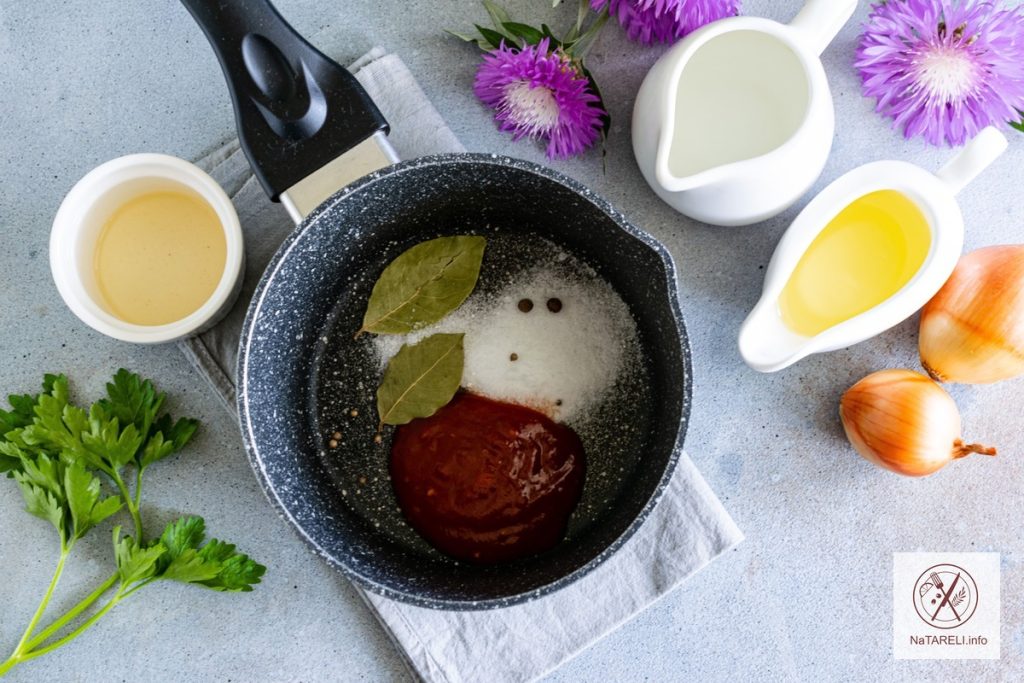
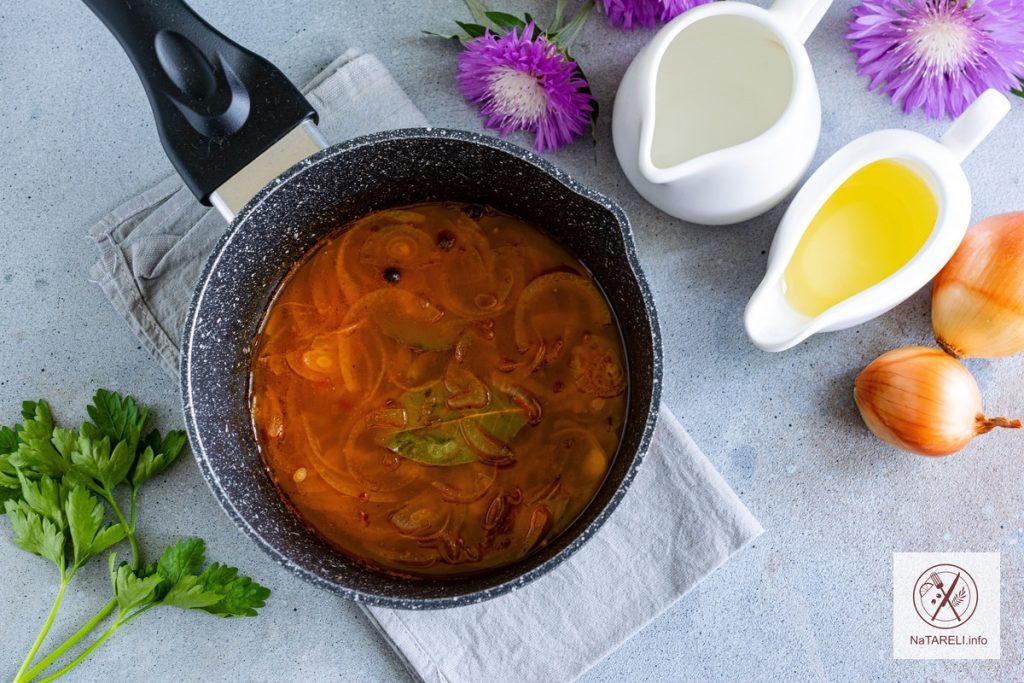
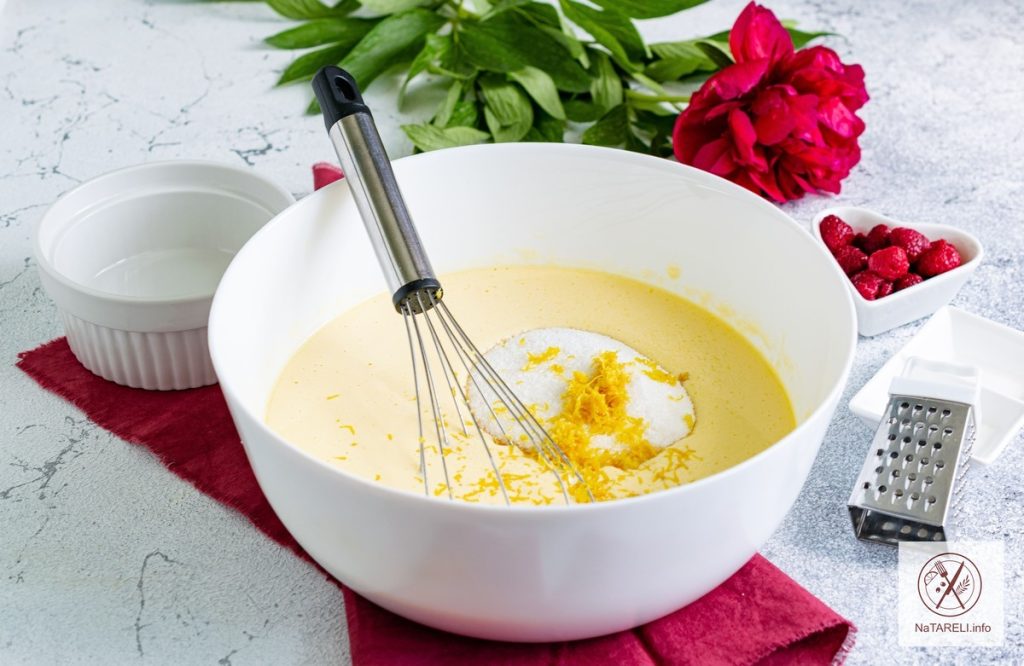
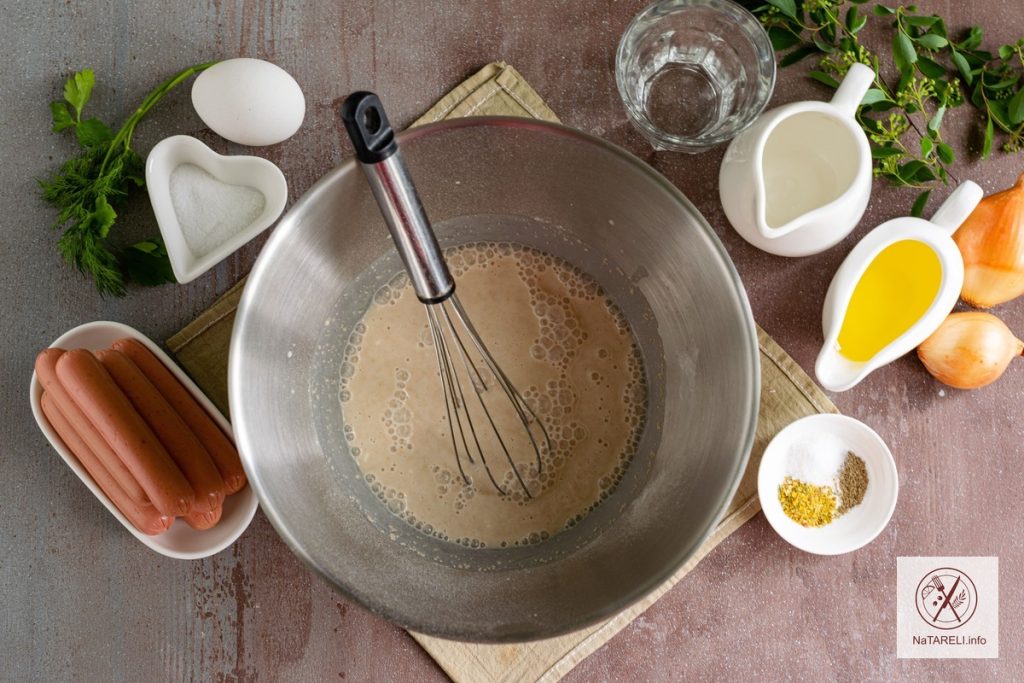
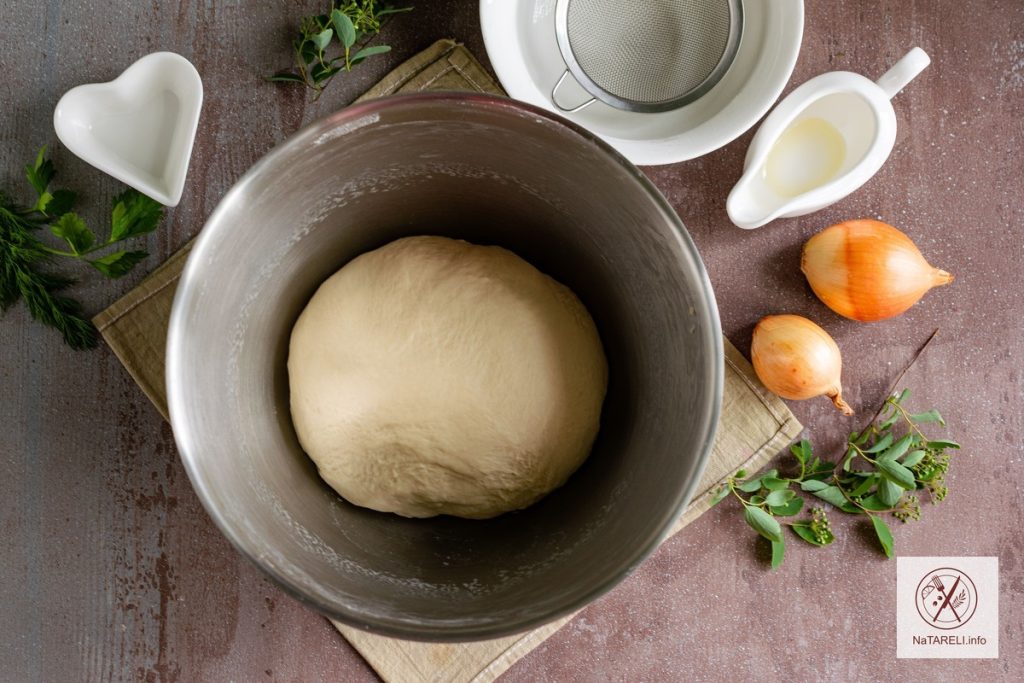
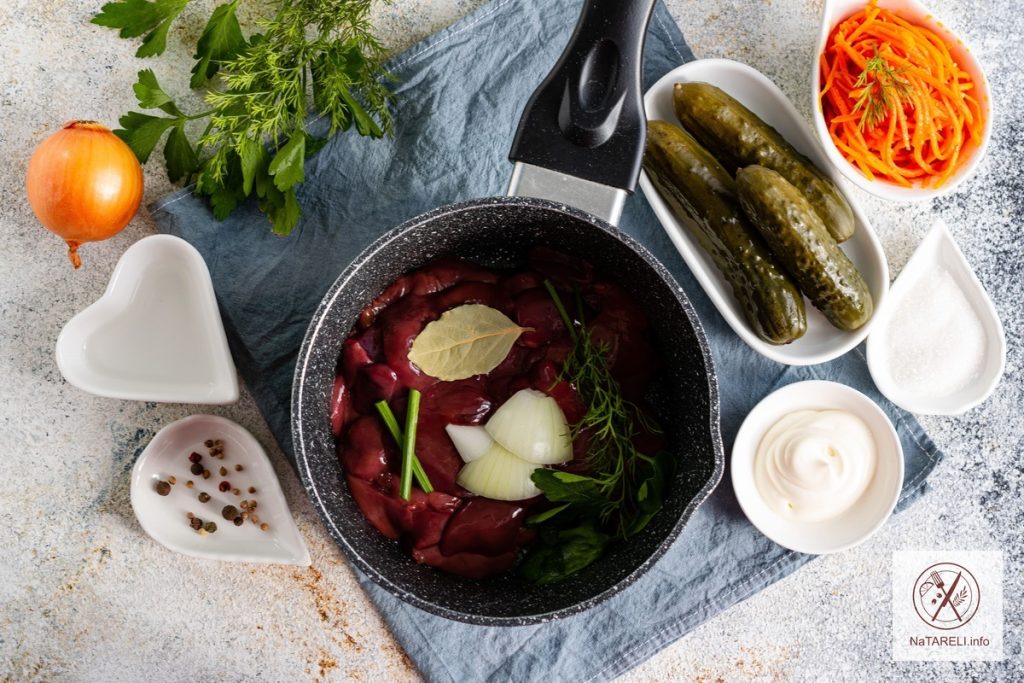
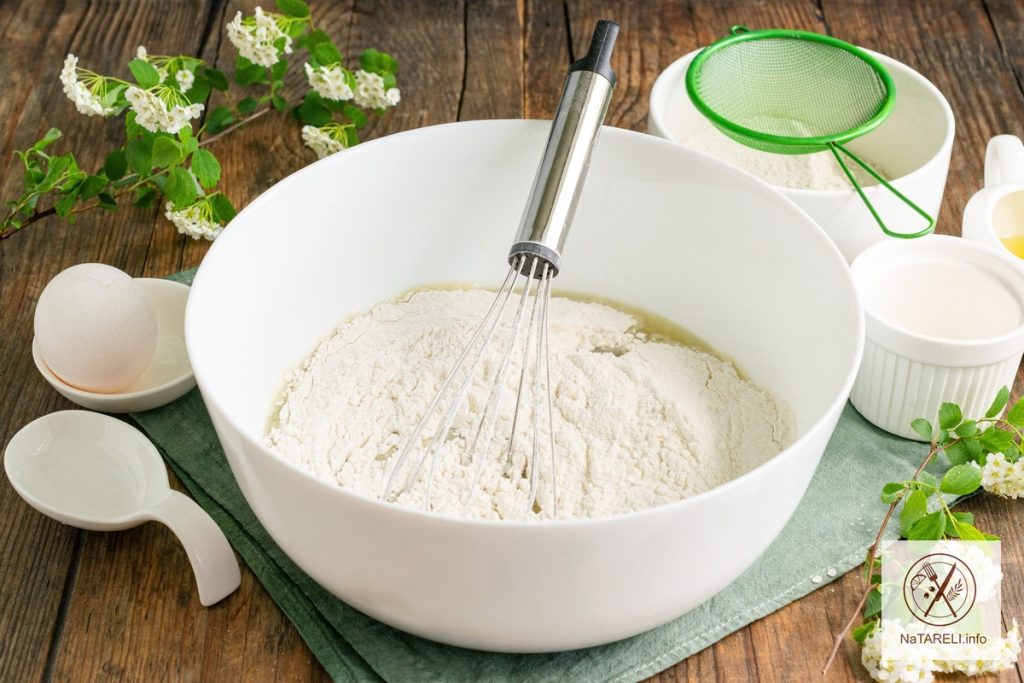
1. Сироватку підігріваємо до кімнатної температури на плиті або в мікрохвильовій печі. Переливаємо сироватку в глибокий посуд, додаємо цукор, ванілін та сіль. Перемішуємо, щоб сухі інгредієнти повністю розчинилися.

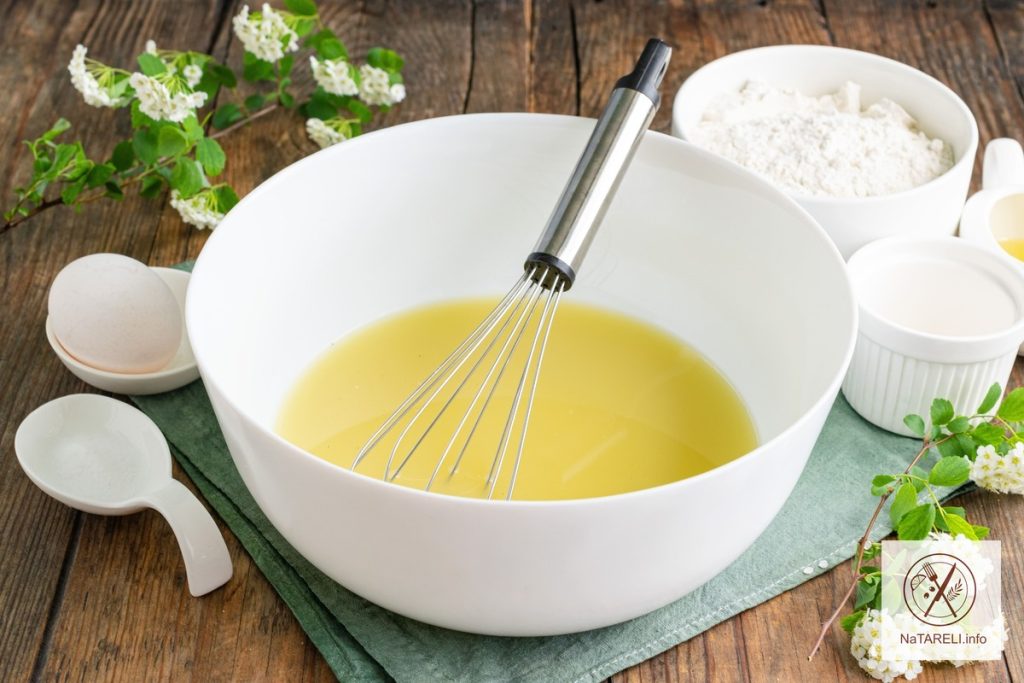
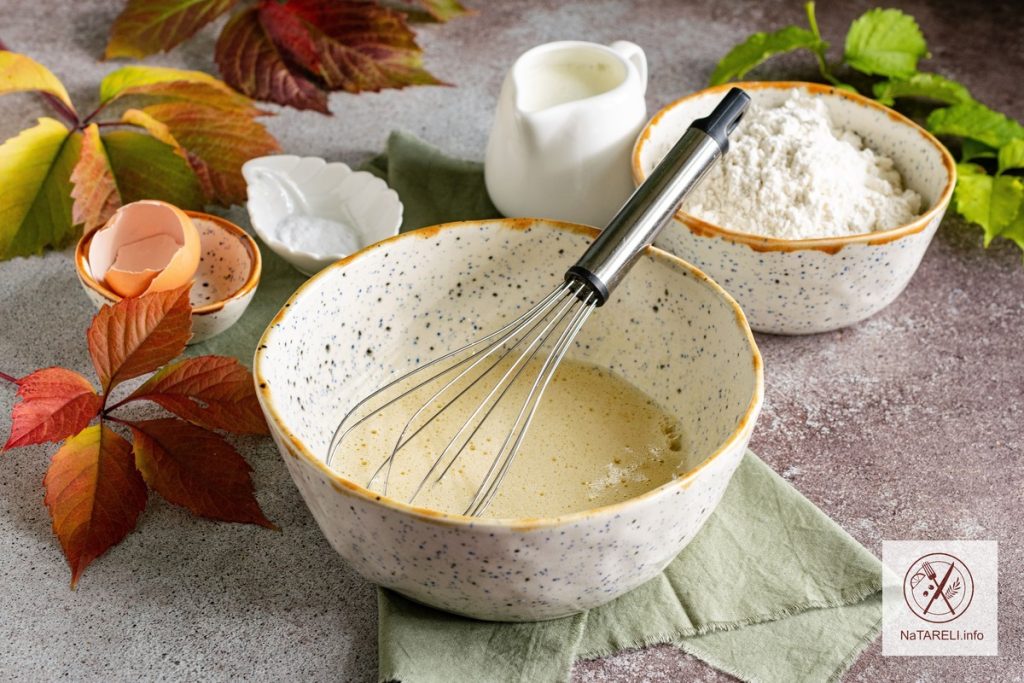
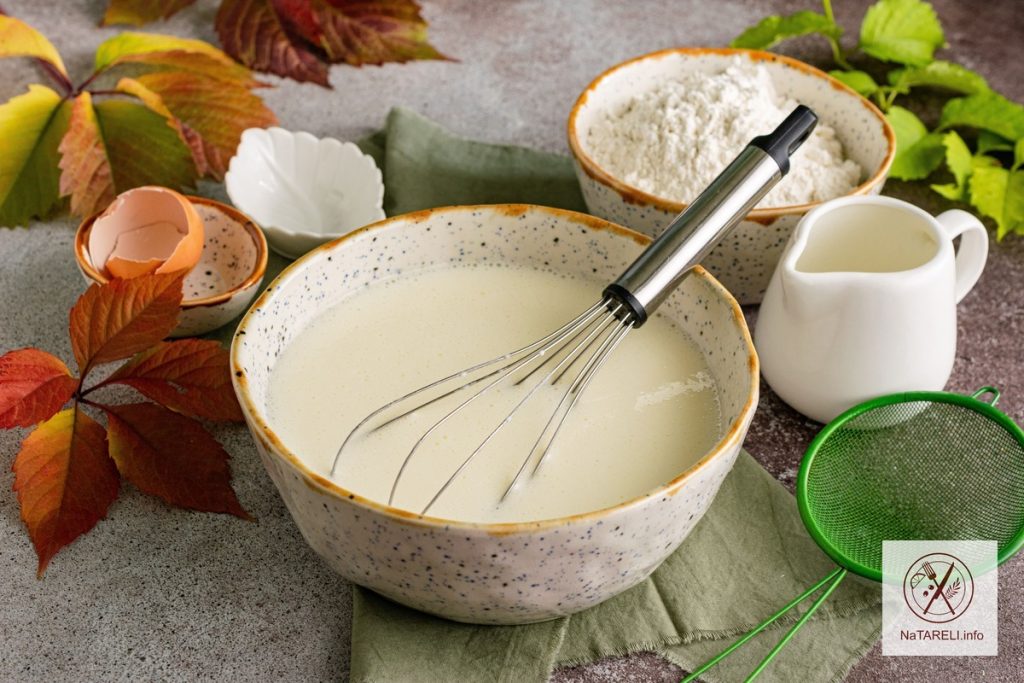
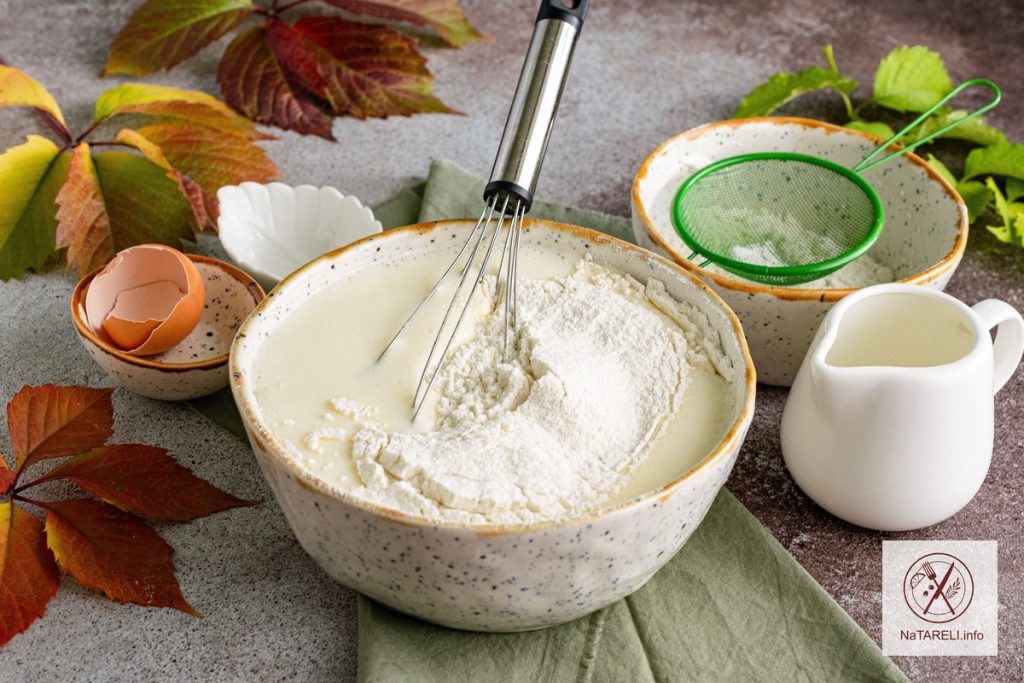
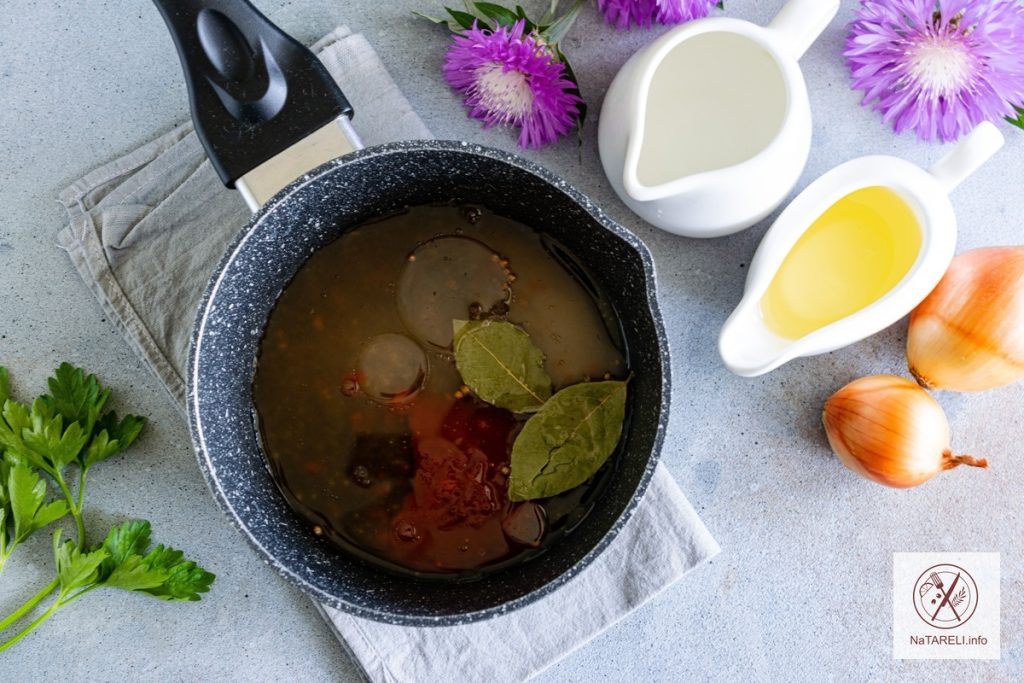
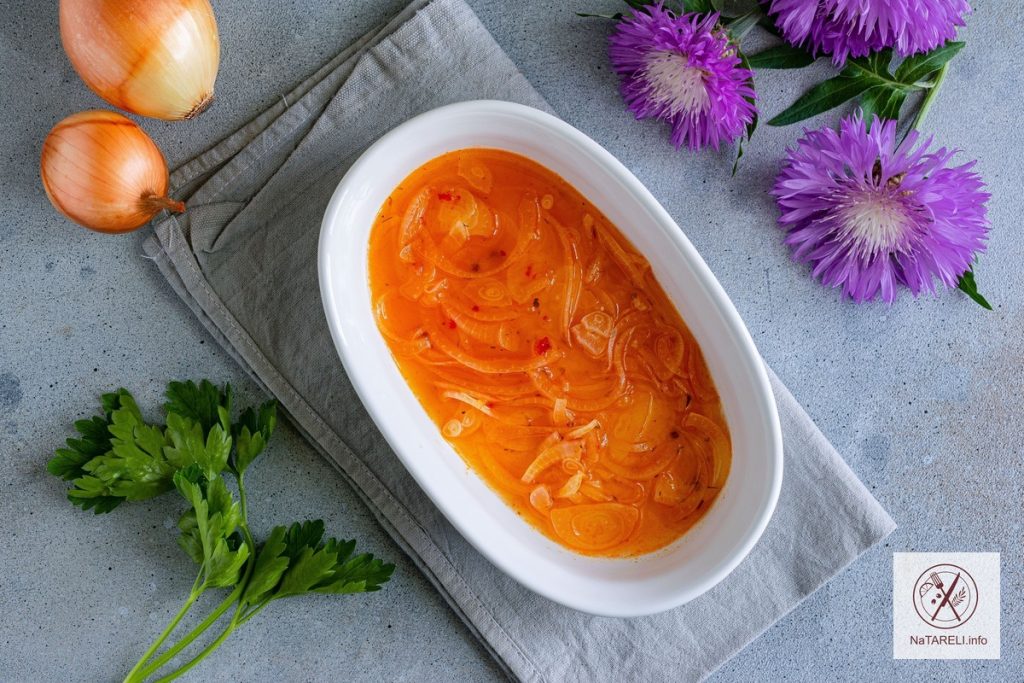
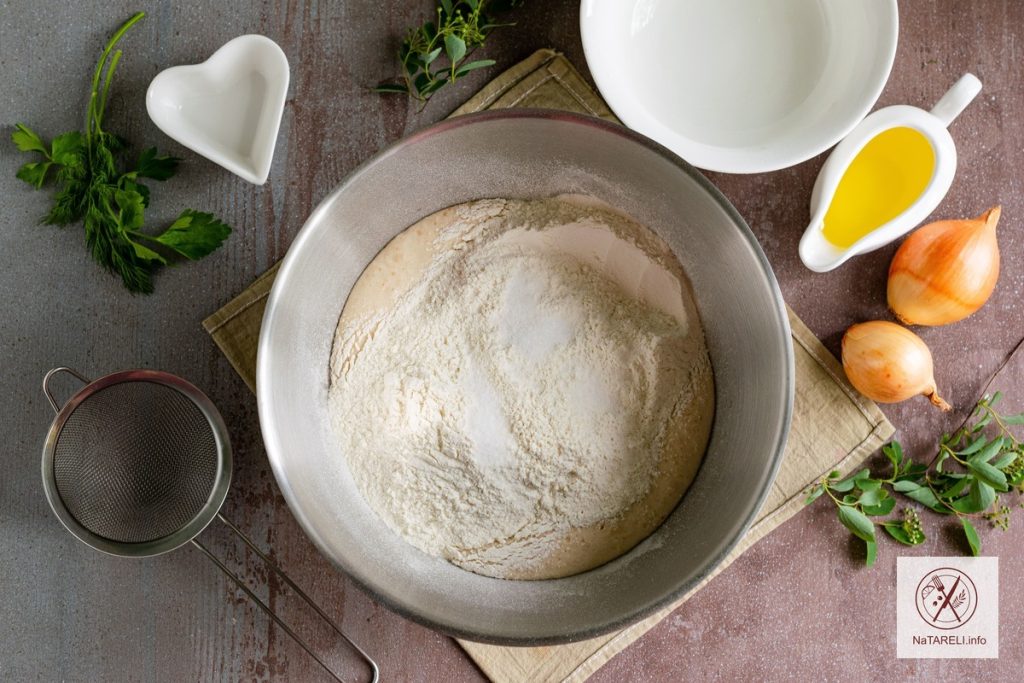
2. Додаємо в отриману суміш харчову соду. Вона вступить у реакцію із сироваткою, завдяки чому оладки вийдуть пористими та м’якими. У кілька прийомів вводимо в тісто просіяне пшеничне борошно, щоразу перемішуючи інгредієнти вінчиком до однорідної консистенції.

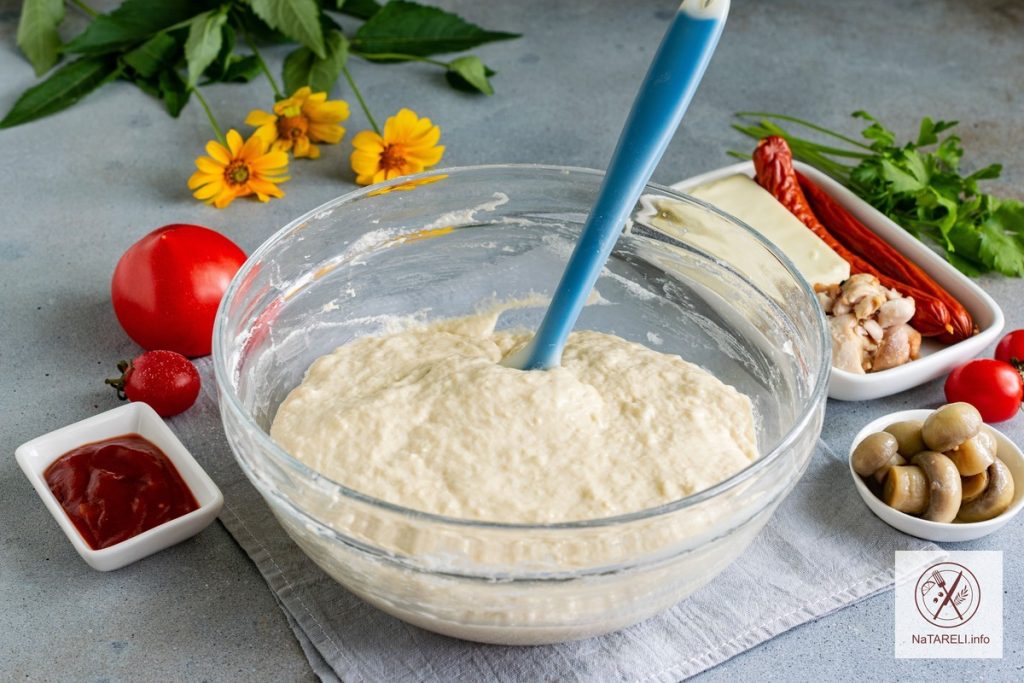
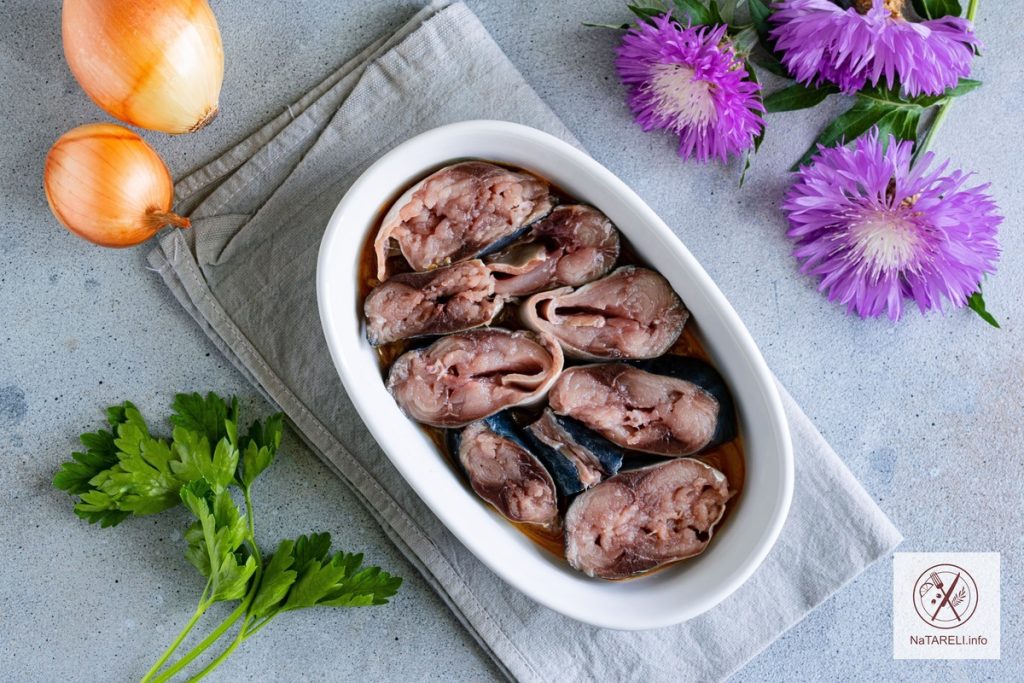
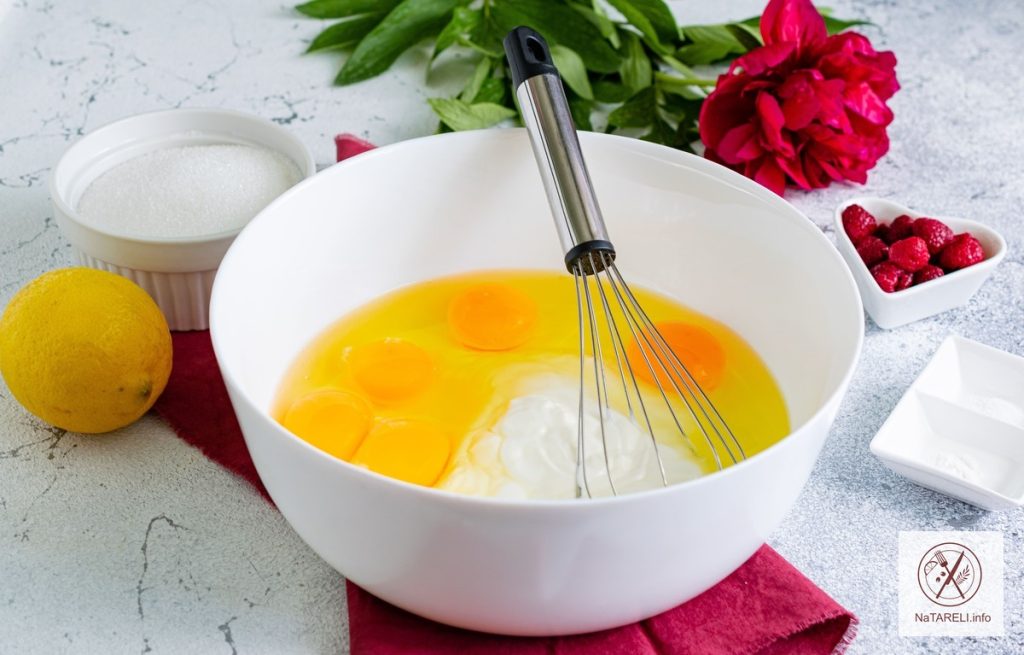
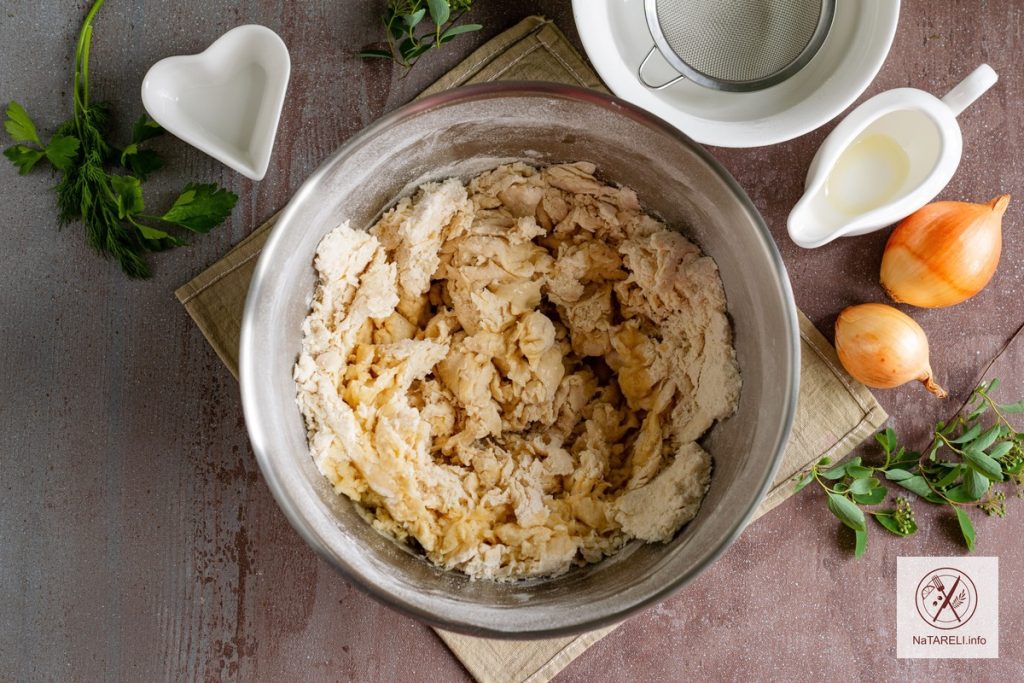
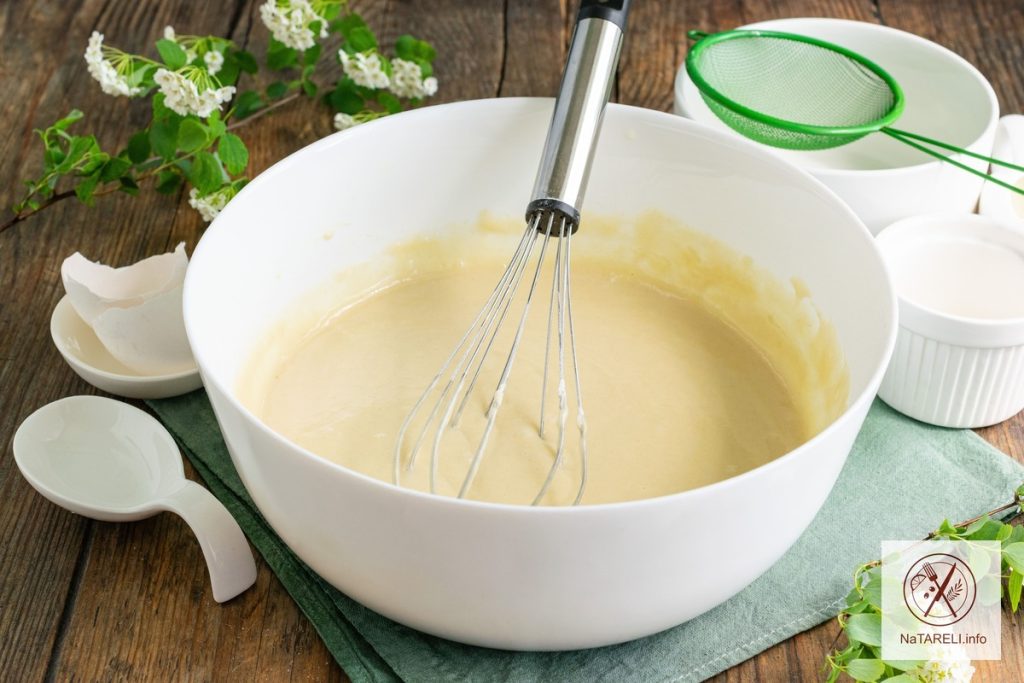
3. Вбиваємо в тісто для оладок 1 куряче яйце. Перемішуємо інгредієнти вінчиком, досягаючи однорідності.

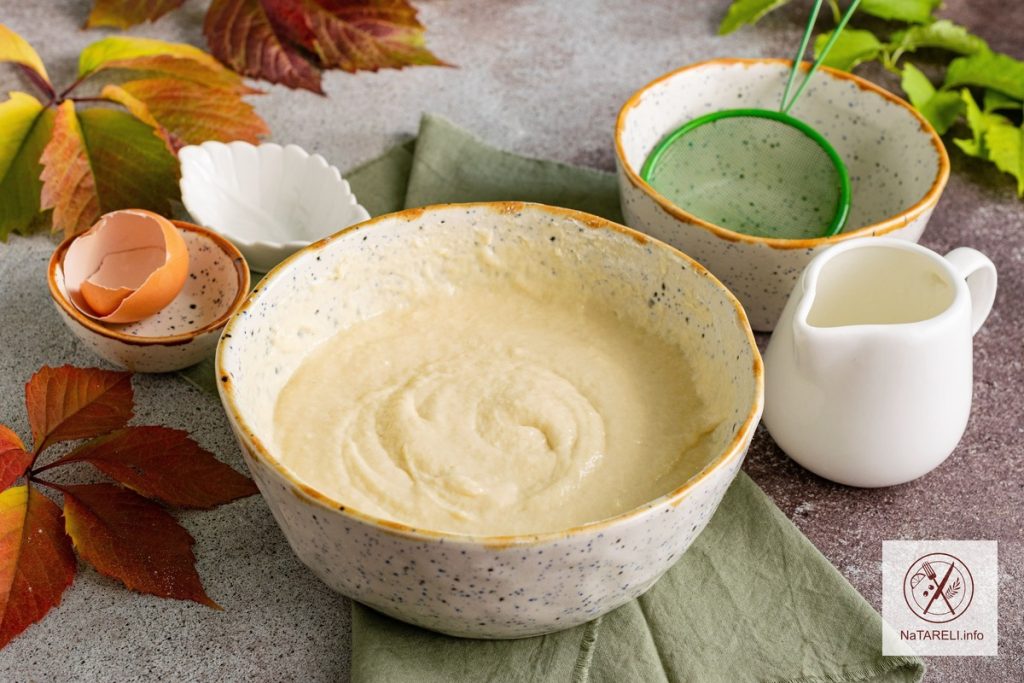
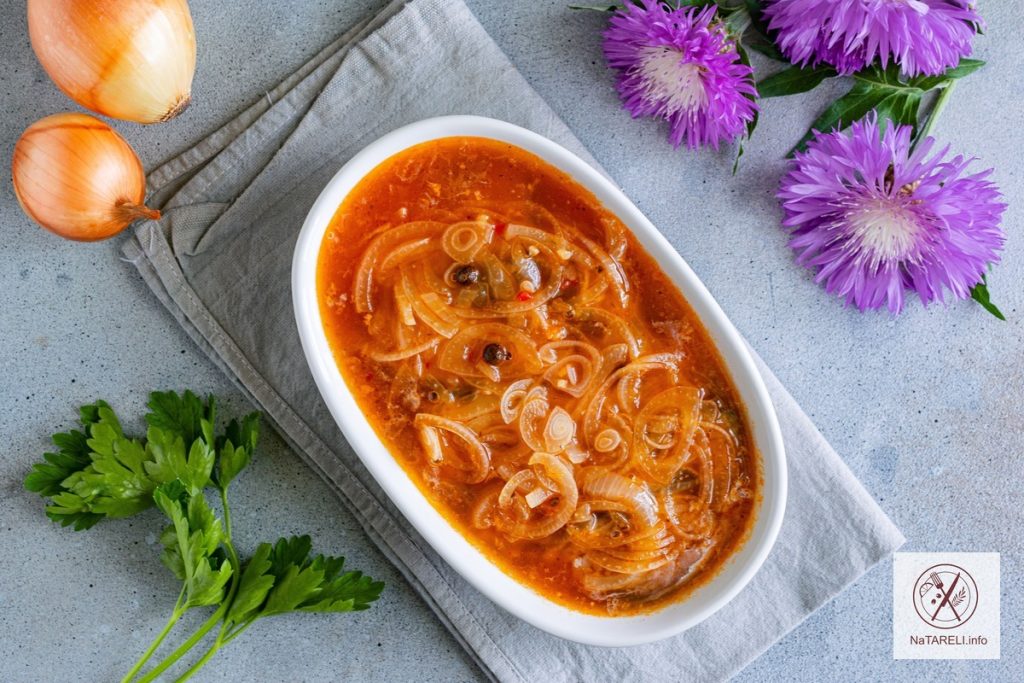
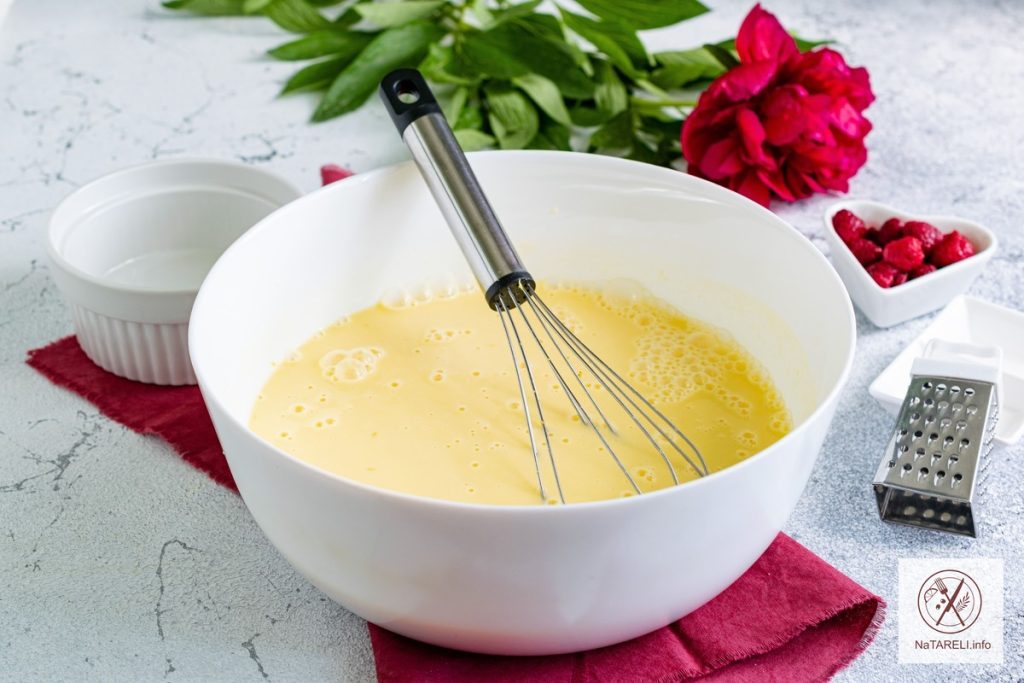
4. В результаті має вийти досить густе та однорідне тісто. Залишаємо його за кімнатної температури на 10-15 хвилин. Коли на поверхні тіста з’являться бульбашки, можна приступати до випікання оладок.

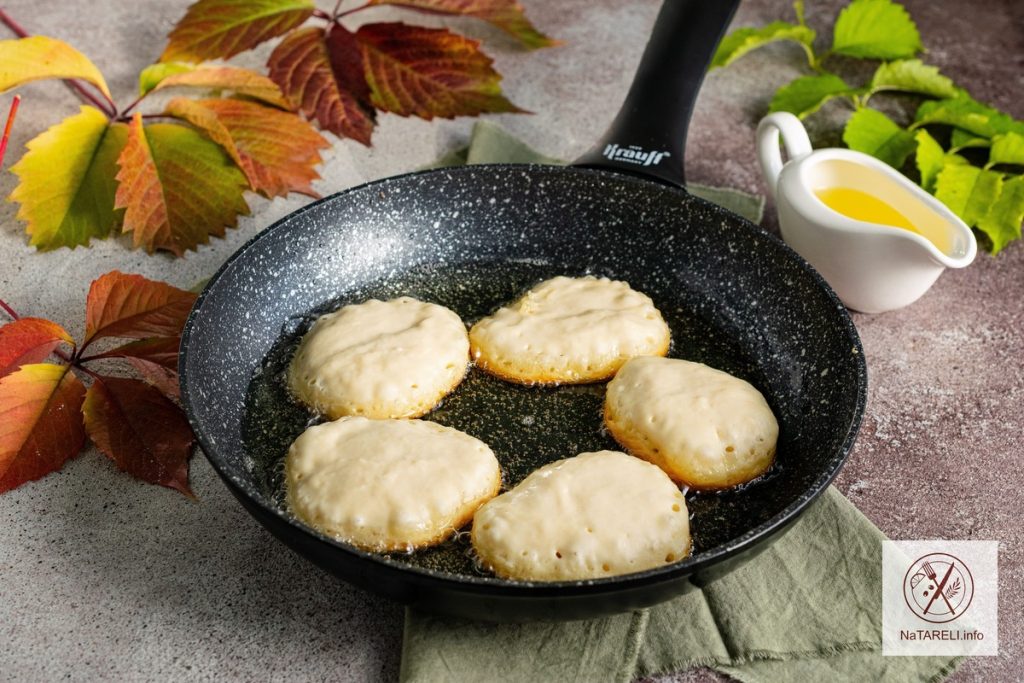
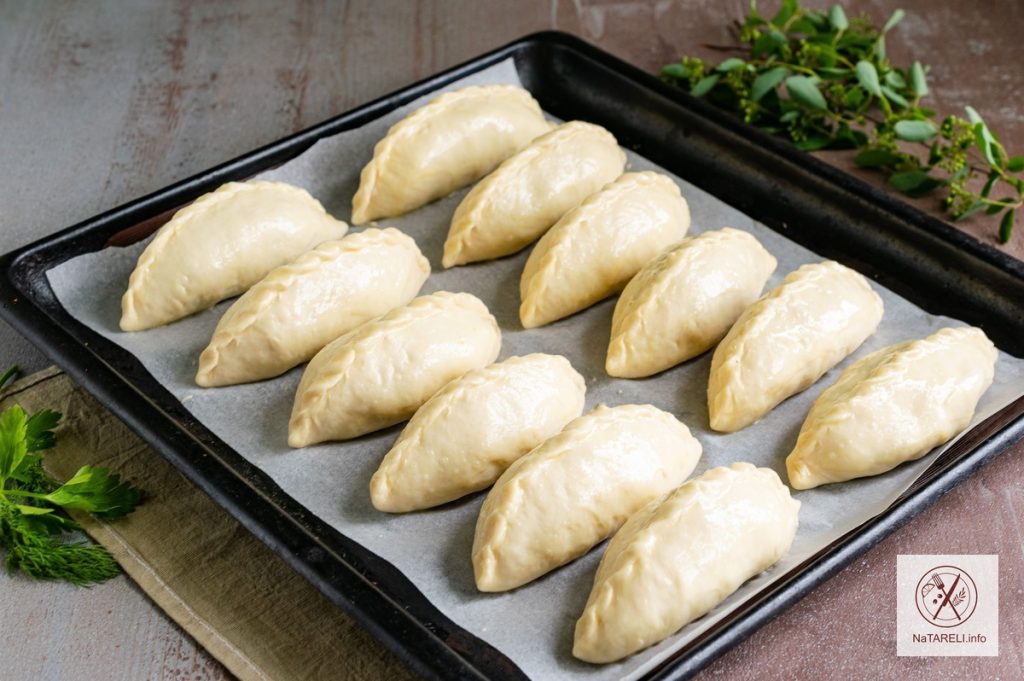
5. На сковороду з розігрітою олією столовою ложкою викладаємо невелику кількість тіста, формуючи круглі оладки.

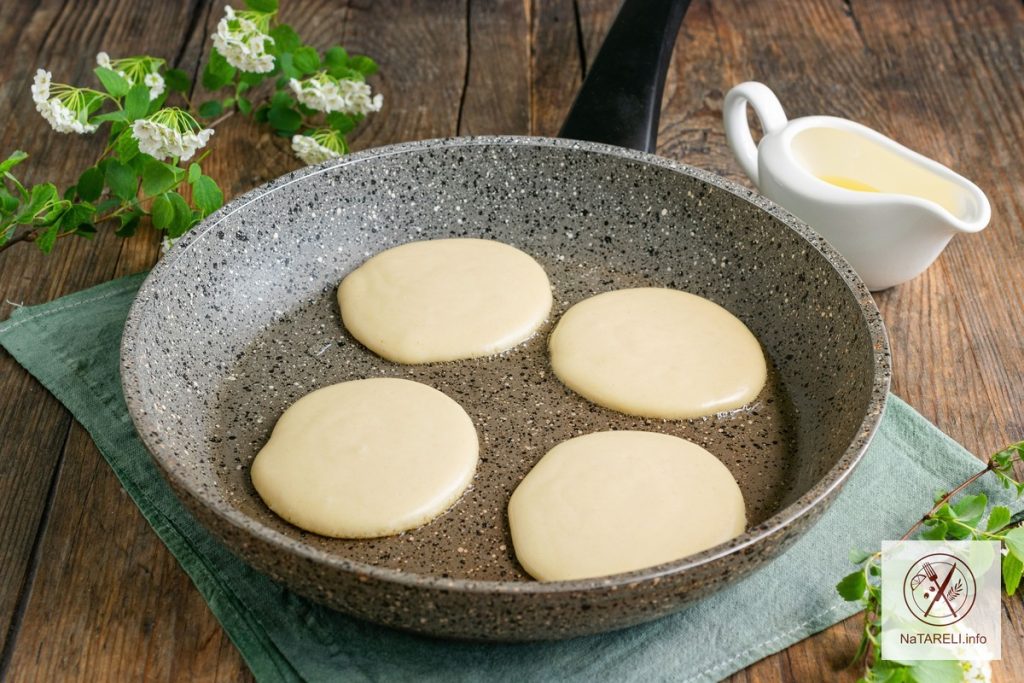
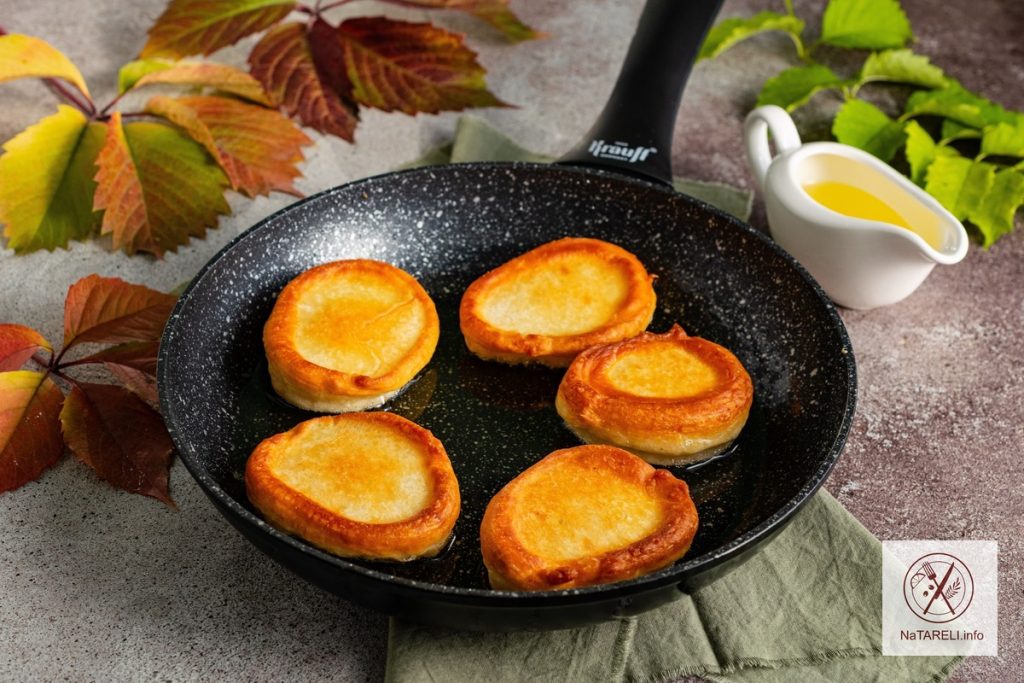
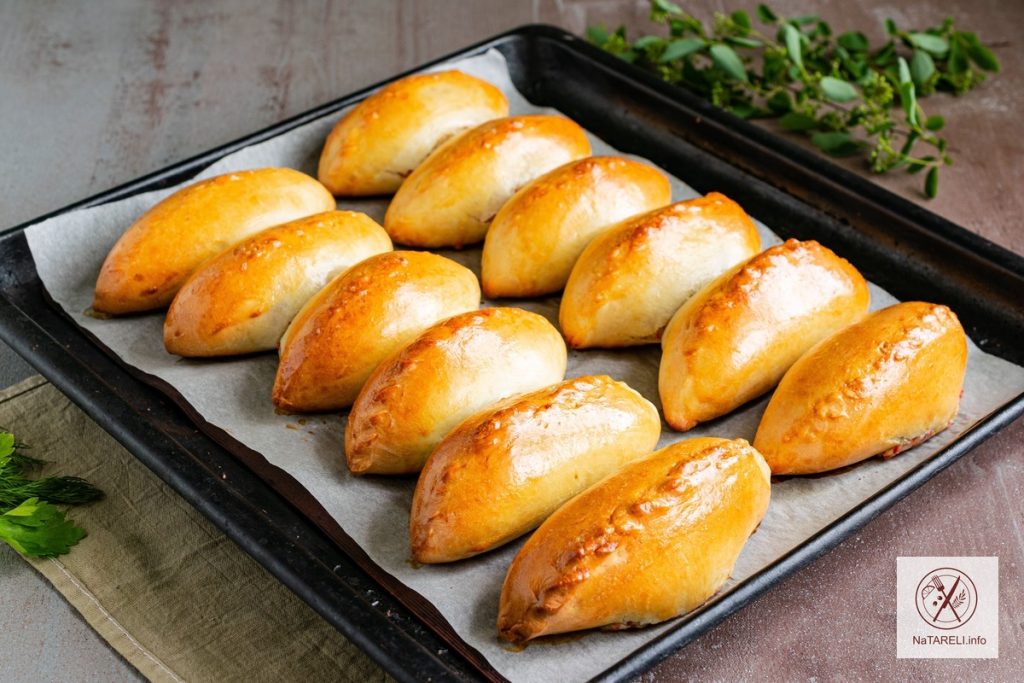
6. Обсмажуємо вироби на середньому вогні до золотистого відтінку з обох боків. У процесі приготування оладки добре піднімуться і залишаться пишними навіть після остигання.

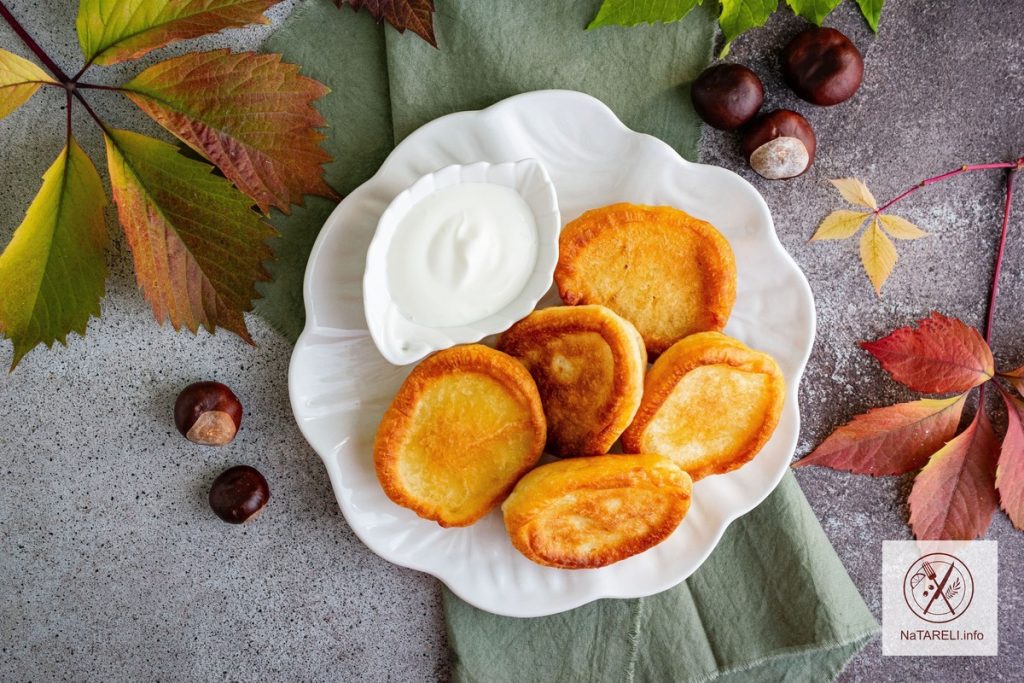
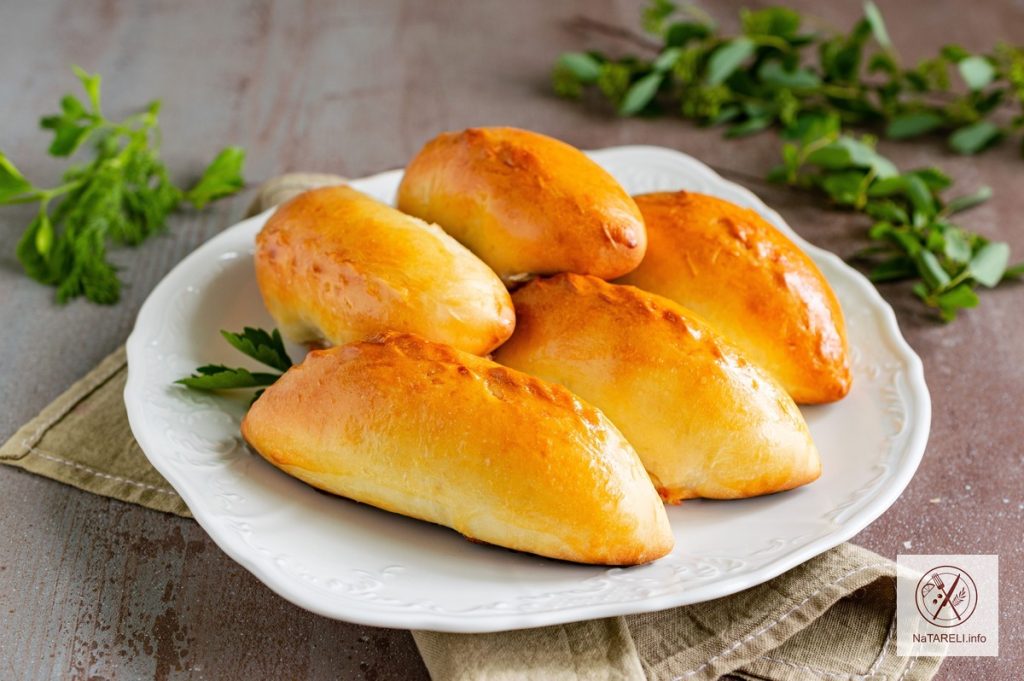
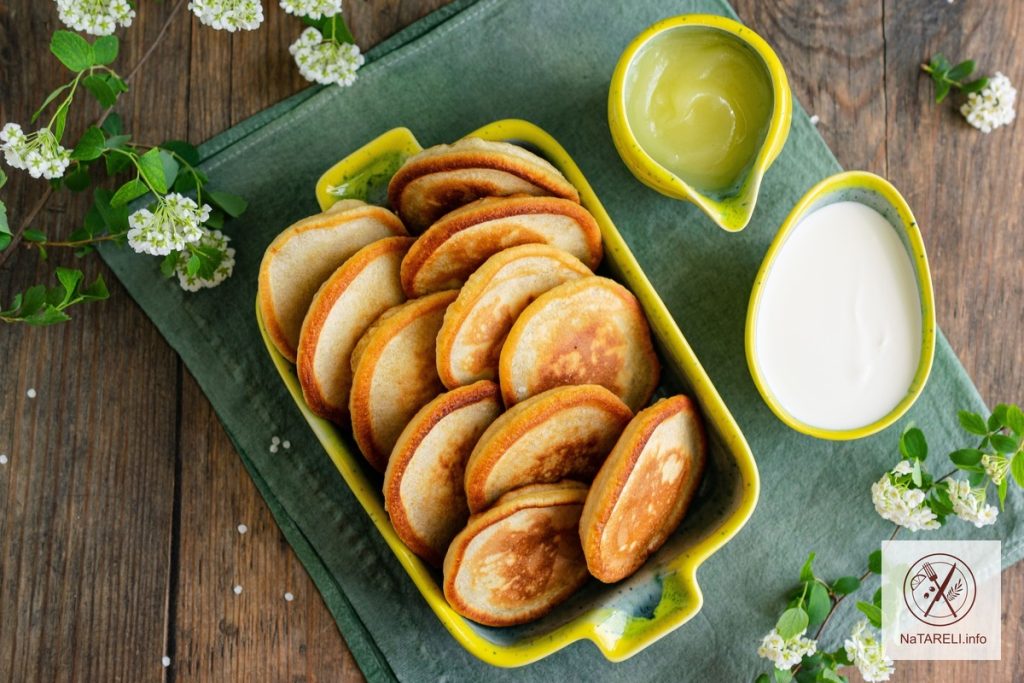
7. Викладаємо готові вироби на тарілку, застелену паперовими серветками, щоб забрати зайву олію. Подаємо повітряні оладки на сироватці теплими зі сметаною, джемом або фруктовим топінгом.

Із зазначеної кількості інгредієнтів виходить 15-20 оладок залежно від їх розмірів.

Смачного!

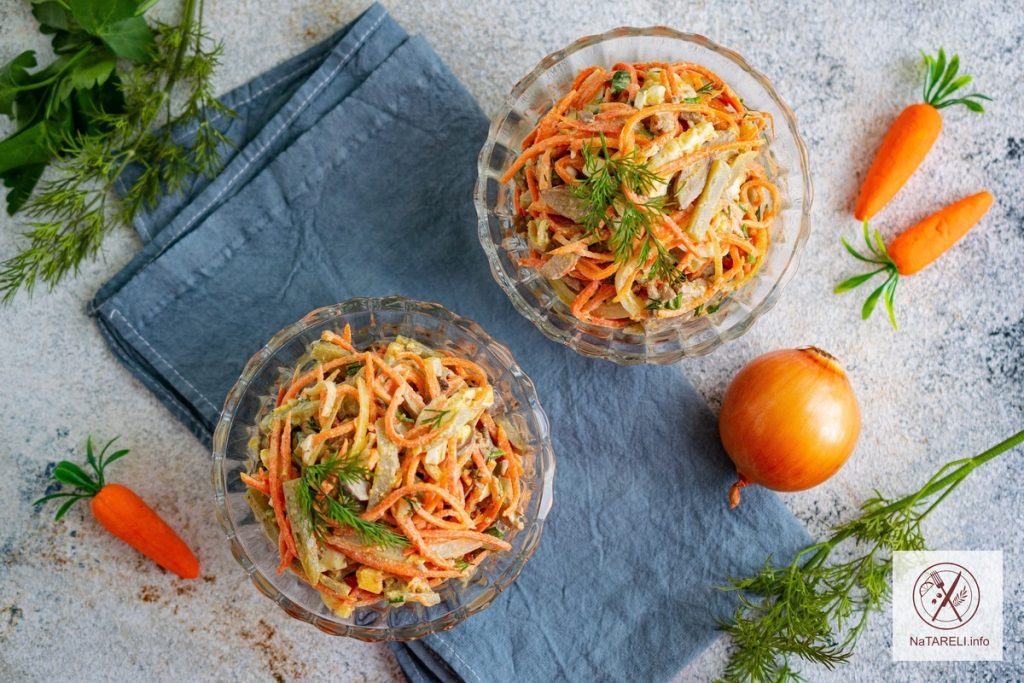
Спробуйте приготувати:

Млинці на сироватці

Вафлі з кисломолочного сиру в електровафельниці


Fluffy kefir pancakes

Today we will cook fluffy yeast-free kefir pancakes. According to this recipe, the pancakes turn out very soft and fluffy, with an appetizing golden crust. Both children and adults eat them with pleasure.

The pancakes will be a great breakfast. Such a tasty and satisfying treat for tea is prepared quickly and easily. This recipe is a great way to use not very fresh kefir, it is well suited for these pancakes. Add jam, sour cream, condensed milk, maple syrup or topping and enjoy!

The specified amount of ingredients makes 16-18 products.

Ingredients for making fluffy kefir pancakes:

Recipe for making fluffy kefir pancakes

Step-by-step instructions:

1. In a deep bowl, mix the chicken egg, sugar and salt. If desired, add vanillin for flavor.

2. Mix the ingredients with a whisk until smooth.

3. Pour warm kefir into the mixture, mix the dough with a whisk.

4. Add soda. It will react with kefir, causing the dough to increase significantly in volume.

5. Add sifted wheat flour to the mixture in parts, kneading a thick dough. Do not add too much flour, otherwise the pancakes will not be airy.

6. As a result, the dough should be smooth and thick enough. Leave it at room temperature for 15 minutes, the dough has settled.

7. Do not stir the finished dough any more, so as not to ruin its texture. Carefully spoon the dough into a frying pan with heated vegetable oil.

8. Fry the pancakes over medium heat until golden brown on both sides under the lid.

9. Place the finished pancakes on paper towels to remove excess fat.

10. Serve delicious, fluffy and airy kefir pancakes hot with sour cream, honey, condensed milk or jam. The pancakes remain fluffy even after cooling. Bon appetit!

Please note: Pancakes with whey


Soup with buckwheat and sausages

Don’t know what to cook for lunch? Make a fragrant and hearty soup using this recipe. It will take a minimum of free time to prepare, and the result will pleasantly surprise you. Fragrant soup with buckwheat and sausages is perfect if you need to quickly feed the whole family.

To make the first course more satisfying and healthy, I used chicken broth as a base. I am sure that such a simple but unusually tasty dish will help diversify your diet, and your household will like it.

For the recipe, it is best to use premium sausages from a trusted manufacturer.

Ingredients for making soup with buckwheat and sausages:

Recipe for making soup with buckwheat and sausages

Step-by-step instructions:

1. Peel the onion, cut into small cubes. Wash the carrots, peel, chop on a coarse grater.

2. Mix vegetable oil and butter in a saucepan. Put the carrots and onions into the heated mixture. Stirring, sauté the vegetables over medium heat until soft.

3. Wash the potatoes, peel them, and cut them into medium-sized cubes.

4. Add the potatoes to the sautéed vegetables.

5. Rinse the buckwheat thoroughly and add it to the pan.

6. Peel the premium sausages and cut them into quarter rings.

7. Add the sausages to the remaining ingredients.

8. Pour the hot chicken broth into the pan. Add bay leaf and allspice for flavor.

9. Stir the soup over low heat until the vegetables and buckwheat are cooked. At the end of cooking, add salt, spices, and finely chopped parsley to the soup. Boil the soup for 1 minute, then remove from heat.

10. Pour the soup with buckwheat and sausages into portioned plates and serve.

Bon appetit!

Try cooking:

Soup with porcini mushrooms and bulgur

Vegetable soup with cauliflower and lentils


Lazy pizza on liquid dough

You can make a delicious and airy pizza quickly and with minimal effort. Knead the liquid yeast dough and choose the filling to taste. Then all you have to do is wait until the pizza is ready in the oven, filling the kitchen with the amazing aroma of baking.

The dough turns out soft and airy, the juicy filling with melted cheese complements it perfectly. This time I used boiled chicken fillet, hunting sausages, marinated champignons and mozzarella for the filling. You can change the composition of the ingredients depending on your taste preferences.

I recommend using semi-hard cheese with a high percentage of fat for the recipe, which melts well in the oven. Mozzarella, cheddar, emmental, suluguni and gouda are perfect.

Ingredients for making lazy pizza on liquid dough:

Recipe for making lazy pizza on liquid dough

Step-by-step instructions:

1. In a deep bowl, mix warm water, sugar, salt and yeast. Mix the ingredients with a whisk until smooth.

2. Beat 2 chicken eggs into the mixture, pour in odorless vegetable oil. Mix the ingredients until smooth.

3. Add sifted wheat flour to the dough in several stages.

4. The result should be a fairly liquid, homogeneous dough.

5. Using a silicone spatula, spread the dough in an even layer on a baking sheet covered with parchment.

6. Grease the pizza base with tomato sauce.

7. Put pieces of boiled fillet and hunting sausages cut into thin rings on top.

8. Add thinly sliced ​​marinated mushrooms and tomatoes.

9. Place the pizza in an oven preheated to 180 degrees for 25 minutes.

10. When the dough is completely baked, carefully remove the pizza from the oven. Sprinkle it with grated mozzarella and return to the oven for another 5 minutes to melt the cheese.

11. Decorate the finished pizza with liquid dough with parsley.

12. Cut the tender and aromatic pizza into portions and serve hot.

Bon appetit!

Please note:

Pizza on yeast dough with vegetables and mushrooms


Mackerel marinated with chili ketchup

Almost no festive table is complete without a fish appetizer. Today I will tell you how to easily and without unnecessary hassle marinate mackerel at home. The fish turns out very tasty, spicy and juicy. An unusual marinade with chili ketchup gives the fish a bright color and an interesting taste. The mackerel turns out piquant, sweet and sour and moderately spicy.

Even a novice cook can cope with the preparation, the recipe is simple and very successful! Homemade marinated mackerel turns out several times tastier and cheaper than store-bought.

Marinated mackerel with chili ketchup and onions is a delicious appetizer for both everyday and festive menus. Discover a completely new taste of your favorite fish!

Ingredients for cooking mackerel marinated with chili ketchup:

Recipe for cooking mackerel marinated with chili ketchup

Step-by-step instructions:

1. Defrost the mackerel at room temperature, wash, dry from excess moisture. Cut off the head, tail and fins of the fish. Remove the entrails and black film. Cut the mackerel carcass into portions 1.5-2 cm thick.

2. Peel the onion, cut into thin half rings.

3. Mix the ingredients for the marinade in a ladle: chili ketchup, sugar, salt, bay leaf, allspice and coriander.

4. Pour water, vegetable oil and apple cider vinegar into the resulting mixture.

5. Add half rings of onion to the marinade.

6. Stirring until the salt and sugar are completely dissolved, bring the marinade to a boil. Cook the marinade for 2 minutes, then remove from heat.

7. Pour some marinade with onions into the bottom of the container in which we will marinate the fish.

8. Place pieces of mackerel on top.

9. Pour the hot marinade over the fish, it should completely cover the mackerel. Cover the appetizer with a lid and leave at room temperature until it cools. Then put the fish in the refrigerator for 24 hours.

10. After the specified time, the tender and very aromatic marinated mackerel will be ready. Serve the fish with onions as a cold appetizer.

Bon appetit!

Try cooking:

Mackerel pate

Mackerel baked in soy sauce


Raspberry Filo Pie

Filo is a thin and fragile dough with a minimum fat content. It is often used in cooking to create a variety of dishes from delicious appetizers to sweet desserts. Filo dough belongs to Greek cuisine, its name is translated as “thin” or “leaf”.

Today I suggest making a sweet raspberry pie from it. You can use both fresh and frozen berries. In addition to raspberries, you can use currants, cherries, blueberries or peaches. The combination of thin fragile dough with a delicate sour cream filling and juicy aromatic berries makes this pie incredibly delicious!

Cook it once, and it will find an honorable place in your arsenal of recipes.

Ingredients for making a raspberry filo pie:

Recipe for making a raspberry filo pie

Step-by-step instructions:

1. Defrost the filo dough at room temperature. Melt the butter on the stove or in the microwave, cool to room temperature. Place 1 sheet of dough on the work surface, grease it with melted butter. Cover the blank with the second sheet of dough.

2. Fold the dough into an accordion. Thus, we form blanks from all the filo dough.

3. Grease a heat-resistant baking dish with butter. Place the filo dough blanks in it in the shape of a snail. Grease the top of the pie with the remaining butter. Place the pie in an oven preheated to 180 degrees for 15 minutes.

4. Meanwhile, prepare the filling. Combine sour cream and 5 chicken eggs in a deep bowl. Mix the mixture with a whisk until smooth.

5. Add sugar and a pinch of salt to the filling. Add lemon zest and vanilla for flavor.

6. Mix the ingredients with a whisk until smooth.

7. Carefully remove the pie from the oven. Evenly distribute the sour cream and egg filling over the pan.

8. Place the raspberries on top. If you are using frozen berries, you do not need to defrost them first.

9. Return the filo pastry pie with raspberries to the oven for another 30 minutes. After the specified time, the pastries will be ready.

10. Let the pie cool completely, then decorate it with powdered sugar and serve with tea or coffee.

Bon appetit!

Try:

Pie with cottage cheese and pear

Kefir pie with cherries in a multicooker


Potato appetizer with beets and herring

I offer you a very tasty and interestingly decorated dish made from simple and affordable ingredients! Lightly salted herring goes well with beets and potatoes, so I suggest making a tasty and impressive appetizer from them.

Baked potato slices, aromatic beetroot mass and lightly salted herring fillet – an amazing combination! Sweet red onion and French mustard complement the appetizer wonderfully, giving it a piquant note. These canapes are perfect for a festive table. Guests will appreciate the original design and amazing taste of the appetizer.

To save time, you can use already peeled herring fillet in oil. Beets can be prepared in advance or baked in the microwave, it’s quick and easy.

Ingredients for making a potato appetizer with beets and herring:

Recipe for making a potato appetizer with beets and herring

Step-by-step instructions:

1. Wash the potatoes, peel them, cut them into 1 cm thick slices. Transfer the vegetables to a deep bowl, pour in the sunflower oil, add salt and spices to taste. I used potato seasoning.

2. Stir the vegetables so that they are evenly coated with oil, salt and spices. Place the potato slices on a baking sheet or in a heat-resistant baking dish. Place the vegetables in an oven preheated to 180 degrees for 15 minutes.

3. After the specified time, the potatoes will be baked and soft. Transfer the vegetable slices to a flat plate, cool to room temperature.

4. Wash the beets, prick them with a fork, put them in a baking bag, and tie it on both sides. Put the plate with the beets in the microwave. Cook the vegetables at maximum power for 10-15 minutes, depending on the size of the beets.

5. Cool the vegetables to room temperature, peel them, and chop them on a coarse grater. Add mayonnaise, salt, and ground black pepper to taste to the beets, and mix.

6. Put the beet mixture on the potato slices.

7. Cut off the head, tail, and fins from the herring. Remove the entrails and black film, and separate the fish into fillets. Peel the herring from the skin and bones, cut the fillet into portioned pieces 2-3 cm wide. Put the fish pieces on top of the beet mixture.

8. Peel the red onion and cut into thin rings. Place the onion rings on the fish. Decorate the appetizer with French mustard and herbs.

9. Serve the appetizing potato appetizer with beets and herring immediately after cooking. Bon appetit!

Please note:

Spicy salted herring at home

“False Caviar” from herring, carrots and smoked cheese


Lavash envelopes with cottage cheese and hard cheese

I suggest making delicious and filling envelopes from available ingredients. We will use thin lavash as a base, and cottage cheese and hard cheese for the filling. The result is a very tasty and healthy dish that is perfect for breakfast, as a snack on the road or for a picnic.

The combination of thin crispy lavash and melted hard cheese with herbs will appeal to everyone without exception. If desired, parsley can be replaced with cilantro. This recipe is simple and easy to prepare, it does not require much time and a large set of products.

I cooked the envelopes on an electric grill. In warm weather, they can be baked on the grill, so the dish will be even more appetizing.

Ingredients for making lavash envelopes with cottage cheese and hard cheese:

Recipe for making lavash envelopes with cottage cheese and hard cheese

Step-by-step instructions:

1. Put the cottage cheese in a deep bowl, mash with a fork. Grind the hard cheese on a coarse grater, add to the sour-milk cottage cheese.

2. Beat 1 chicken egg into the resulting mixture.

3. Wash dill and parsley, dry from excess moisture, chop finely and add to the filling. Add salt and spices to taste. Mix the ingredients until smooth.

4. Cut the pita bread sheet into rectangles measuring 20×30 cm. I got 4 blanks.

5. Put 1/4 of the cheese filling on one edge of the pita bread.

6. Wrap the pita bread into an envelope so that the filling is inside. In this way, we form all 4 envelopes.

7. Heat the electric grill to 180 degrees. Grease the grill plates with vegetable oil. Place the pita bread envelopes on the grill. Cook the snack for 2-3 minutes until golden brown.

8. Serve the crispy envelopes with juicy filling hot with fresh vegetables.

9. If you don’t have an electric grill, you can fry the envelopes in a dry frying pan or bake them in the oven. Bon appetit!

You may also like:

Liver pancake rolls with Korean carrots


Potato and sausage pies in the oven

We are preparing delicious potato and sausage pies on yeast dough, which does not require long proofing. After kneading the dough, you can immediately form pies with your favorite filling, which significantly saves time. The dough in this recipe is universal, the products can be baked in the oven or fried in oil in a frying pan.

The pies turn out ruddy, appetizing, satisfying and very tasty. During the cooking process, the pastries rise well, turn out very soft, airy and do not go stale for a long time. Potato and sausage pies in the oven are perfect for lunch, you can take them with you for a snack on the road or on a picnic.

The recipe is budget-friendly, simple and fairly quick to prepare. If desired, sausages can be replaced with ham, boiled chicken fillet or boiled liver.

Ingredients for making potato and sausage pies in the oven:

Recipe for making potato and sausage pies in the oven

Step-by-step instructions:

1. First, prepare the dough starter. In a deep bowl, combine dry yeast, sugar and 3 tablespoons of wheat flour (from the total amount).

2. Pour warm water into the mixture (temperature 38-40 degrees). Stir the starter until smooth, cover with a towel and leave in a warm place for 15 minutes.

3. After 15 minutes, the starter should begin to foam and increase in volume several times.

4. Add sifted wheat flour and salt to the starter. Stir the dough with a spatula until smooth.

5. Pour refined vegetable oil into the dough.

6. Knead the dough thoroughly for 10 minutes. It should be soft, elastic and not stick to your hands. Cover the dough with a dry towel and leave at room temperature.

7. Meanwhile, prepare the filling for the pies. Peel the onion, cut into small cubes, put in a frying pan with heated vegetable oil. Stirring, sauté the vegetables until soft.

8. Wash the potatoes, peel, cut in half, boil until tender in salted water. Cool the vegetables to room temperature.

9. Pass the boiled potatoes and peeled sausages through a meat grinder with a fine grate. Add sautéed onion, salt and spices to the filling. Mix the ingredients until smooth.

10. Divide the finished dough into 18 parts, form them into balls weighing 50 g. Roll each ball of dough into a flat cake. Put 1.5 tablespoons of filling in the center of each flat cake. Pinch the edges of the dough and form the pies. If desired, you can make a decorative braid on top.

11. Place the products on a baking sheet covered with parchment paper. Grease the products with beaten egg.

12. Put the pies with potatoes and sausages in the oven preheated to 180 degrees for 20-25 minutes. During this time, the products will increase in size and brown.

13. Cool the finished pies on a wire rack, covering them with a dry towel. Serve the delicious pies warm.

Bon appetit!

Please note:

Yeast pie with mackerel “Fish”

Pizza on yeast dough with vegetables and mushrooms


Salad with liver, Korean carrots and pickled cucumbers

Let’s make a delicious and juicy salad with chicken liver, Korean carrots and pickled cucumbers. The recipe for this delicious and hearty salad is perfect for offal lovers. Tender chicken liver goes well with spicy Korean carrots, crispy pickled cucumbers and piquant pickled onions. You can use homemade mayonnaise, natural thick yogurt or sour cream to dress the salad.

Chicken or turkey liver is best for this recipe. I recommend leaving beef or pork offal for other recipes, they will not be as tender and juicy. Korean carrots can be prepared in advance yourself, you can find a delicious and proven recipe for this appetizer on the website.

Liver and carrot salad in Korean style is tasty, spicy and nutritious, it can easily replace a full meal. The recipe will help to diversify the daily menu, the whole family will surely like it!

Ingredients for preparing a salad with liver, Korean carrots and pickled cucumbers:

Recipe for preparing a salad with liver, Korean carrots and pickled cucumbers

Step-by-step instructions:

1. Wash the chicken liver, clean it from films and veins, put it in a ladle or a small saucepan. For flavor, add bay leaf, a few pieces of onion, sprigs of dill and parsley to the offal. Pour cold water over the chicken liver and put it on the fire. Remove the foam that forms with a slotted spoon, cook the offal over low heat for 10 minutes. Then take the liver out of the pan and cool to room temperature.

2. Peel the onion, cut into thin half rings. Put the vegetables in a deep bowl, add sugar, coriander seeds and a mixture of peppers. Pour 9% vinegar mixed with water in equal proportions over the onions. Stir, leave the onions for 10 minutes to marinate.

3. Boil the chicken eggs hard, cool in cold water, peel, cut into strips. Place the eggs in a deep salad bowl.

4. Cool the chicken liver to room temperature, cut into strips, add to the boiled eggs.

5. Peel the pickled cucumbers, cut into strips, add to the salad.

6. Strain the Korean carrots from the marinade, cut into short segments and add to the remaining ingredients.

7. Drain the marinade from the onions, add the vegetables to salad.

8. Wash the dill and parsley, dry off excess moisture, chop finely, and pour into a salad bowl.

9. Season the salad with a small amount of mayonnaise. Salt to taste.

10. Gently mix the salad until all the ingredients are combined. Cover the salad bowl with a lid or cling film and refrigerate for 30 minutes.

11. When the salad has cooled and infused, serve it, garnished with a sprig of fresh herbs.

Bon appetit!

Try cooking:

Salad “Mushroom Basket”

Salad “Mimosa Branch”

Salad “Crab Fantasy”